Stretch fabric is a must in sewing. We use all kinds of knits to make essential pieces of our wardrobe, including t-shirts, dresses and fitted pants. Since stretchy clothing is often very comfortable, we want to help you master sewing with stretch fabric, so that you can feel comfortable in your clothes all year round.
Here are our 10 tips and tricks!
- Use a round-end or knitting needle.
- Support the weight of the fabric when cutting or sewing.
- Lighten the pressure of the presser foot on the fabric.
- Use a dual-feed foot (also called a walking foot).
- Sew with a stretch stitch.
- Stabilize key areas of the garment with clear elastic or stretch interfacing.
- Iron a stretched stitch using the steam setting on your iron.
- Opt for wide hems that are folded only once toward the inside.
- For a ready-to-wear look, use a double needle for hems.
- Use tape to make hemming easier.
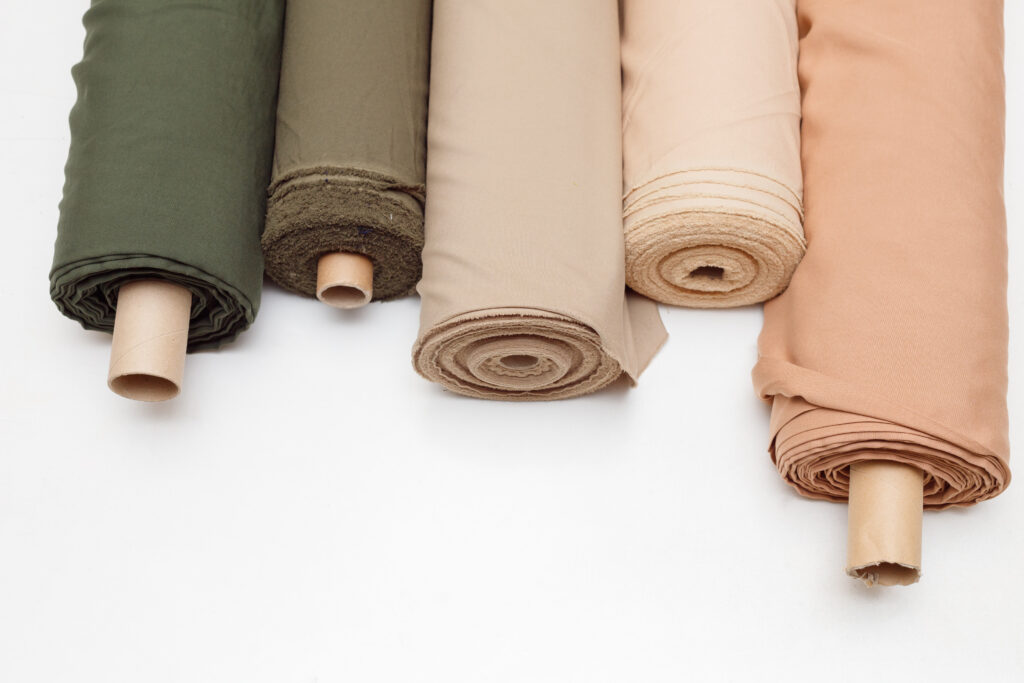
Want more details? Keep reading:
1 – Use a round-end or knitting needle (often called a stretch needle)
A universal needle is practical for many fabrics, but for knit and jersey fabrics, we advise you to leave it aside. It has a sharp tip that will make holes in your beautiful knit. We recommend that you use a round-end or knitting needle.A round-end needle, as the name suggests, has a much softer tip than a universal needle. Instead of piercing the knit, the needle will spread the stitches of the fabric when sewing. This will give you a nicer result!
You can also use a knitting needle when sewing stretch fabrics that are highly elastic. The special eye and notch on the needle prevent skipping stitches.

2 – Support the weight of the fabric when cutting or sewing
Gravity is the enemy of stretch fabrics! It is therefore important not to let your fabric hang. If you do, it will cause the various parts of your piece to be stretched or distorted. If you have a long piece of fabric to cut and a short tabletop, roll your fabric so that it doesn’t extend past the end of the table. You can unroll it as you cut.
When sewing, make sure you have enough room in front of and behind the machine to accommodate your fabric. You can lift your piece slightly and guide it toward the sewing machine.

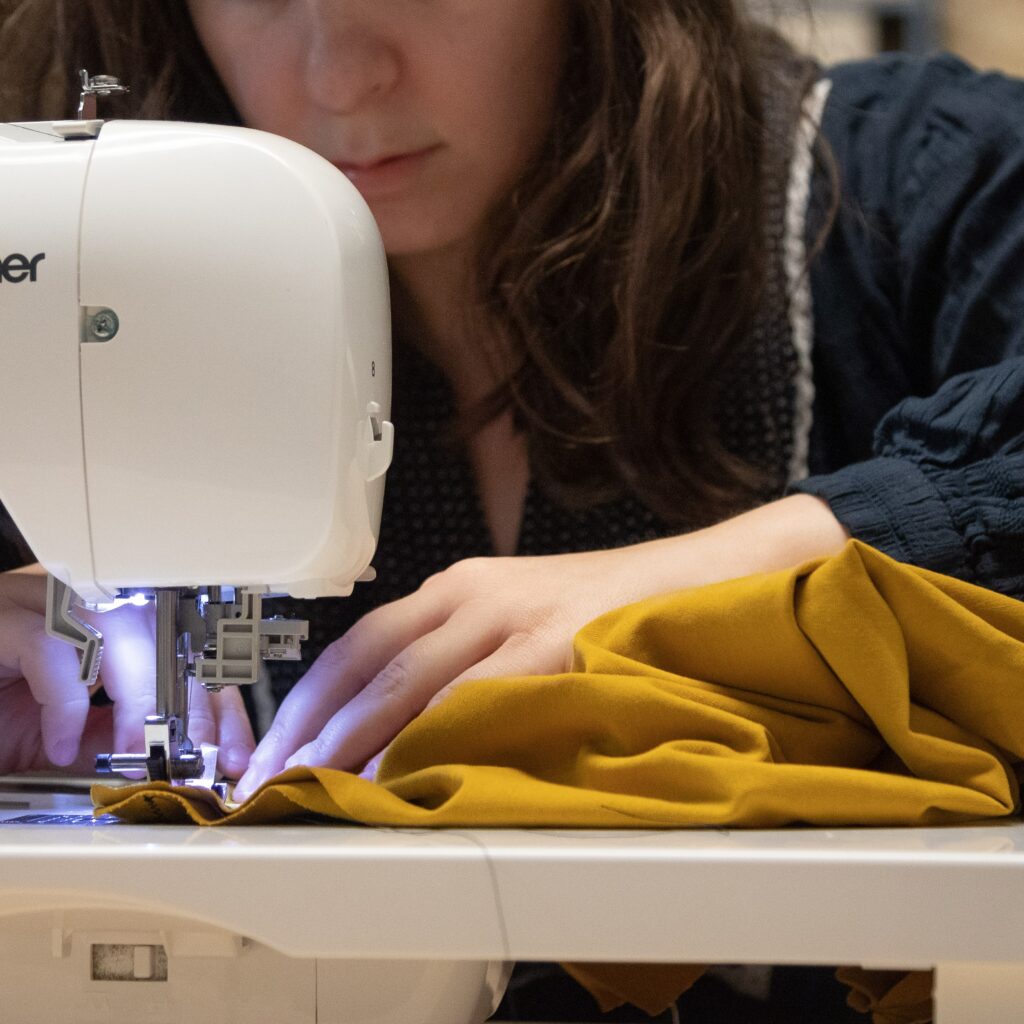
3 – Lighten the pressure of the presser foot on the fabric
Some sewing machines have a setting that allows you to change the pressure of the presser foot on the fabric. It is advisable to lighten the pressure with stretchy fabrics. This will help prevent your fabric from stretching and creating wavy seams. Test the ideal pressure for your project by making a few test stitches on fabric scraps.
If your machine doesn’t have this feature, you can lift your presser foot once in a while when sewing to release the tension.
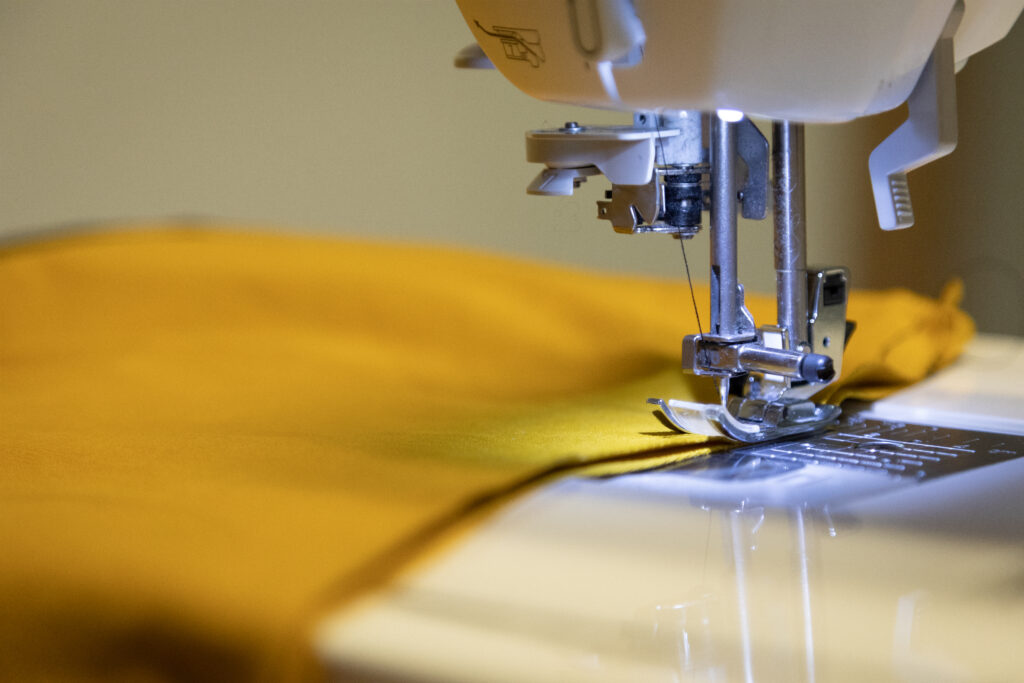
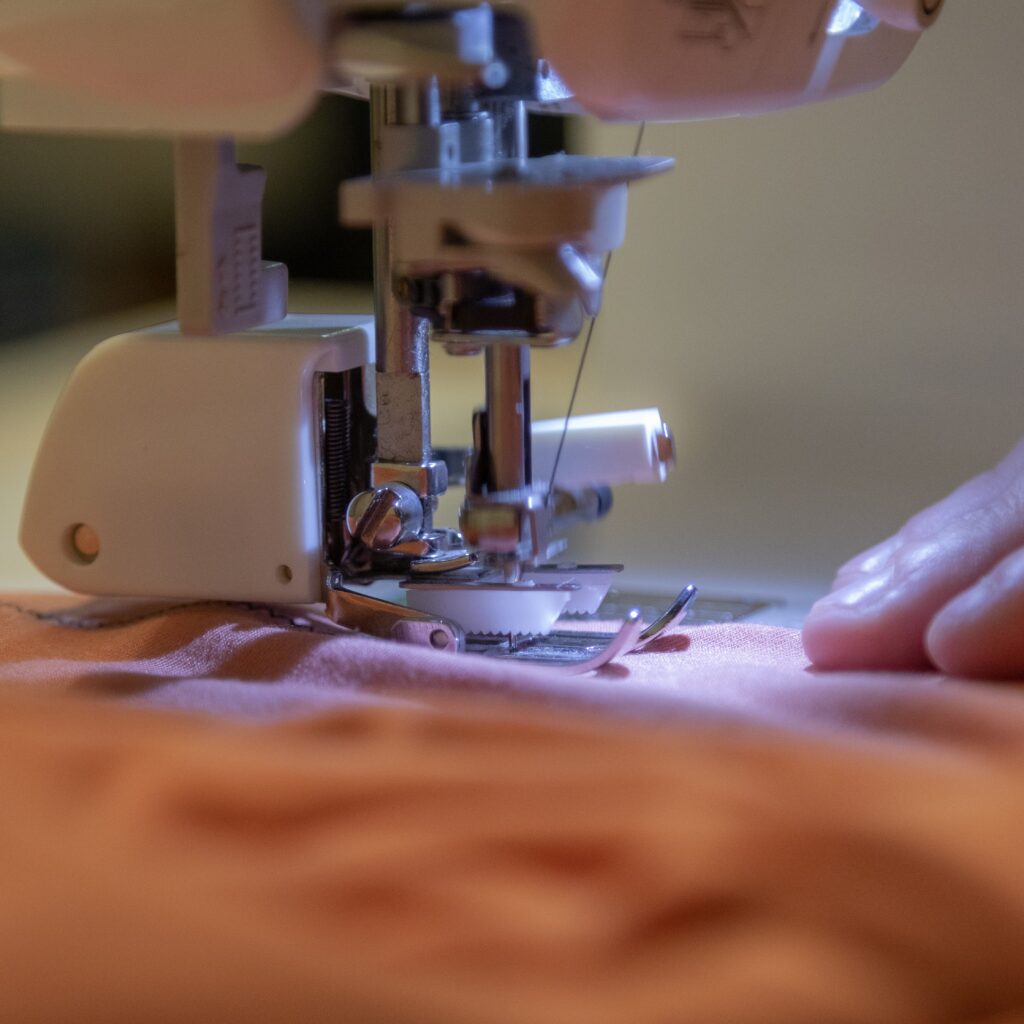
4 – Use a dual-feed foot (also called a walking foot)
The dual-feed foot is a very practical tool for sewing stretchy fabrics. Also used for quilting, this presser foot is equipped with feed teeth. The movement of the dual-feed foot synchronizes with the movement of the machine’s feed teeth, allowing the layers of fabric to pass under the foot evenly. This action greatly helps to reduce stretching of the fabric and stitching.
Some dual-feed feet aren’t designed to do stitches with a backward movement, such as backstitch or triple straight stitch. We suggest that you check this information carefully before you start sewing!
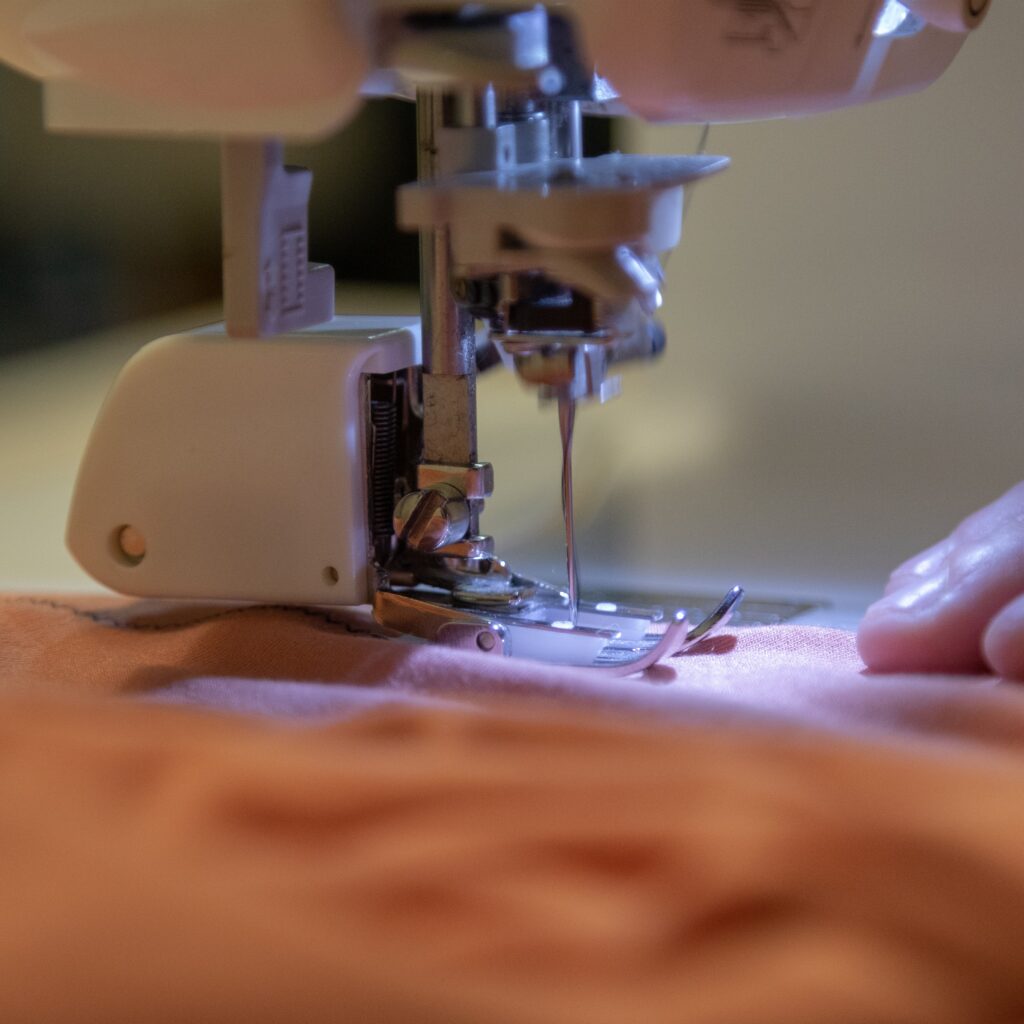
5 – Sew with a stretch stitch
Unless you’re sewing a stable, low-stretch knit, it’s best not to use a straight stitch for your project. This stitch doesn’t allow for stretching and the thread may break as the fabric stretches. You will need to use a stretch stitch that will move with your fabric. Don’t worry, there are several options available on your sewing machine!
- Elastic stitch: Many machines offer a stitch denoted by a pictogram that looks like a lightning bolt. Think of Harry Potter’s scar :). It is specially designed for sewing stretchy fabric. Just be sure of your sewing before you start with the elastic stitch, as it is rather difficult to undo!
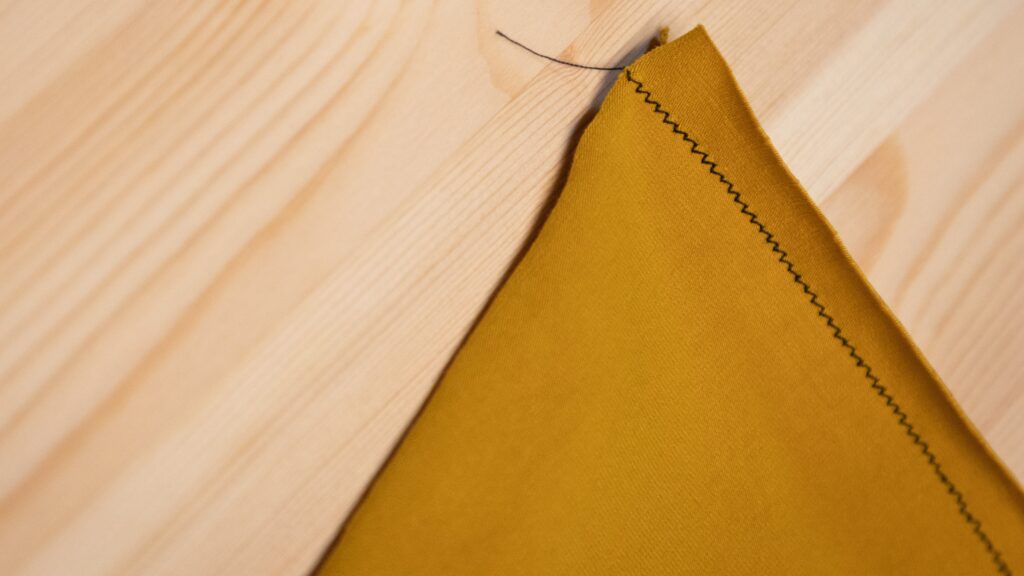
- Zigzag stitch: This small, versatile stitch, which is often used for finishing seam allowances, can also be used for sewing stretch fabric. A narrow zigzag will look like a straight stitch. The stretchier your fabric, the wider the zigzag should be. Use scraps of your fabric to test for the right width. Make a stitch and stretch it with your hands: if the thread doesn’t break, your stitch is suitable for your fabric.
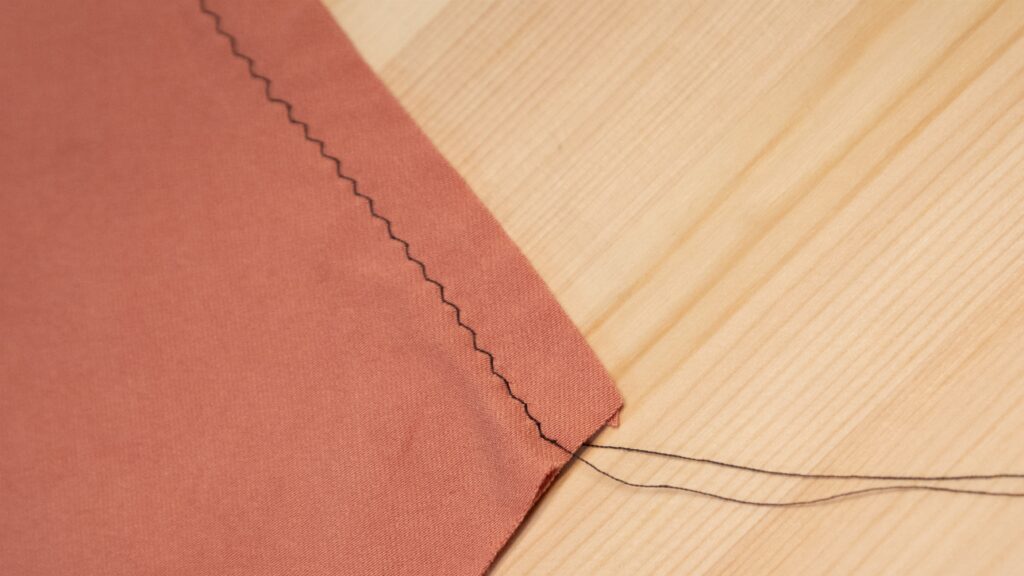
- Triple zigzag stitch: This stitch is mainly used for lingerie and swimwear. It’s particularly useful when attaching elastic. Since each zigzag consists of three stitches, it will result in a very elastic seam.
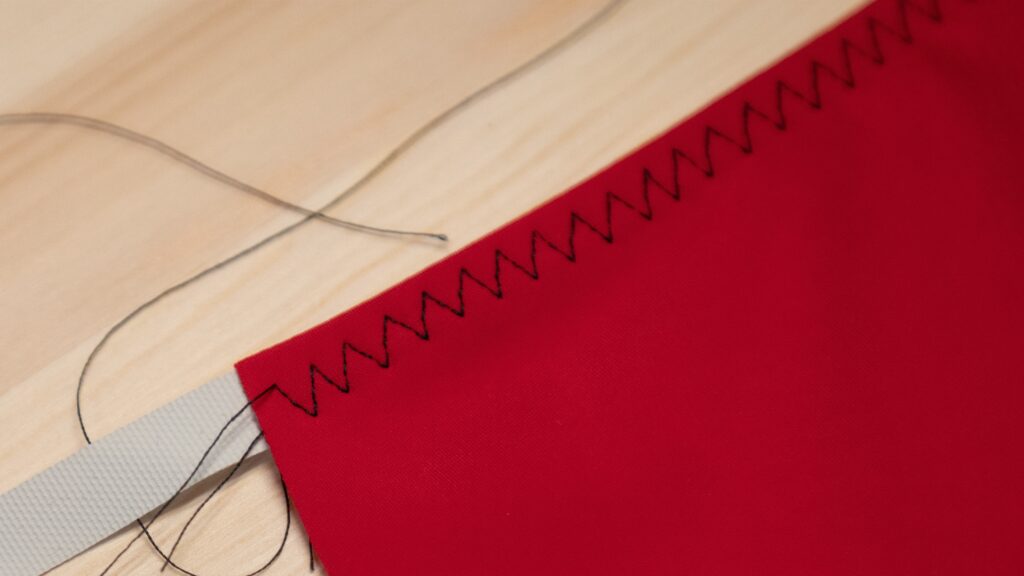
- Triple straight stitch: This stitch is practical for stitches that need to be reinforced or when the seam allowances need to be opened. The back-and-forth movement of the needle allows for stretching that the straight stitch does not. Similar in appearance to jeans stitching, it’ s more visible than other stretch stitches.
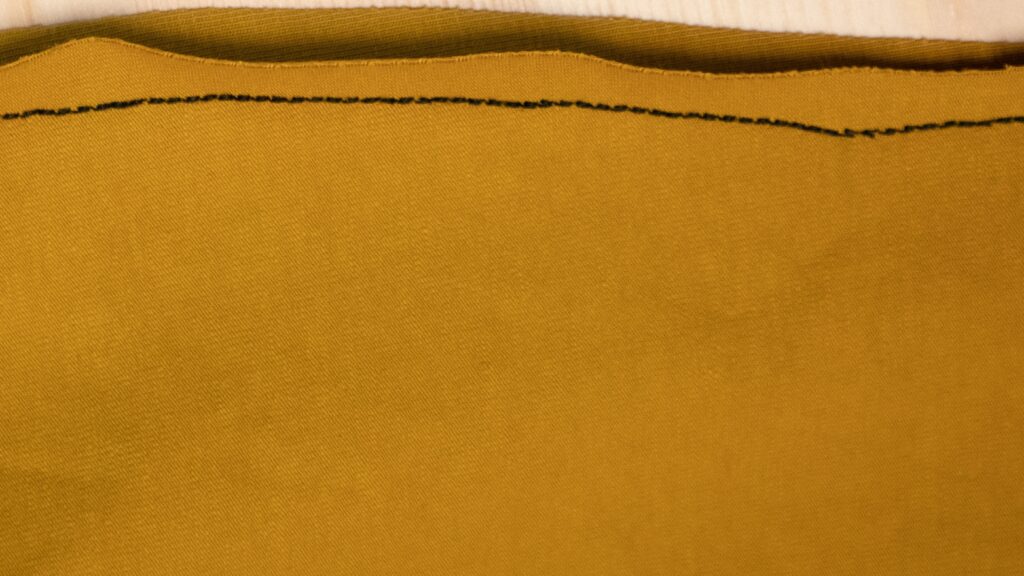
6 – Stabilize key areas of the garment with clear elastic or stretch interfacing
Making a garment requires so much effort that we want the final result to be optimal and to last over time! Clear elastic or stretch interfacing can be used when assembling our project.
Clear elastic can be sewn in at the same time as the shoulder seams, or afterward in the seam allowances. The elastic will support the fabric at the shoulders, preventing it from loosening over time and keeping the shoulders from becoming too large or drooping.
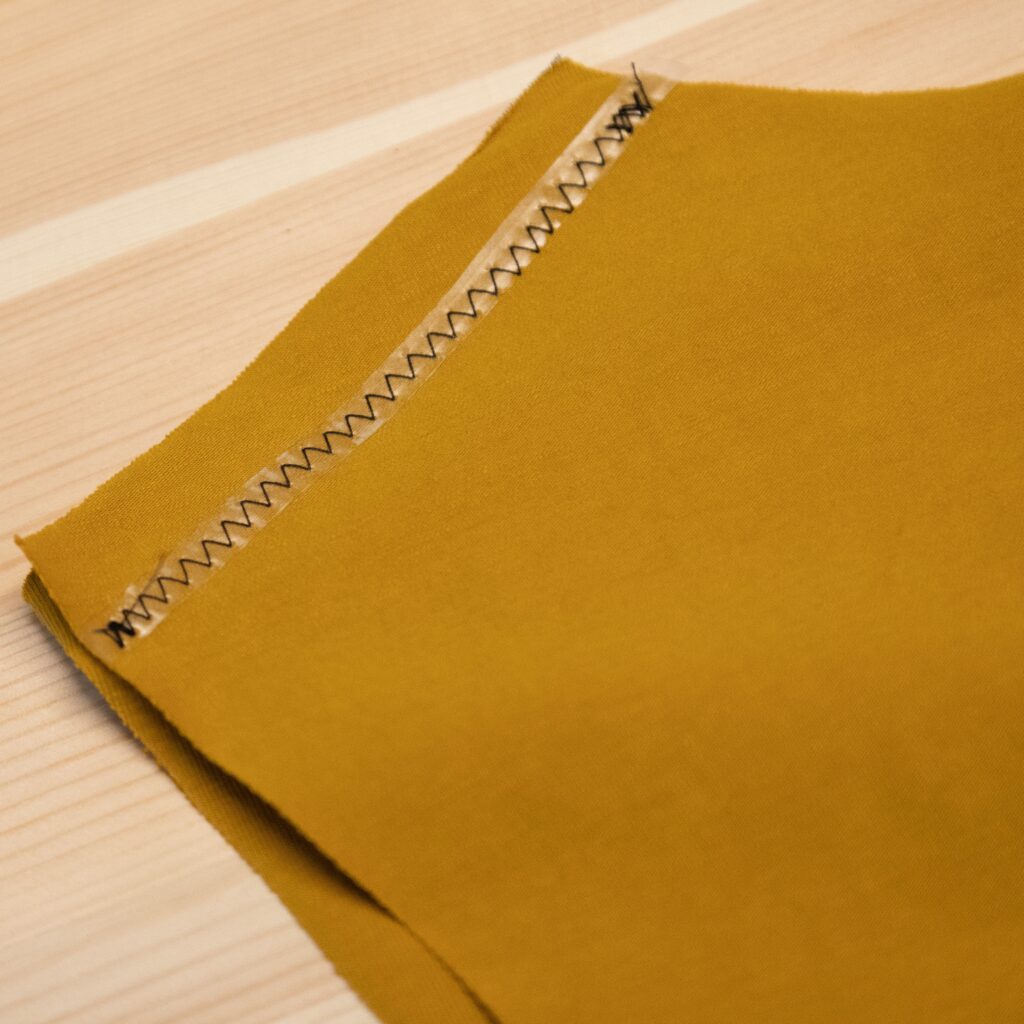
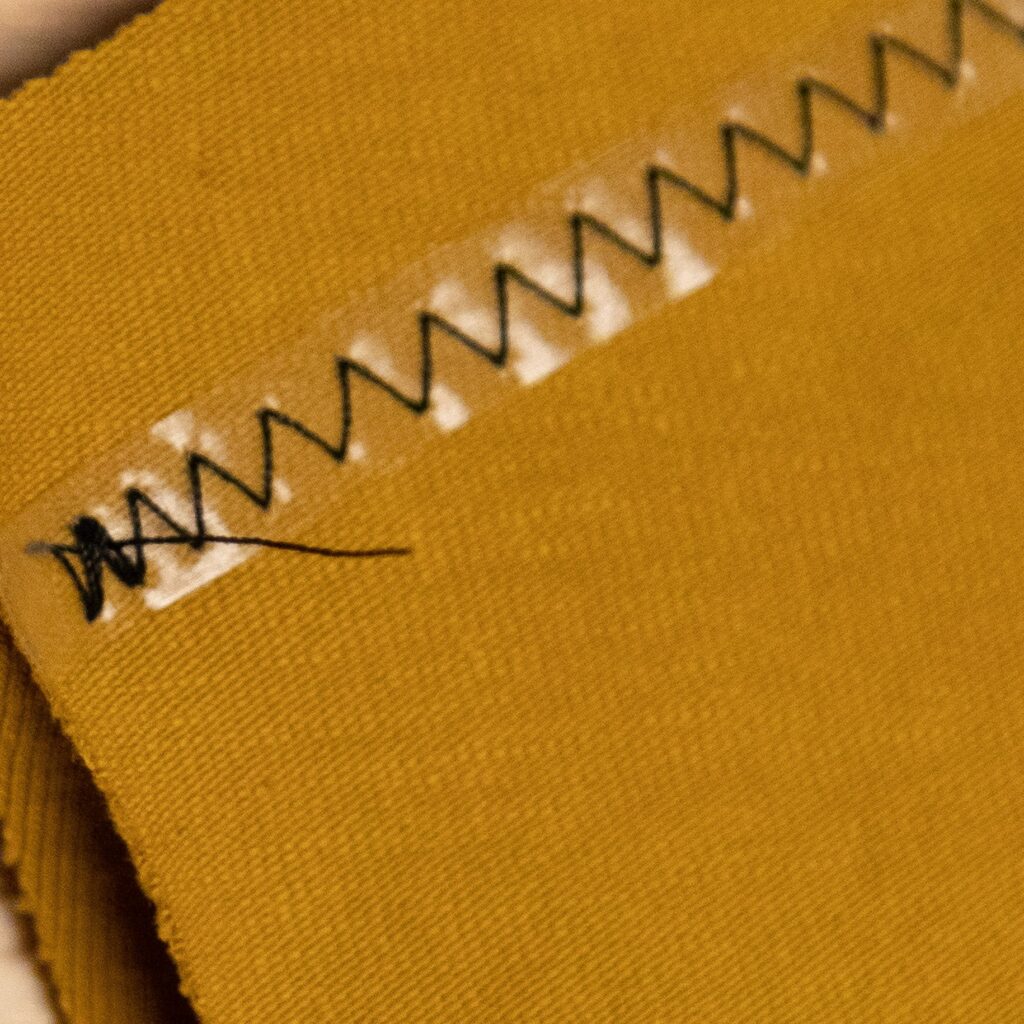
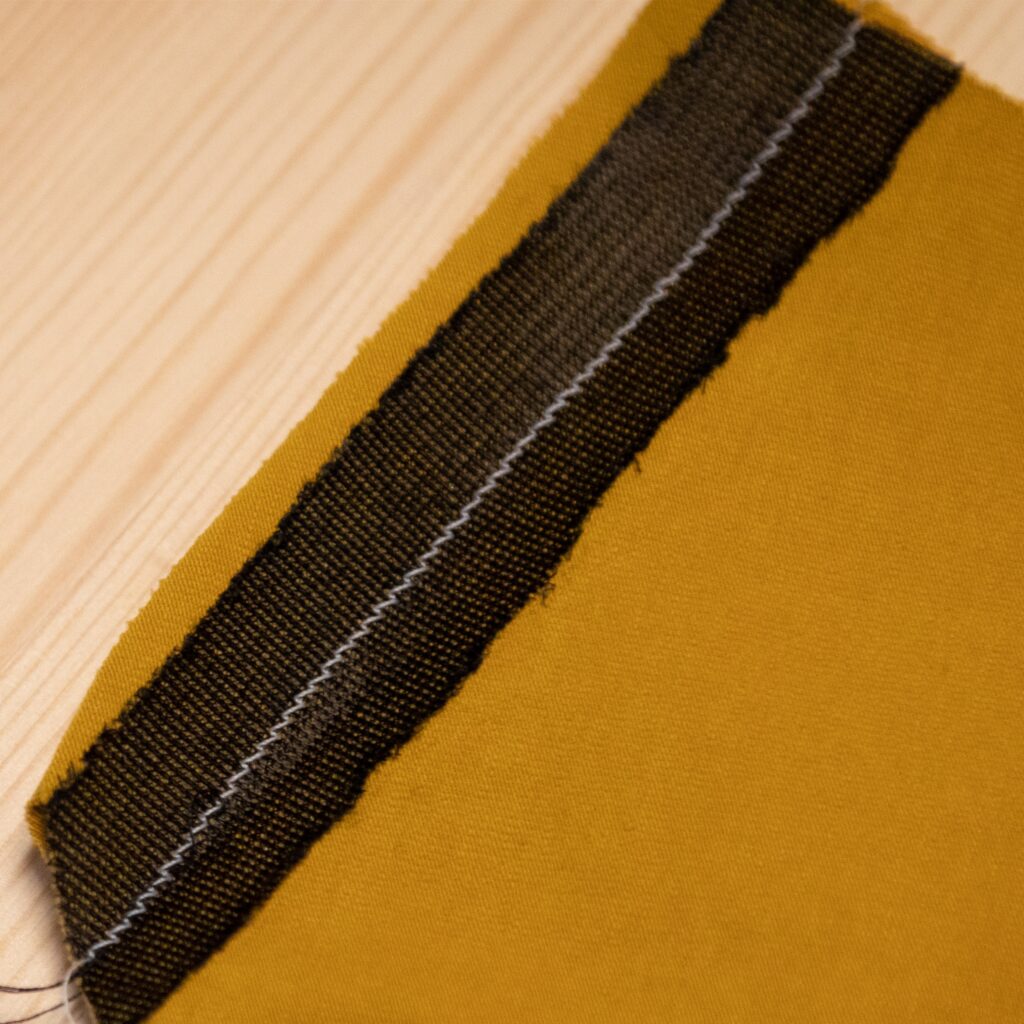
Stretch interfacing can also be used like clear elastic. A strip is glued into the seam allowance of the piece. Strips of interfacing can also be glued to areas that could become distorted or stretched during sewing, like armholes, necklines (especially V-necklines) or hems.
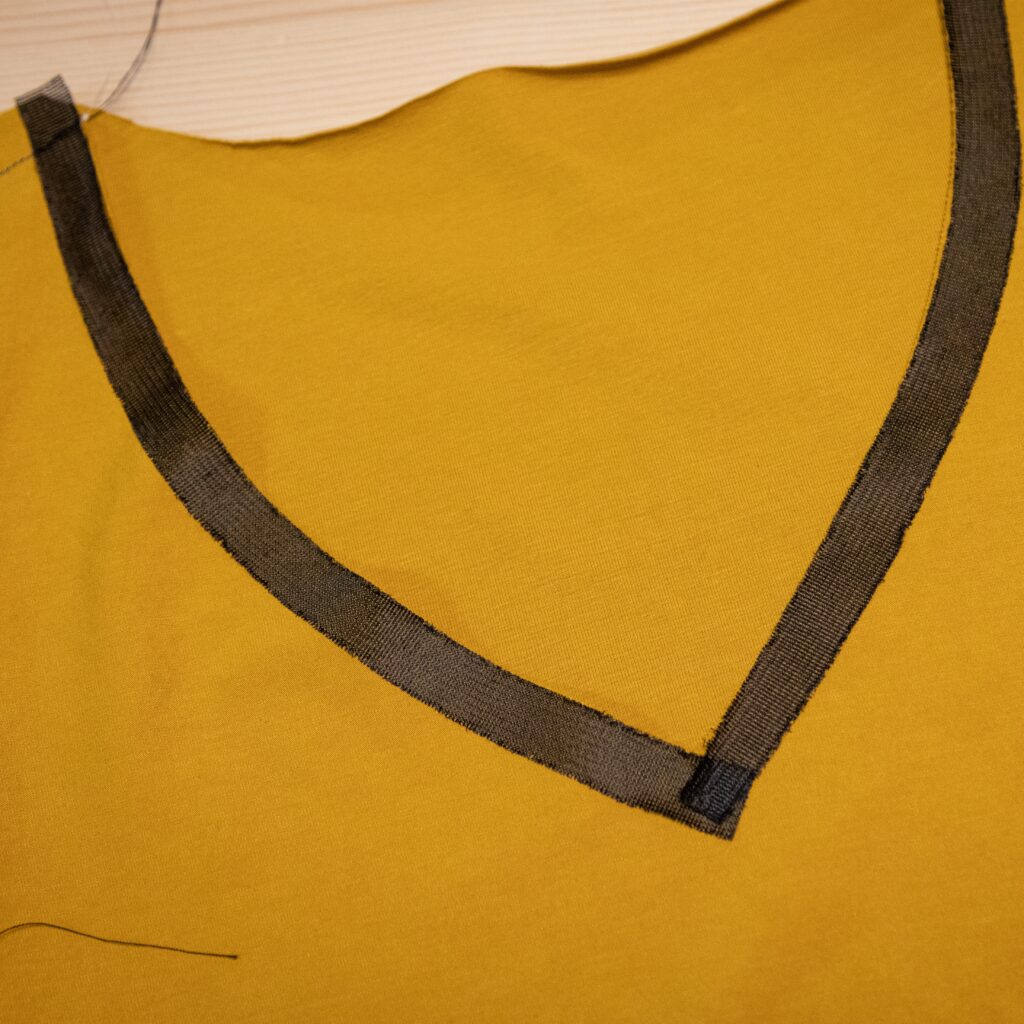
7 – Iron a stretched stitch using the steam setting on your iron
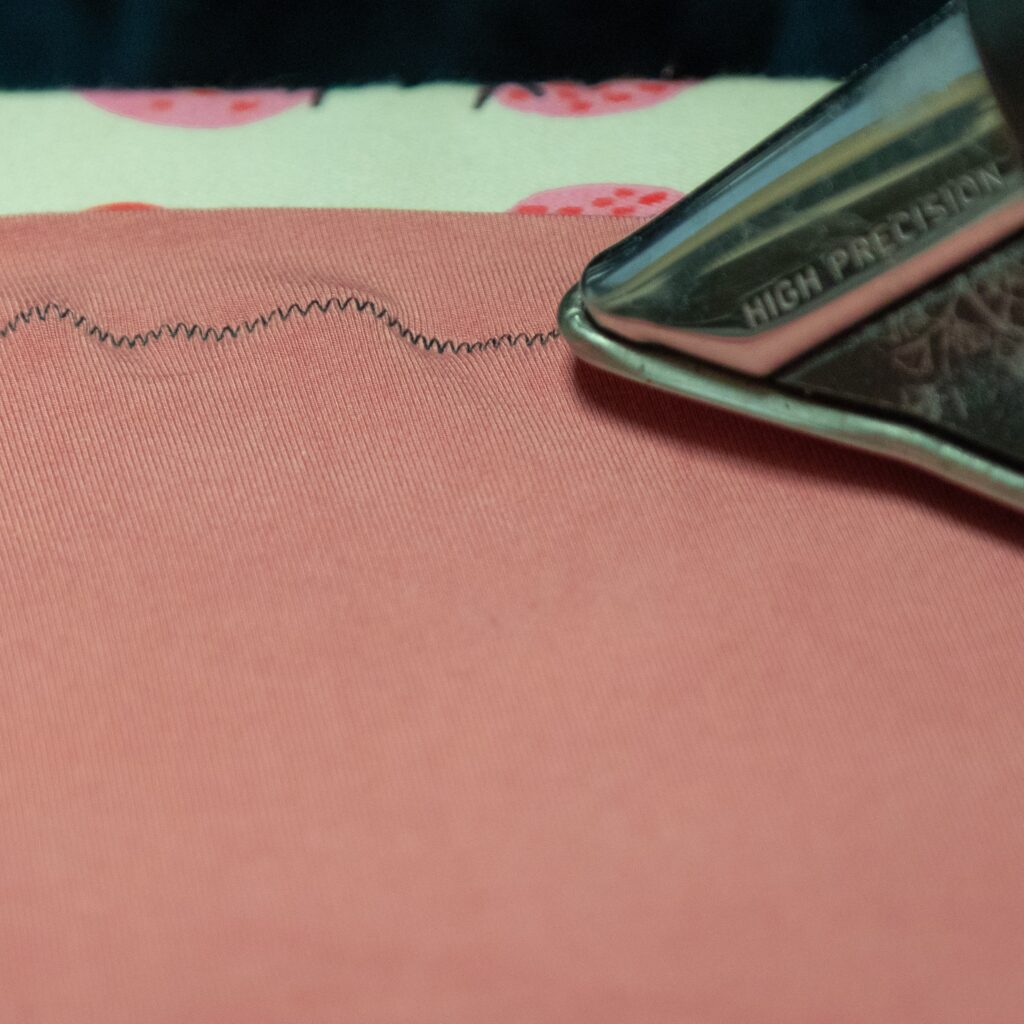
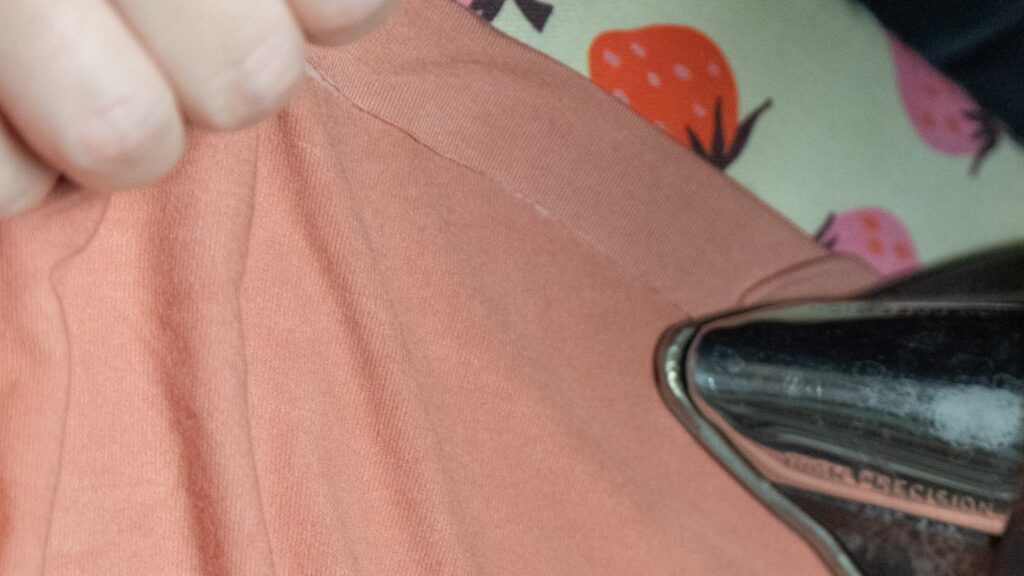
What if, despite all our tips, your seam has stretched and looks like the sea in a storm? Don’t despair! Before you undo everything, take your piece to the ironing board. A quick ironing, with lots of steam, will help the fabric regain its shape and reduce the ripple effect. If the fabric is sensitive to heat, hold the iron over your piece and use the steam jet.
8 – Opt for wide hems that are folded only once toward the inside
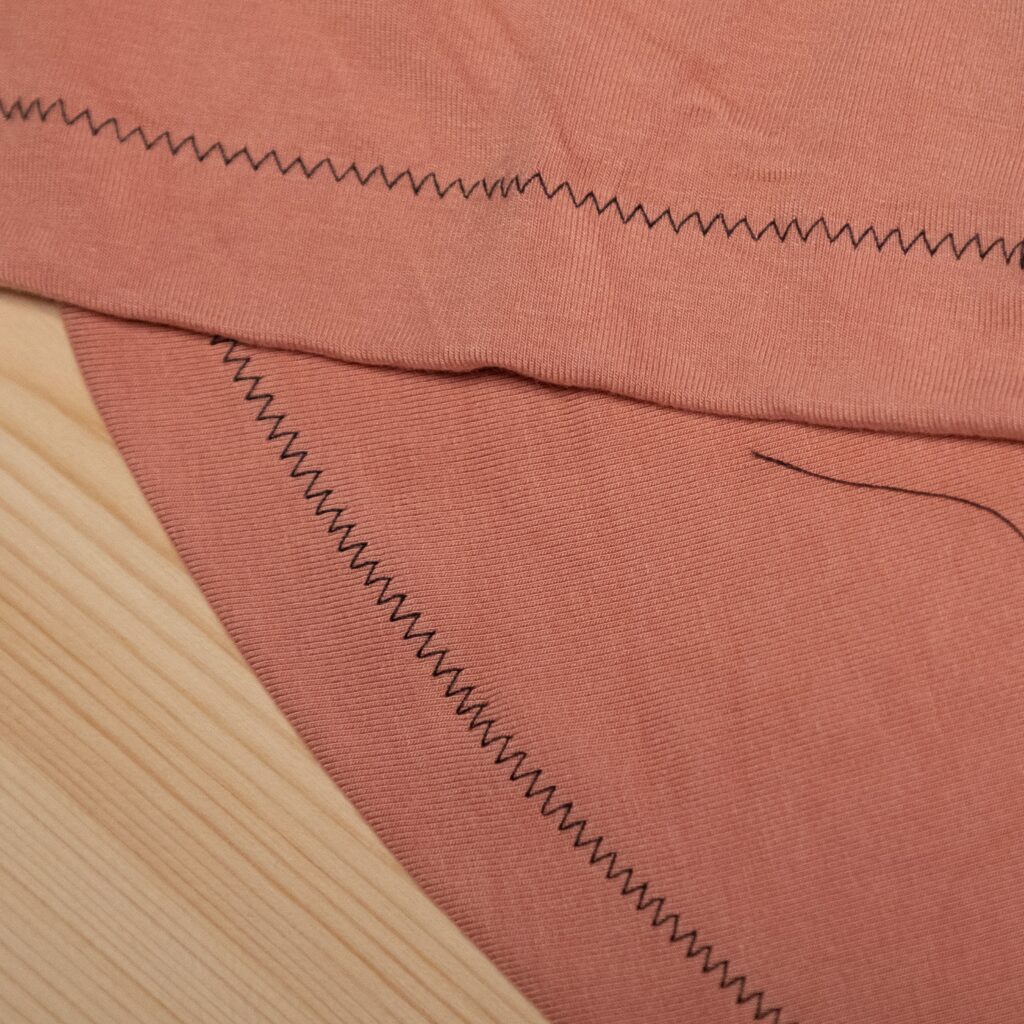
Once again, what is usually done with woven fabrics is not necessarily recommended when sewing stretchy fabrics! Narrow hems that are double-folded to hide the end of the fabric tend to curl up toward the outside of the garment.
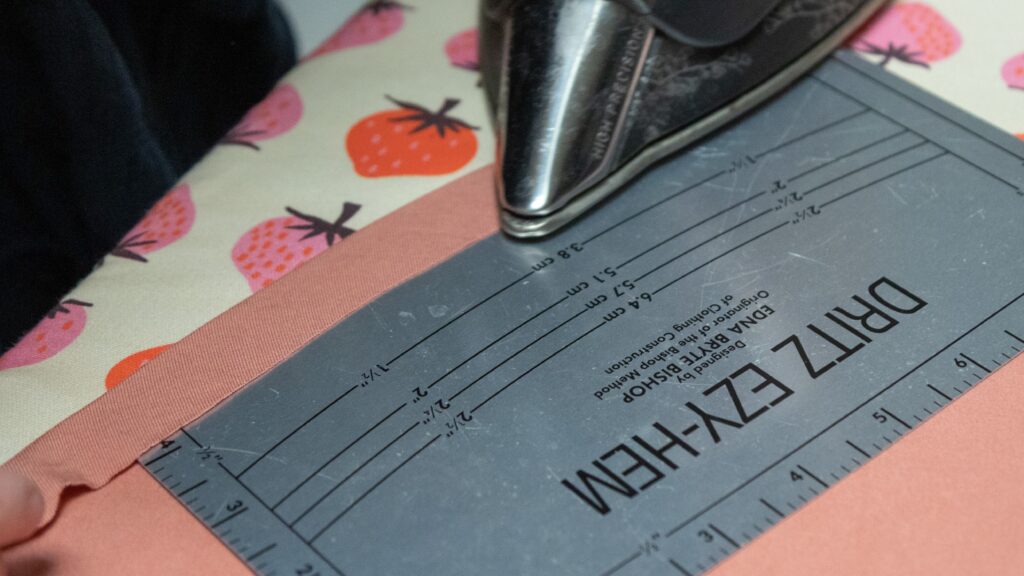
To help your hems stay in place, make them about 2 to 2.5 cm (3/4 to 1 inch) wide and fold them only once toward the inside. The edge of your fabric will then be visible on the inside of your garment. For a nicer finish, we suggest you use a zigzag stitch or overlock before sewing your hem.
9 – For a ready-to-wear look, use a double needle for hems
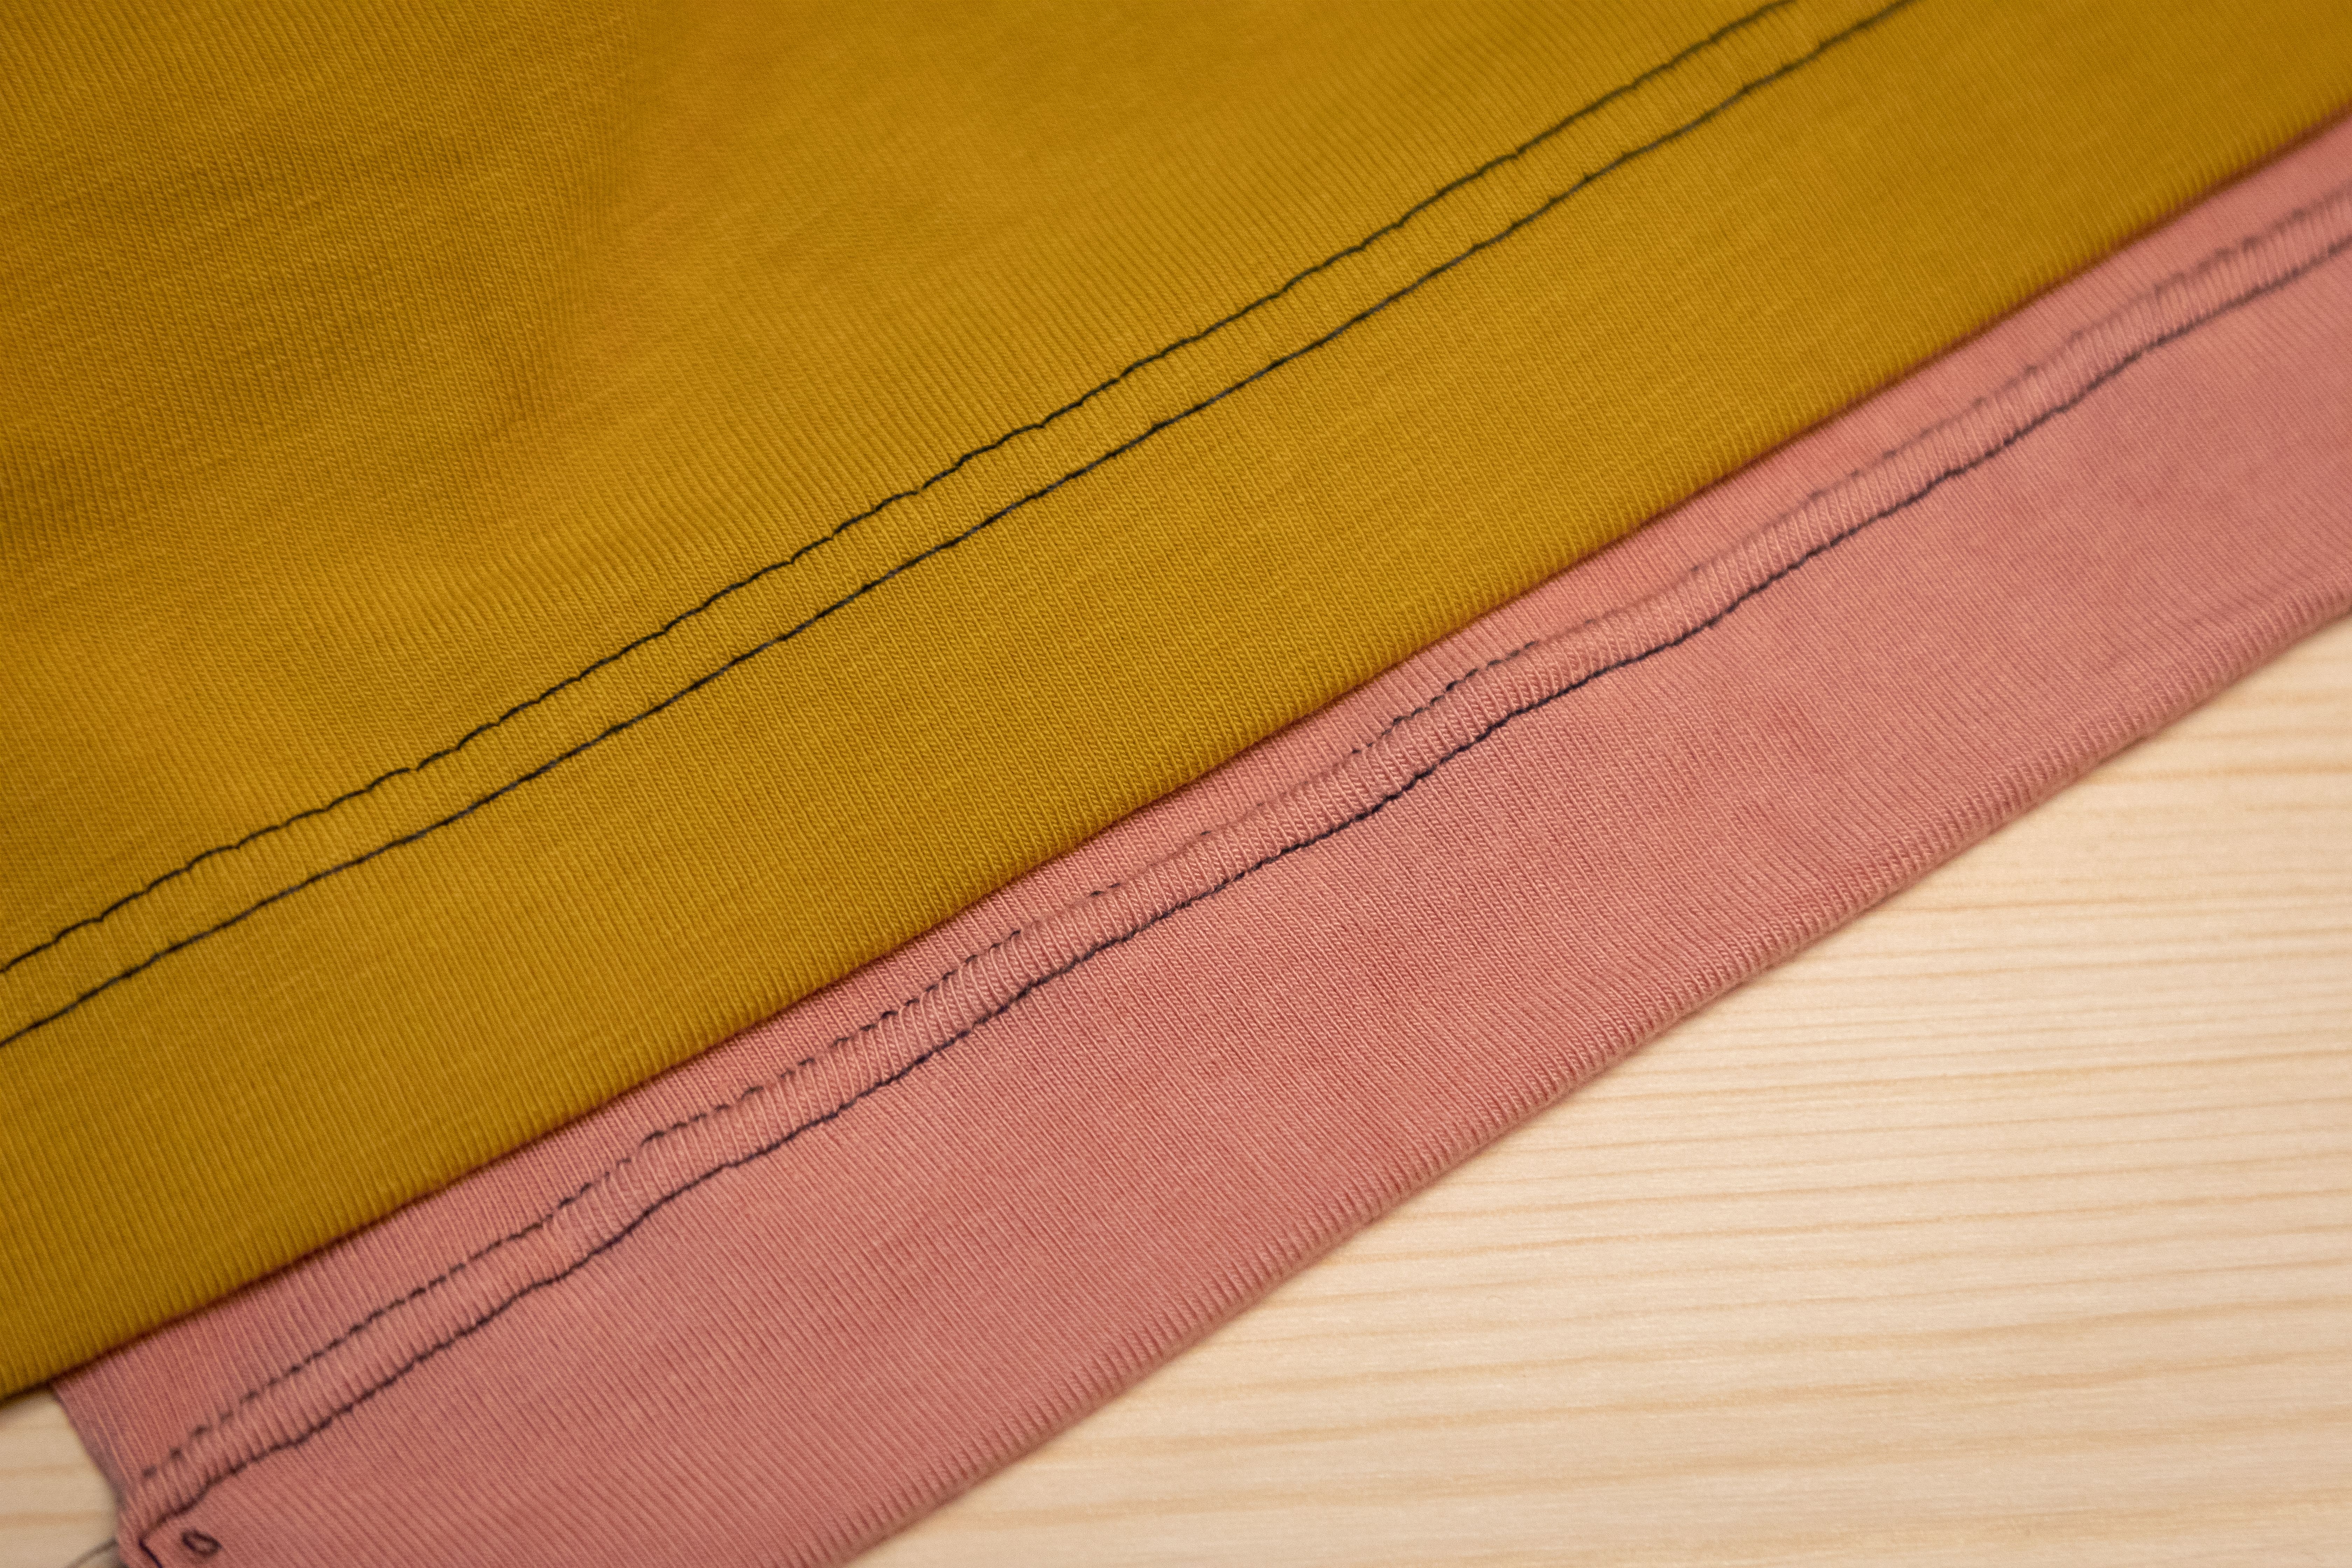
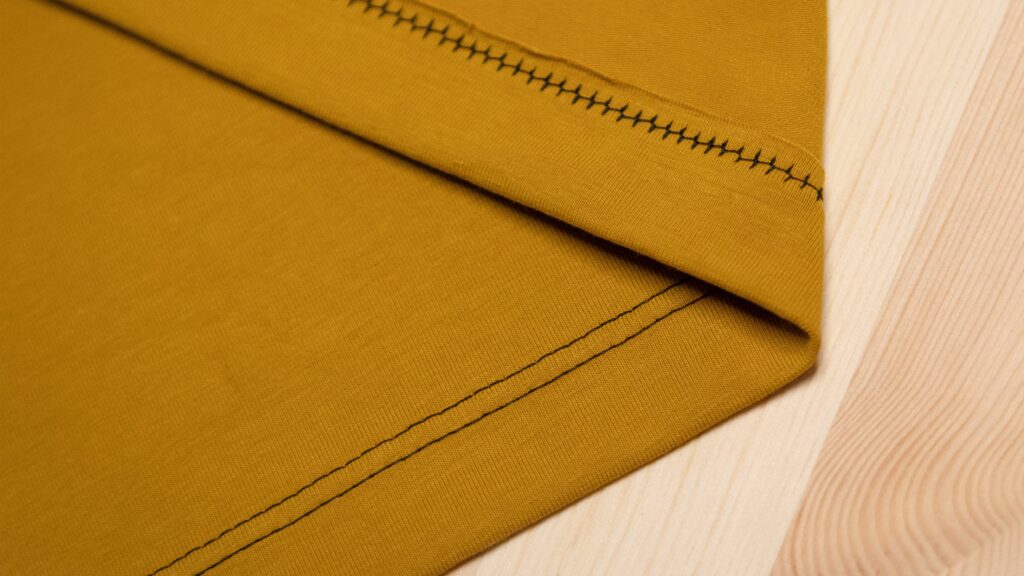
If you don’t have a coverstitch machine and want to imitate the hems on store-bought clothes, you can use a double needle on your sewing machine! This will allow you to sew in a straight stitch and still have stretch in the stitch. This is achieved by the thread on the can joining the two top threads to create a zigzag on the reverse side.
Double-needle stitching can be quite an adventure. To get a nice double seam and avoid the tunnel effect (raised fabric between the two straight stitches), turn down the needle tension and make sure your two needles sew through all the layers of fabric. Test your settings on fabric scraps to see if you like the result and if the stitch is stretchy enough for your project.
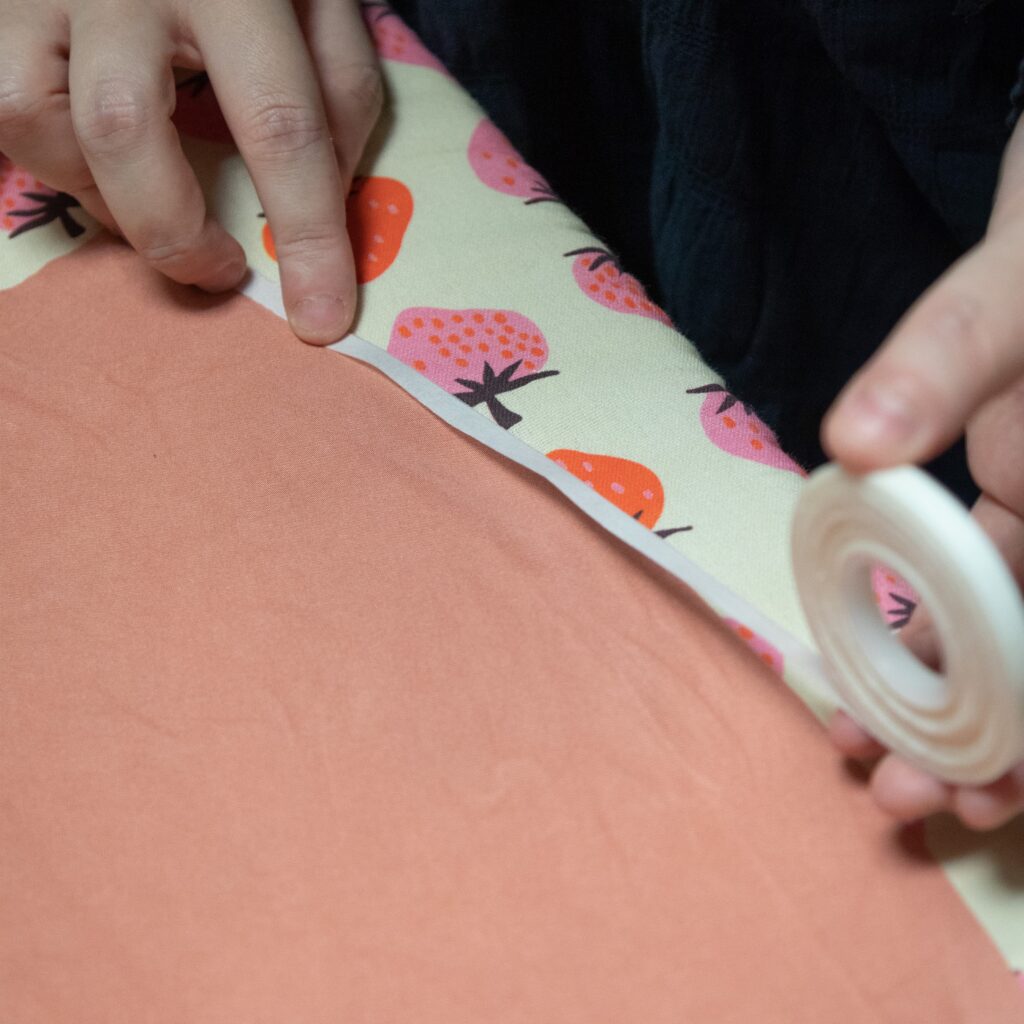
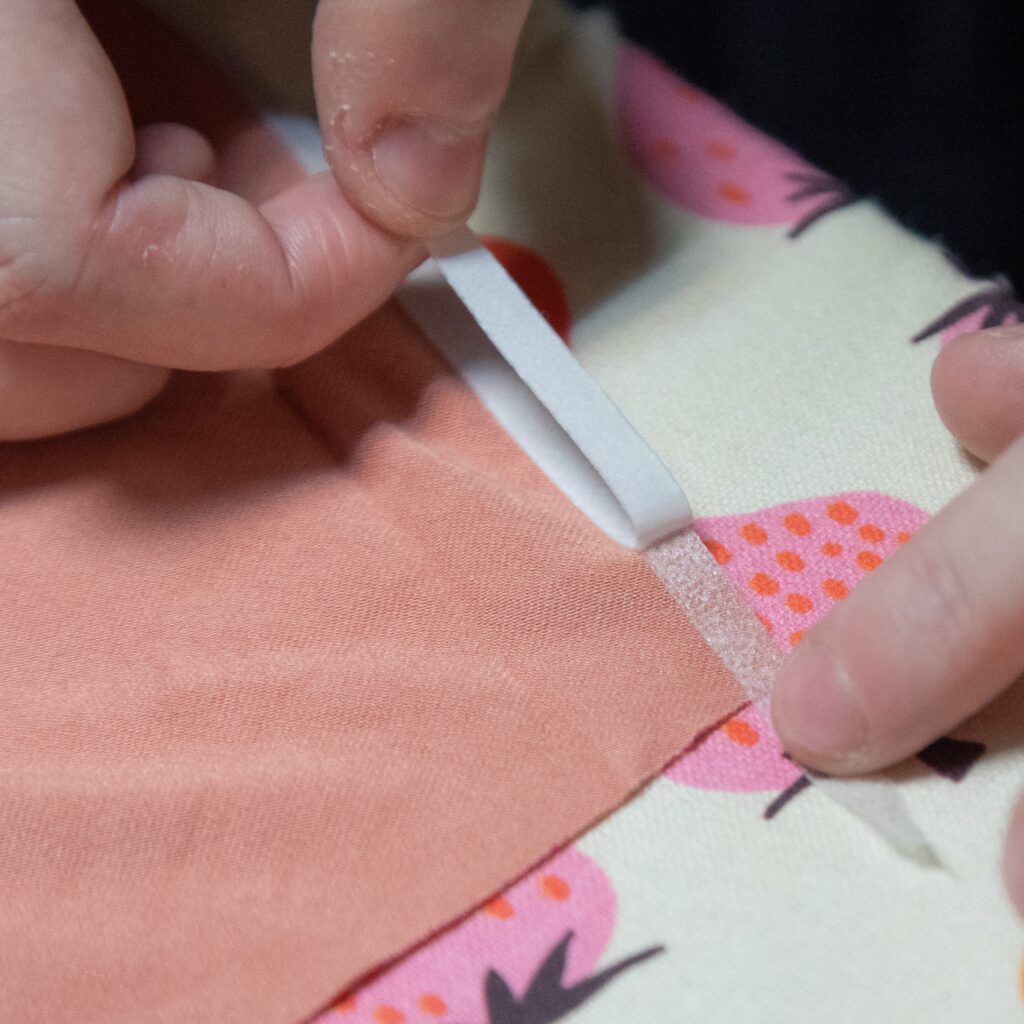
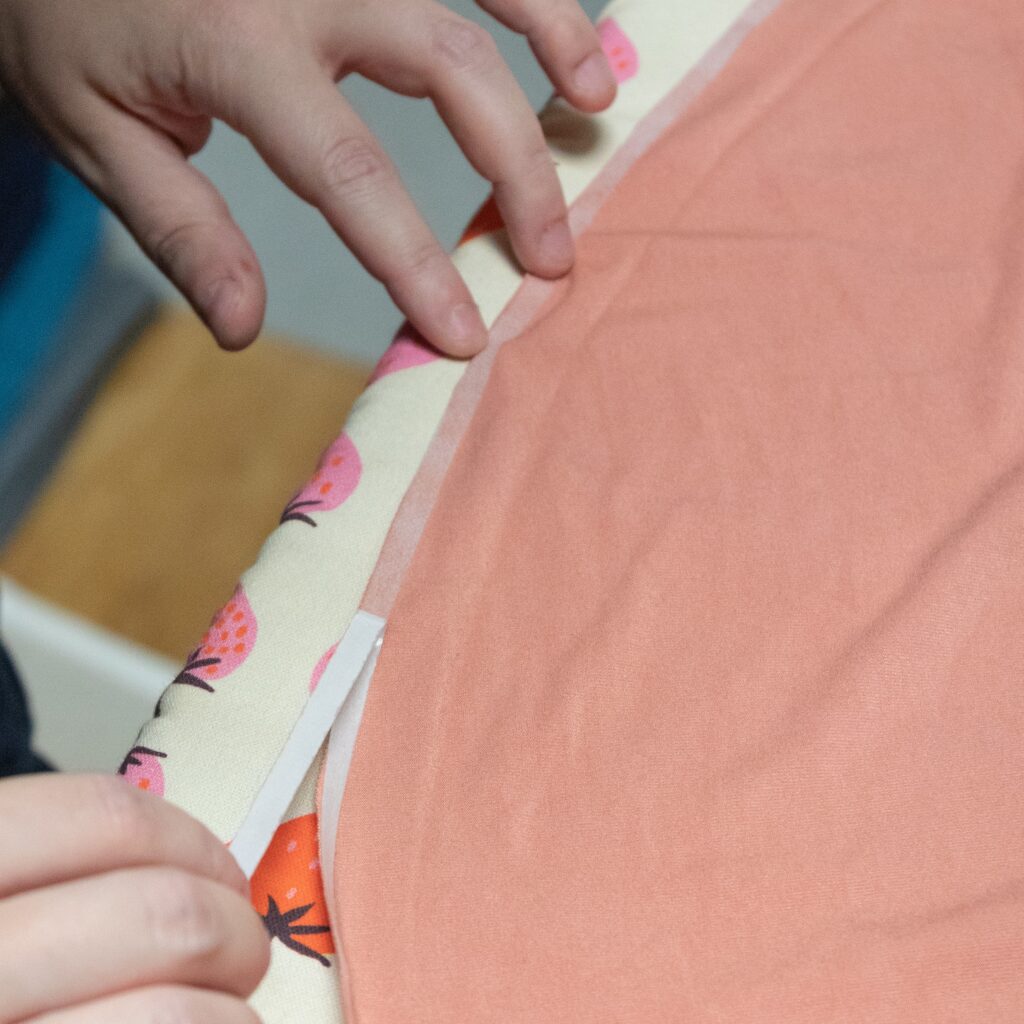
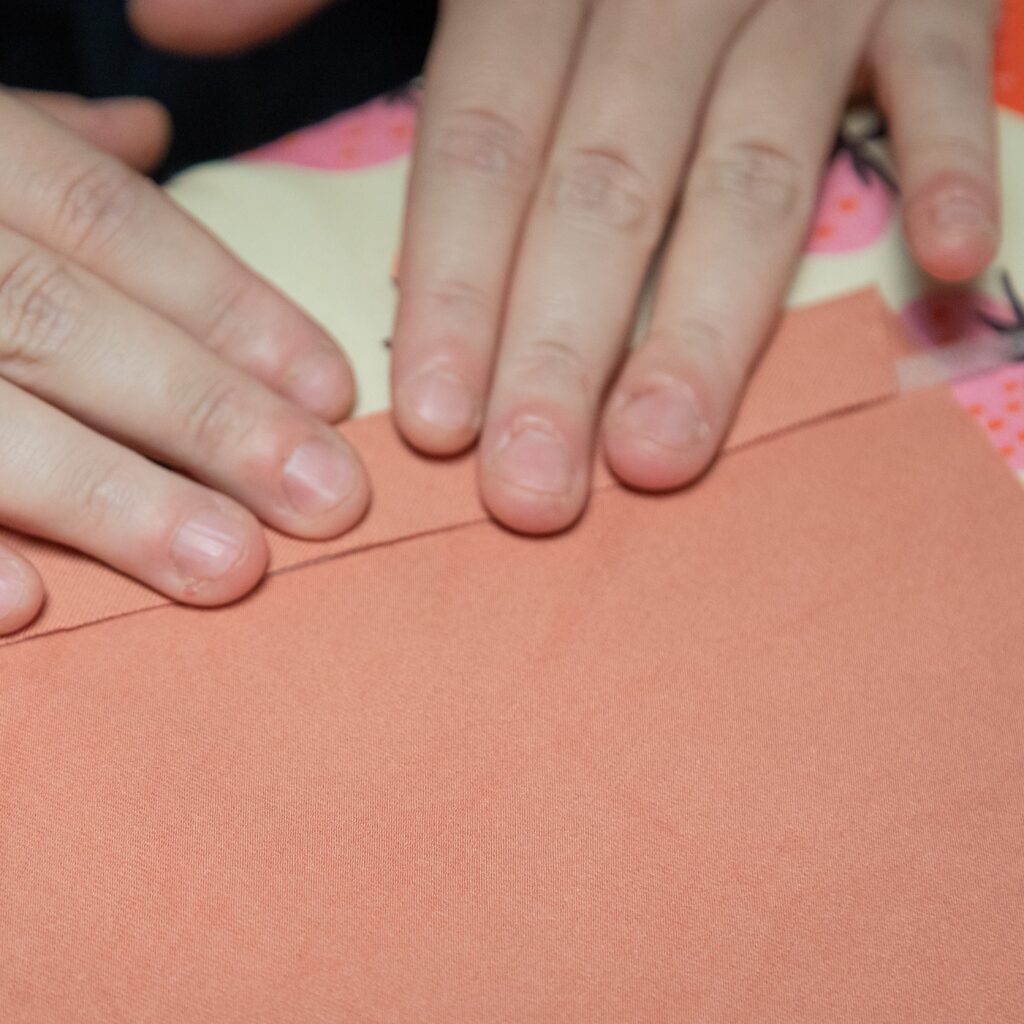
10 – Use tape to make hemming easier
Sewing hems is a crucial step in garment making. Depending on the fabric and the shape of the hem to be made, it can also be a difficult step. We recommend using tape to hold your hem in place and stabilize it for sewing. Tape can also help when sewing with a double needle. Prym Wonder tape is not stretchable, so it helps prevent the fabric from stretching while sewing. It’s water soluble and will disappear after you wash of your garment for the first time. You can safely use it on hems that require stretch. For seams requiring the permanent stability that tape offers, you can use Heatnbond Soft Stretch tape. Unlike Wonder tape, this one is stretchy.
If you want to see our selection of stretch fabrics, it’s here!
With all these tips and tricks, you are now ready to conquer sewing with stretch fabric! Feel free to share your projects with us on social media using the hashtag #thefabricclub
*Please note that the availability of the products presented may differ from one store to another.


