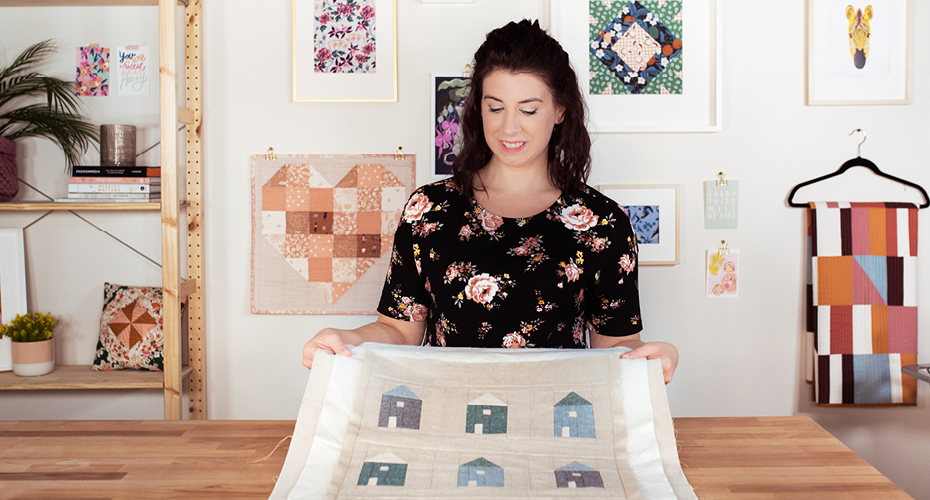
Among the many basting techniques performed before stitching a quilt, we particularly love the pin basting method using curved pins.
The pin basting method can be used for any quilt size. It’s also simple, requires little dexterity and material, in addition to being eco-friendlier than a technique that requires spray adhesive.
Pin Basting Method on Video
Valérie explains how to pin baste your quilt using the pin basting method, which is without a doubt her favourite technique.
Link to video
Sandwiching and Pin Basting Your Quilt
Materials:
- Pieced quilt top
- Batting: to calculate the quantity, add approx. 2 to 3 inches on either side of your quilt top. Carefully choosing your batting is important for a final result you’ll love. Read our article Everything to Know About Quilt Batting to help you make the right choice.
- Back of the quilt: to calculate the quantity of fabric needed, add approx. 4 inches on either side of your quilt.
- Curved pins: use pins long enough to stitch through all layers of your quilt. Plan for a pin every 3 to 4 inches on each row. The curve helps keep the quilt straight and flat.
- Painter’s tape: choose tape wide enough (approx. 2 inches) and low tack.
Trick
Working with open pins in a bowl helps save time. Of course, make sure to store them out of the reach of children and animals when you are done!
Steps
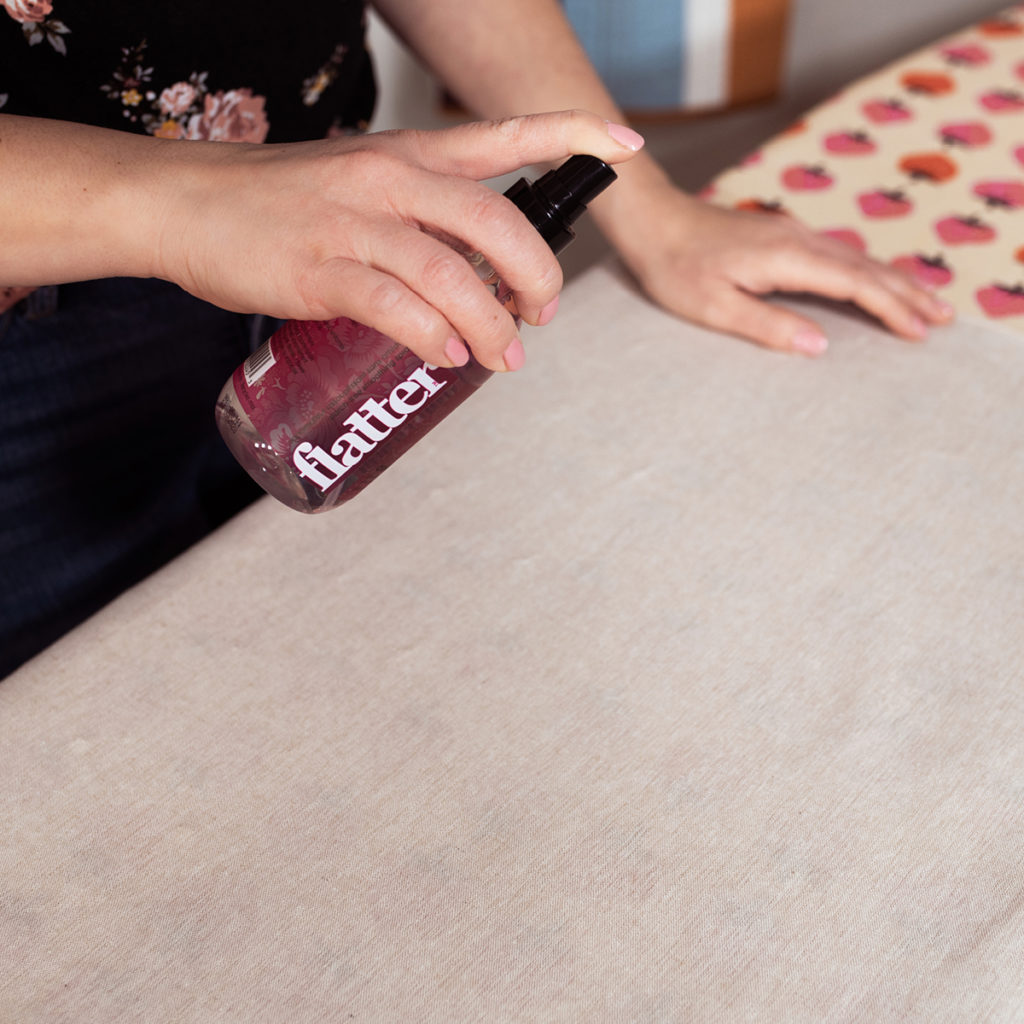
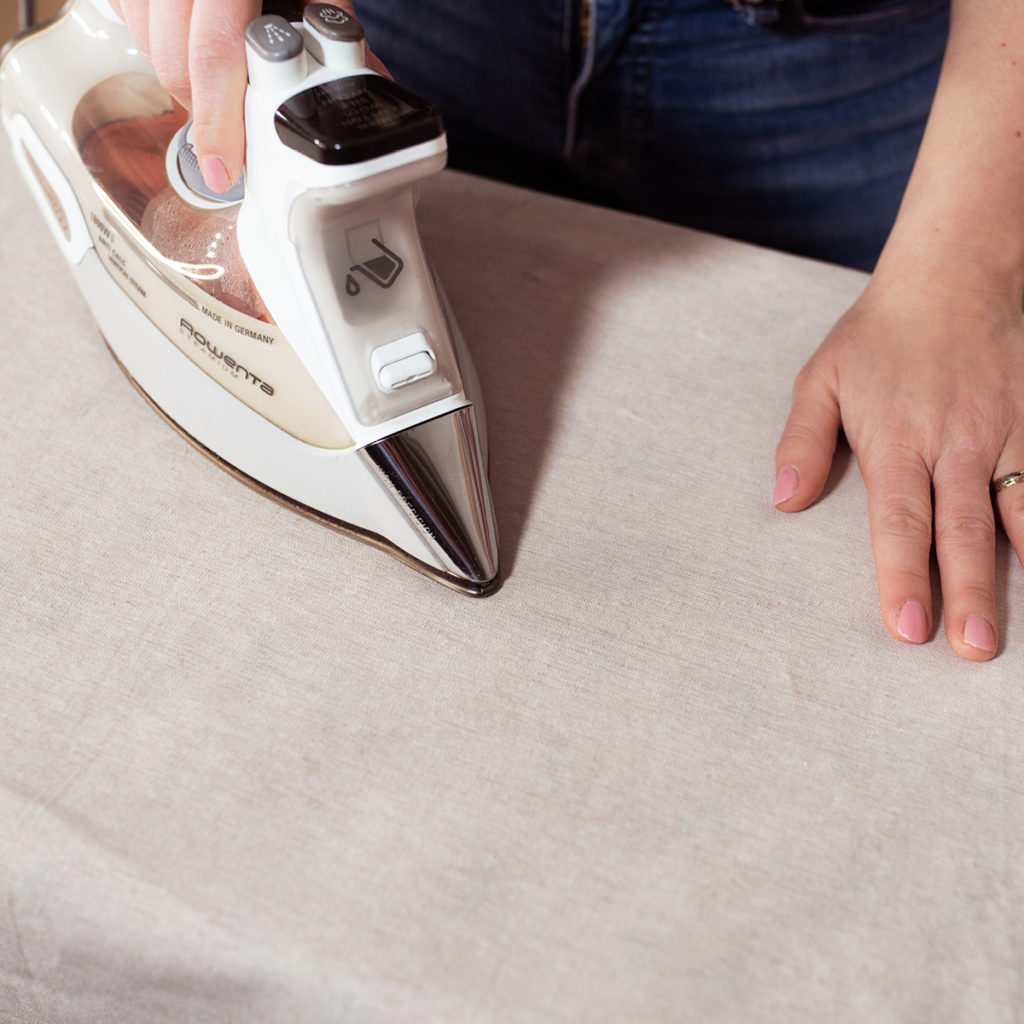
STEP 1: Before sandwiching, press the back and top of the quilt using a Flatter. It helps loosen fibres and get a very smooth result.
STEP 2: Then cut perfect right angles on the quilt (for right–angled quilts) with the quilt ruler.
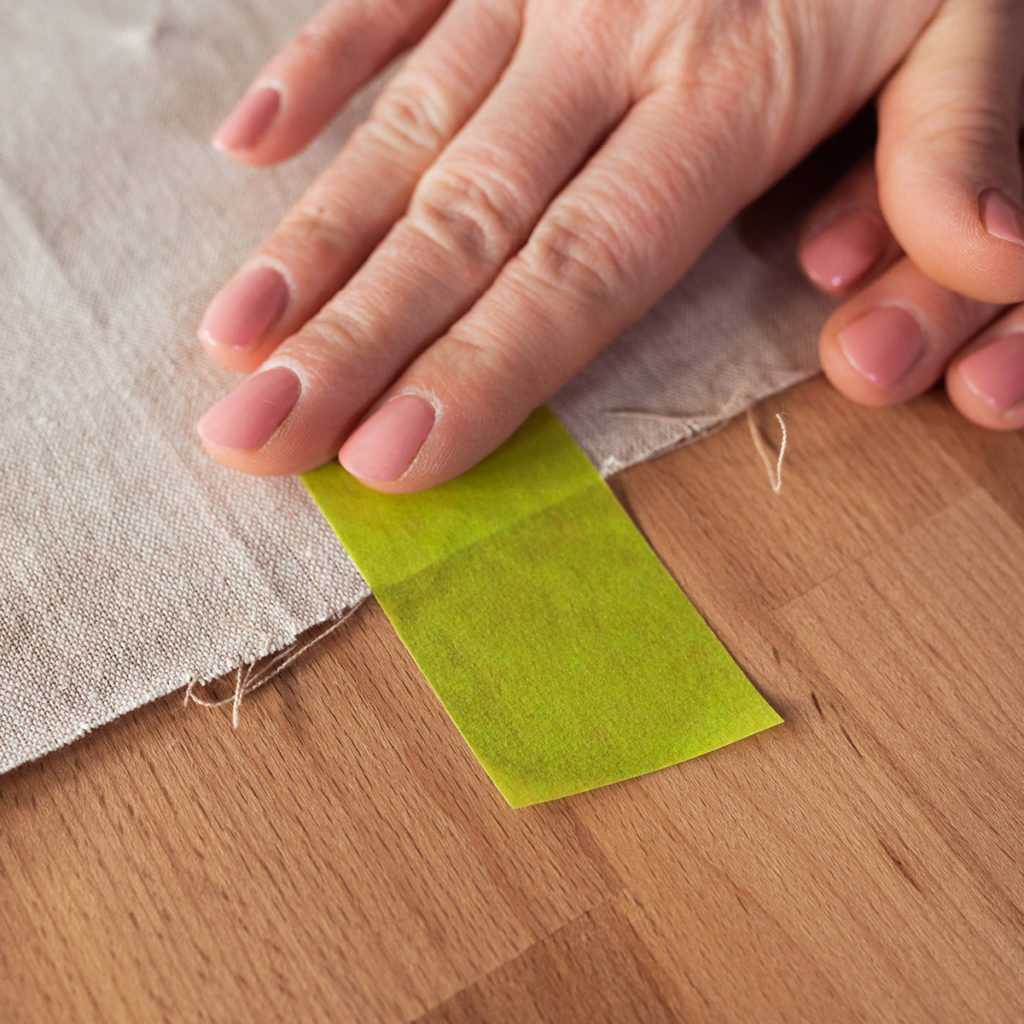
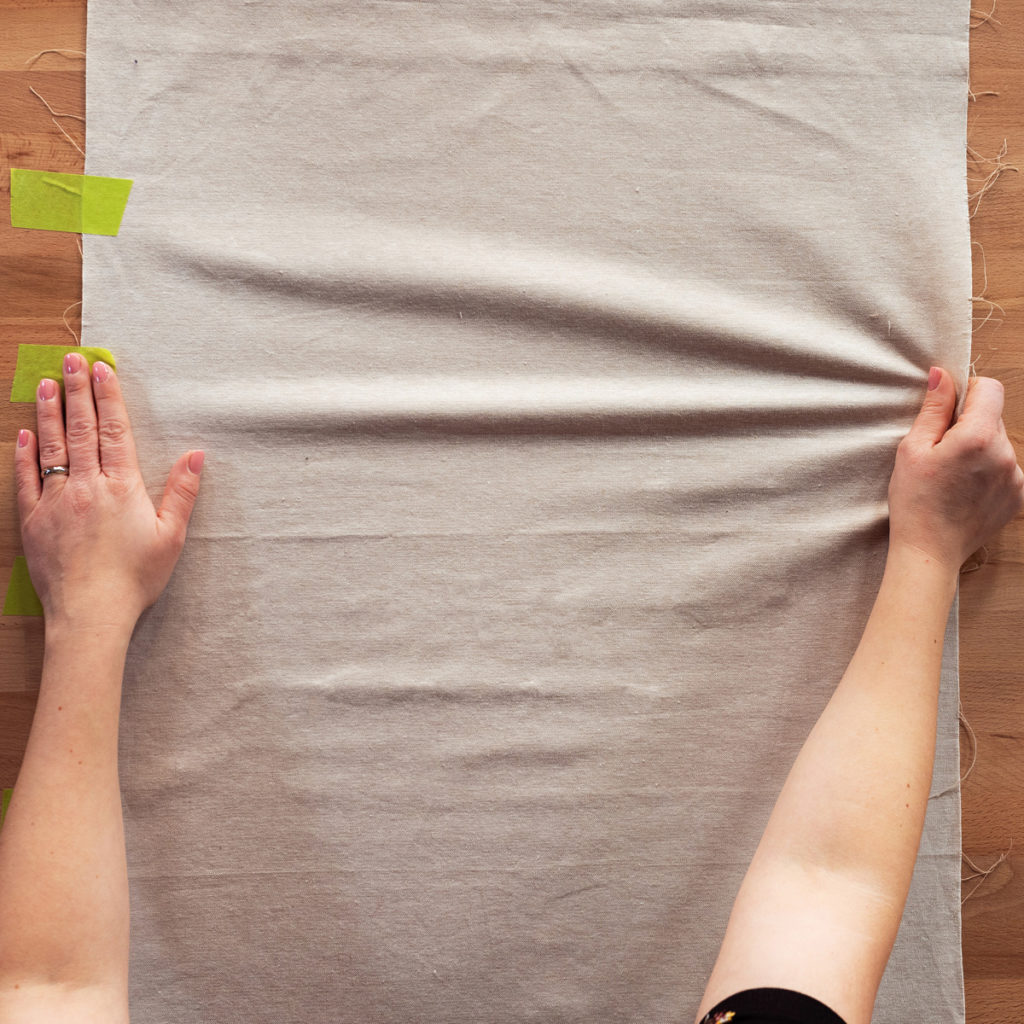
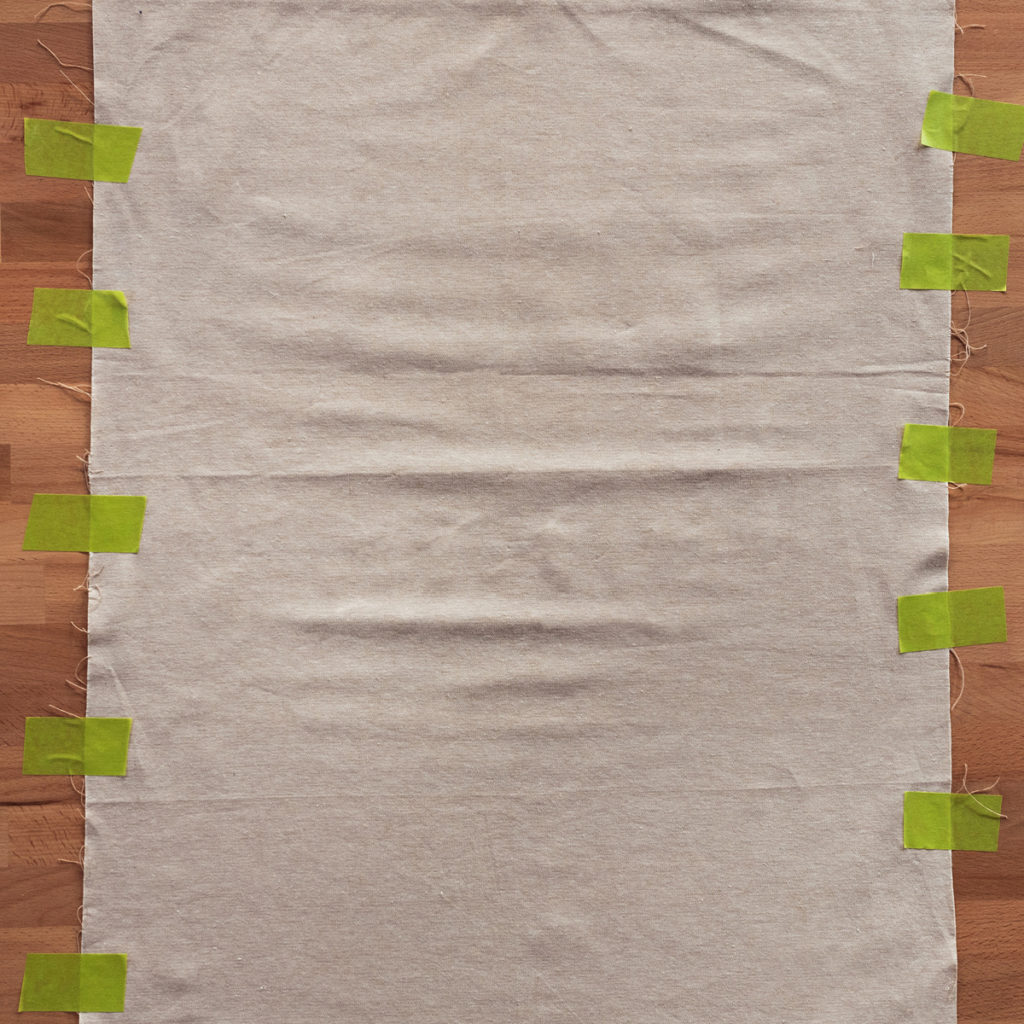
STEP 3: Sandwiching: on a flat surface, place the back of the quilt, wrong side facing up and stick each side to the surface using masking tape to secure it in place. Smooth it out without stretching it.
STEP 4: Place the batting in the middle of the back and smooth it out with your hands.
STEP 5: Place the top of the quilt in the middle of the batting and smooth it out with your hands.
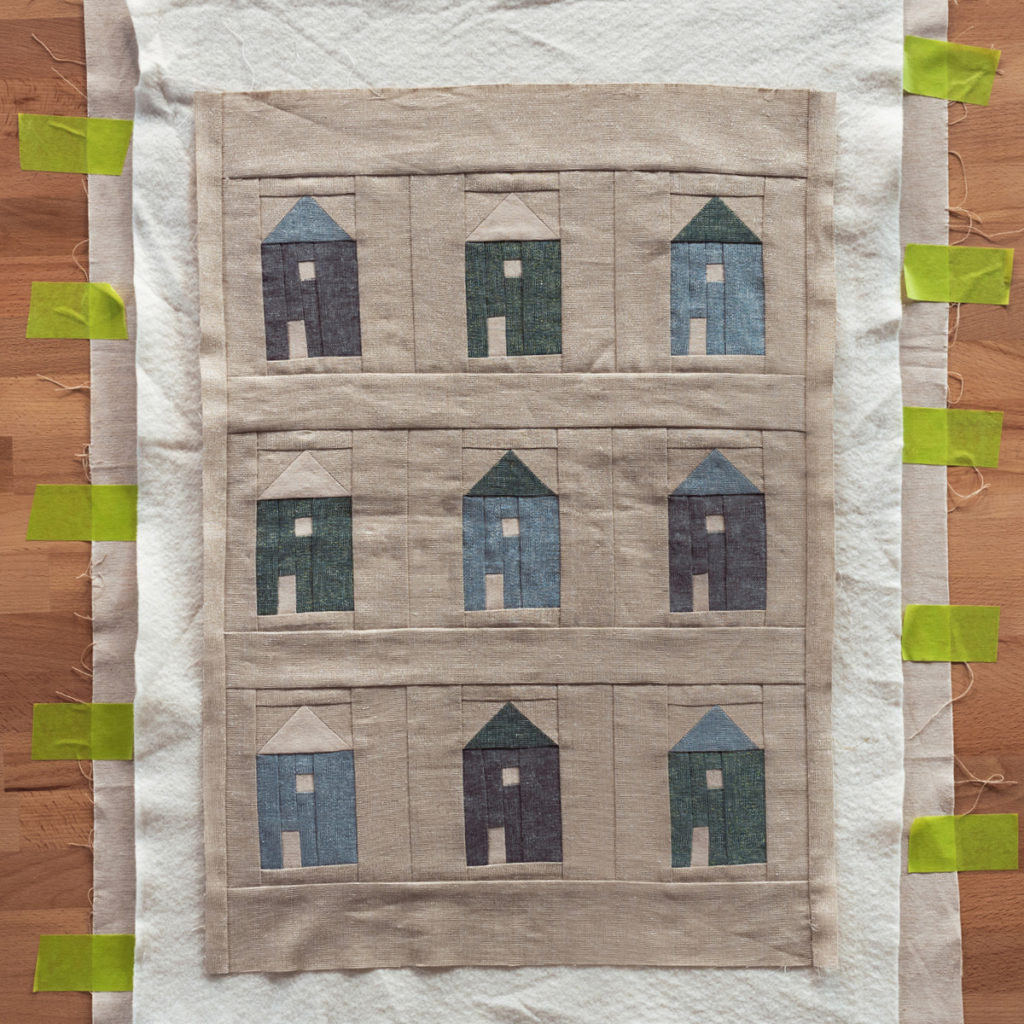
STEP 6: It’s now time to pin the 3 layers together every 3 or 4 inches on each row. Here are a few key elements to consider:
- Start from the centre, moving outwards on one side, then from the centre towards the other side. This will help smooth outwards as you baste your quilt.
- The bigger the quilt, the closer the pins. A smaller quilt will be easier to work with, thus fewer pins will be needed.
- For quilts with full-width stripes, vary the pins height to avoid putting all the tension on the same weft thread.
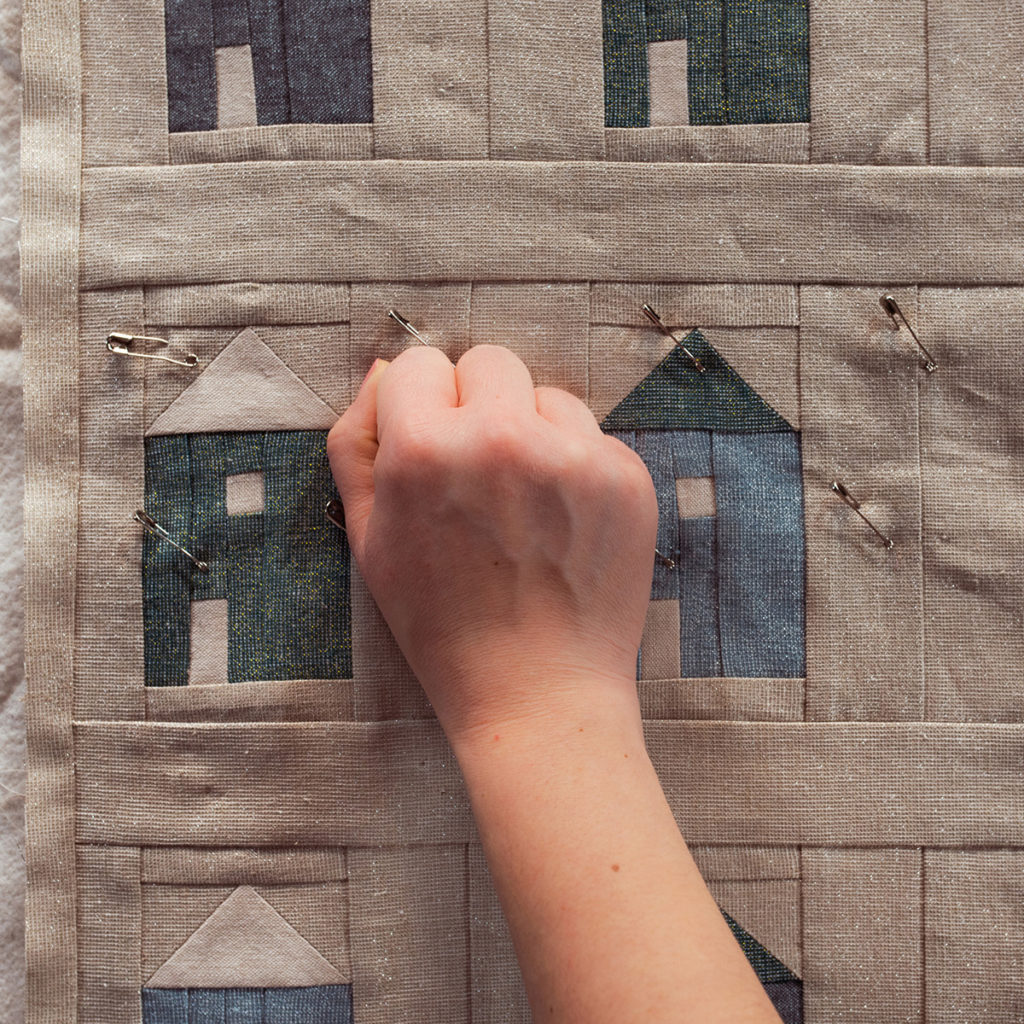
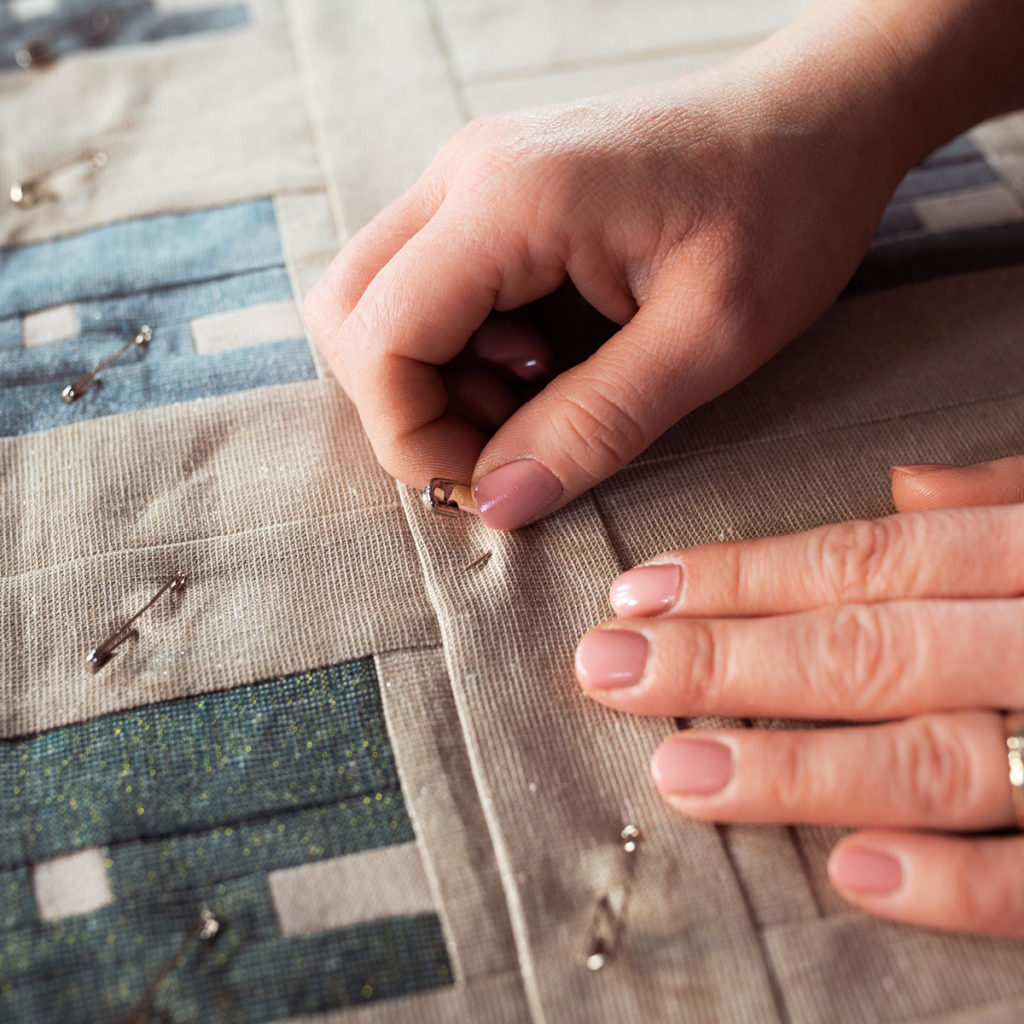
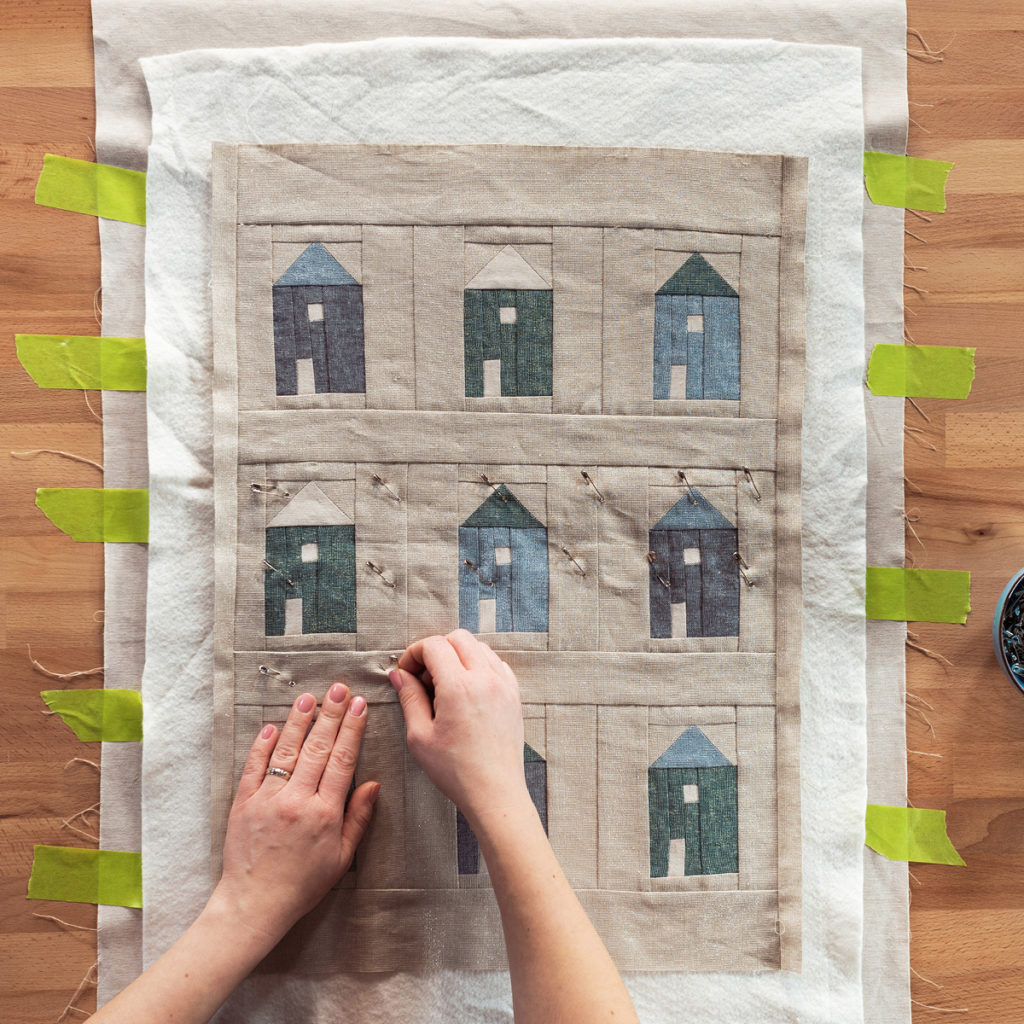
STEP 7: Once pin basting is done, remove the masking tape.
The quilt is stitch-ready!
Do not forget that we love to see your creations. Feel free to share them with us through social media, using the hashtag #clubtissus.
