This year, my two sisters are spending their very first Christmas in their new nest, my big sister recently bought her first house and my little sister bought her very first apartment. So it’s now time to go out and buy everything you need to decorate for the holiday season.
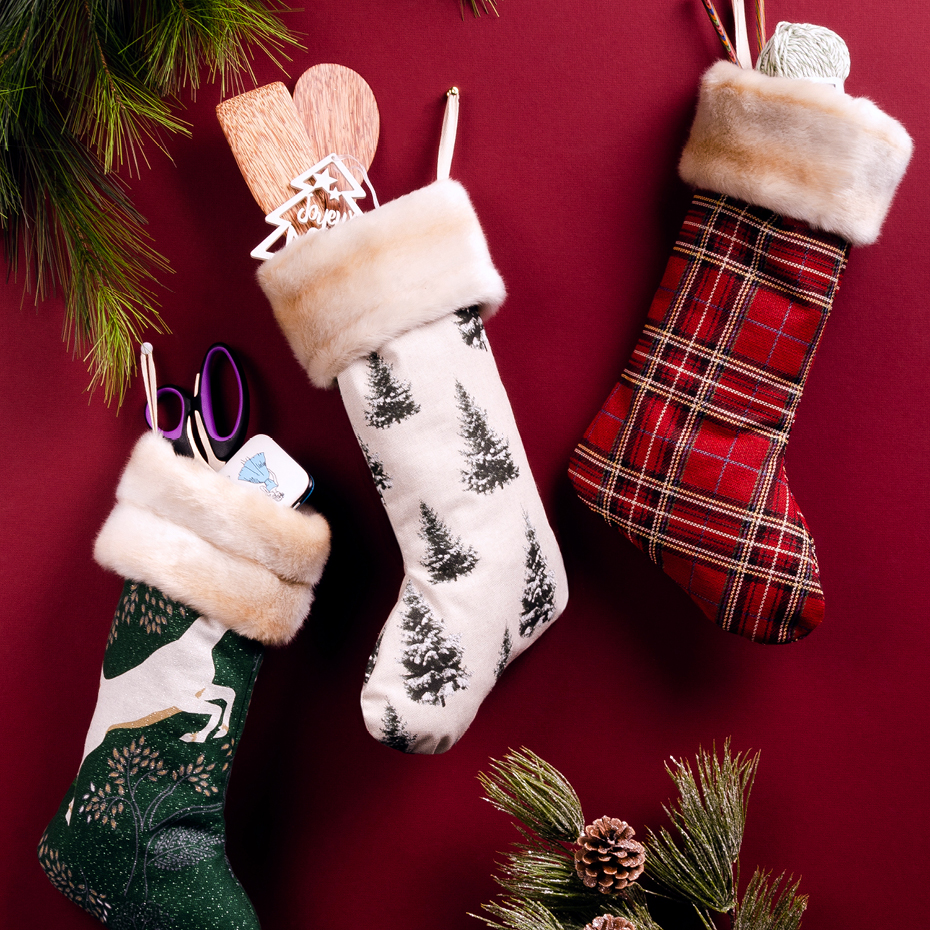
My sisters and I would always listen to Christmas music while making our decorations. It is safe to say that in my family the festivities surrounding Christmas has always been really important. This is why I came up with the idea to create and make pretty Christmas stockings for my whole family. With a family as big as mine, I’m going to turn myself into a little elf this holiday season. In order to be able to achieve my goal of making about a dozen stockings, I needed an easy and fast model. Here are my quick and easy stockings, adapted in 3 different styles, since I wanted to cater to everyone personality! Let yourself be charmed by all our fabrics, wools, patches, fringes and decorative trimmings. The choices and arrangements are unlimited.
Level of difficulty: Easy. Basic sewing machine skills required.
Time required: less than an hour
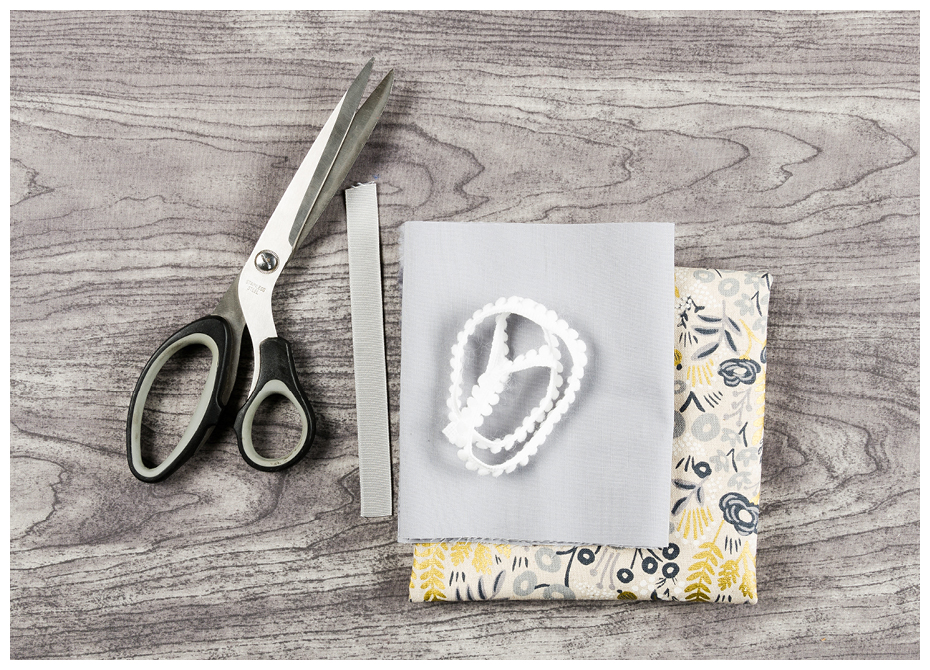
Required material:
- Main fabric: 50 cm (20 in)
- Fabric for the flap: 15 cm (6 in)
- Ribbon for handle: 20 cm (8 in)
To customize your stocking:
- Ribbon or trim for flap: 40 cm (16 in)
- Embroidery thread
- Wool for flap or to add pretty pompoms
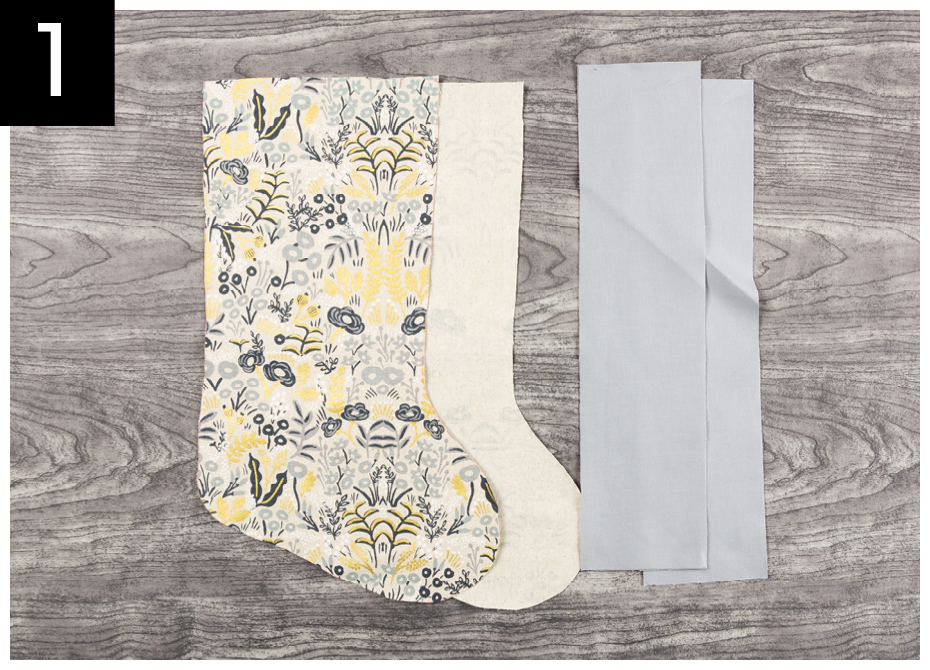
STEP 1: Cut the required pieces giving in the pattern. Cut the front/back piece twice, as well as the flap piece twice. Make sure that when cutting the pieces for the front/back, that it is mirrored to ensure that the outside of the fabric is on the right side for the front and the back. If you choose a knitted flap, like in the example, simply knit a 36 cm x 10 cm rectangle.
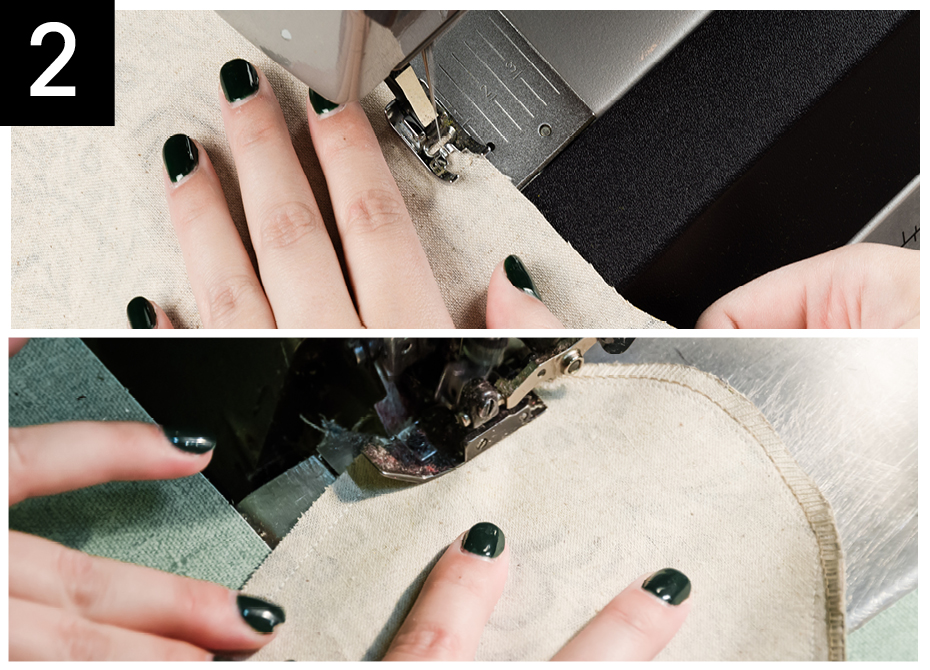
STEP 2: With both right sides facing each other, sew the bottom of the stocking. Add an overlock or zigzag stitch for a quick finish. You can also add a bias for a better finish.
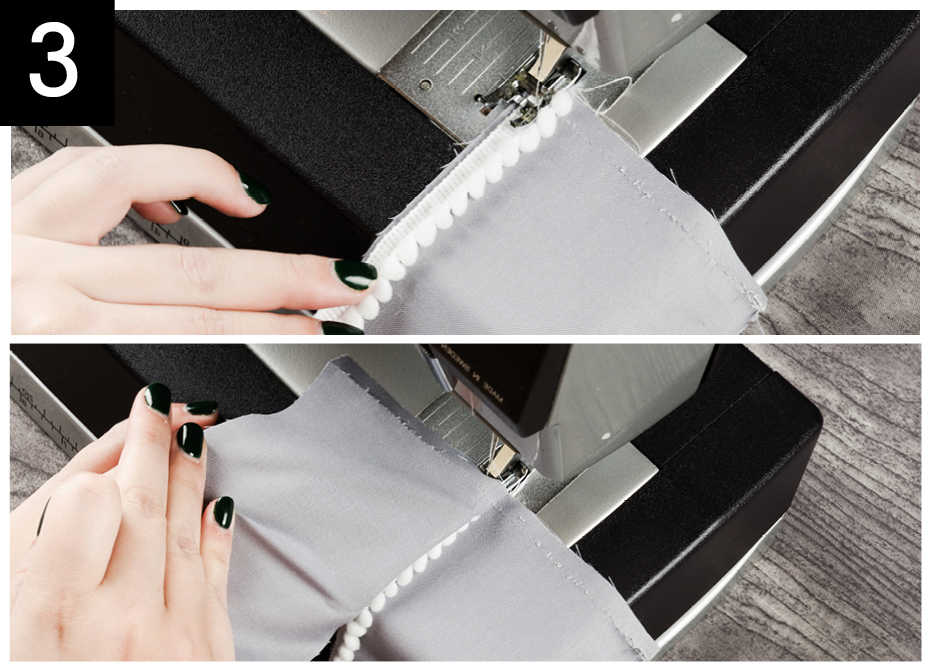
STEP 3: Sew the pompoms between the two flap strips. I advise you to set the first pompoms band on one of the strips before sewing the second ban further from the edge to make sure that the first seam is hidden.
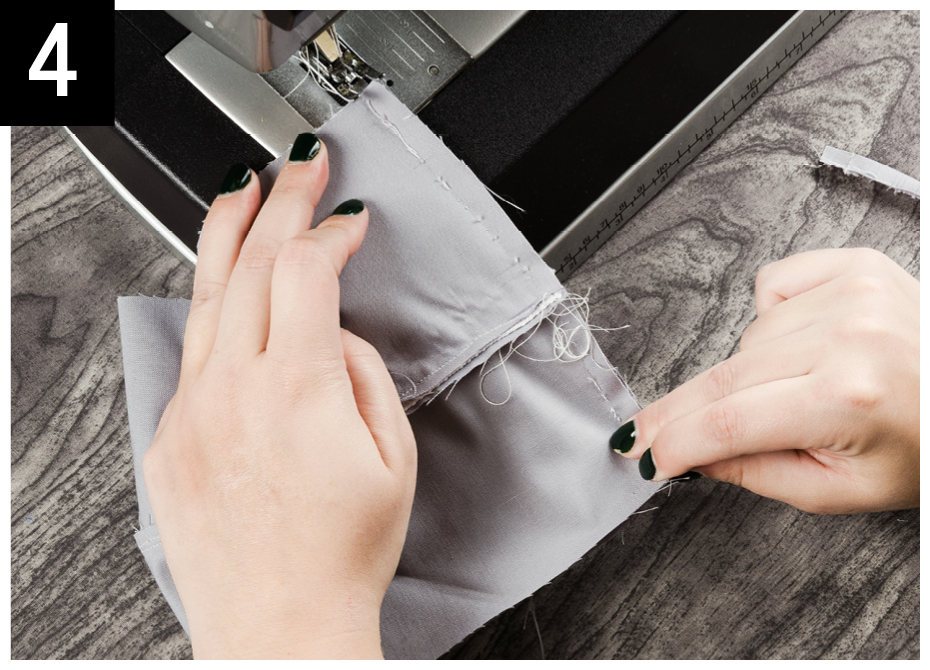
STEP 4: Create a tube with the flap strip by sewing the two narrow ends of the strip together. Fold the tube on itself, upside down, and make a small seam as close to the edge as possible to secure it.
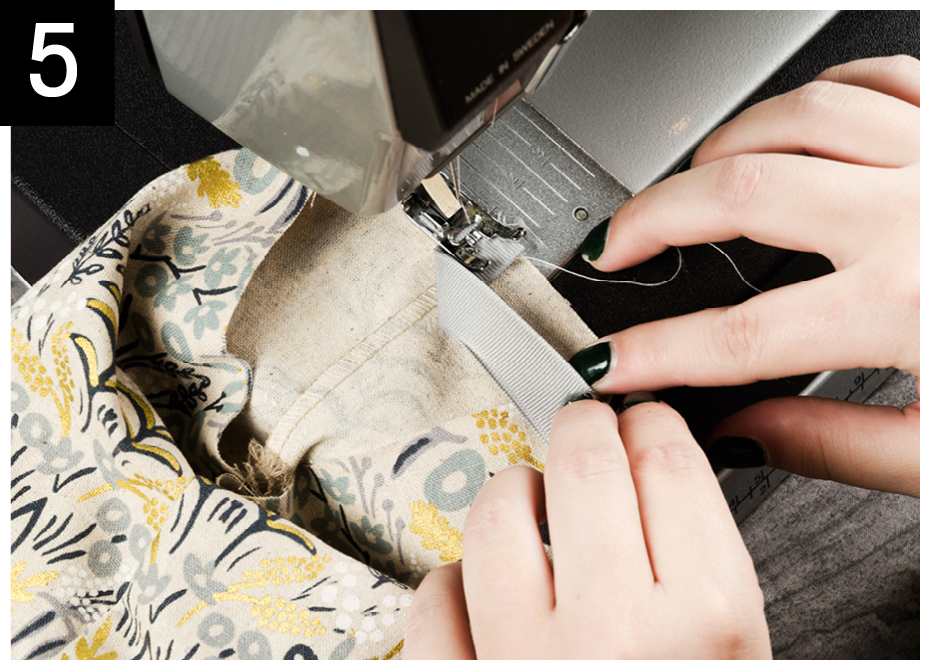
STEP 5: Fold your ribbon in half and install it at the bottom of the seam at the very top of the heel side.
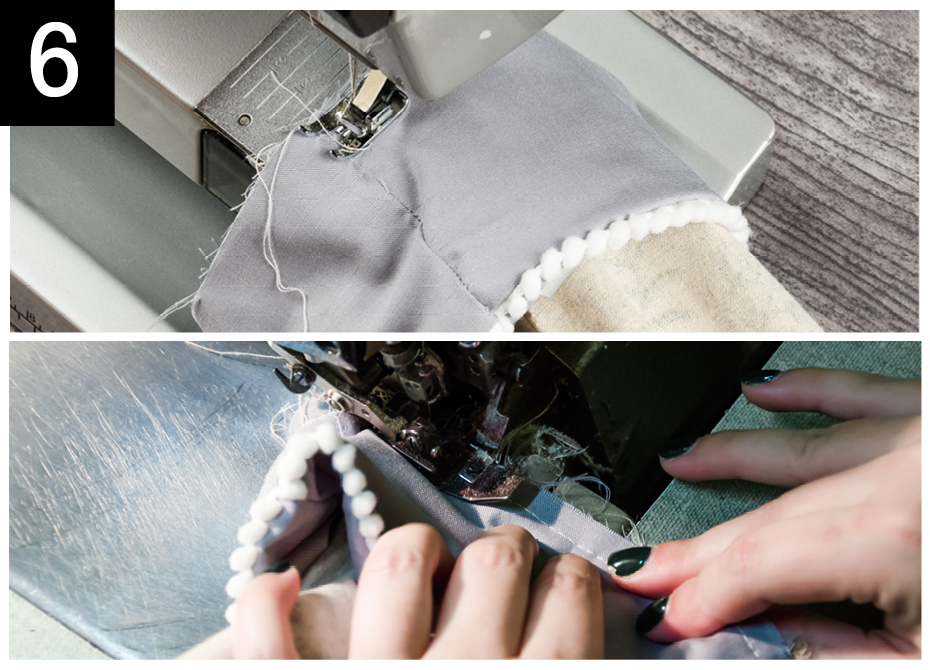
STEP 6: Sew your flap strip and the top of the stocking upside down. Add an overlock or zigzag stitch to prevent it from fraying.
The only step left is to turn your stocking inside out and to place the flap down! You are now ready to open up your own little production chain to make sure everyone has their unique and personalize holiday stocking!
Do not forget that we love to see your creations. Feel free to share them with us through social media, using the hashtag #clubtissus.
See you soon!


