Published on:
January 25, 2021
The technique commonly known as scant seam allowance will forever change piecing, precision and final result of your quilting projects.
A quilt is way more impressive when the seams of each piece land exactly where they should. When you spend countless numbers of hours on a project, you certainly want the final result to reflect that.What’s the Use of Scant Seam Allowance?
The universal seam allowance standard for quilt is ¼ in. However, when sewing many pieces together to make a quilt and pressing the seam allowance to one side, the thickness created by the iron can slightly reduce the width of each piece. Even if the variation is as negligible as one millimetre, the total variation of all pieces sewn together can be ¼ in, ½ in, 1 in, and even more. It’s a significant difference for a project that builds on precision.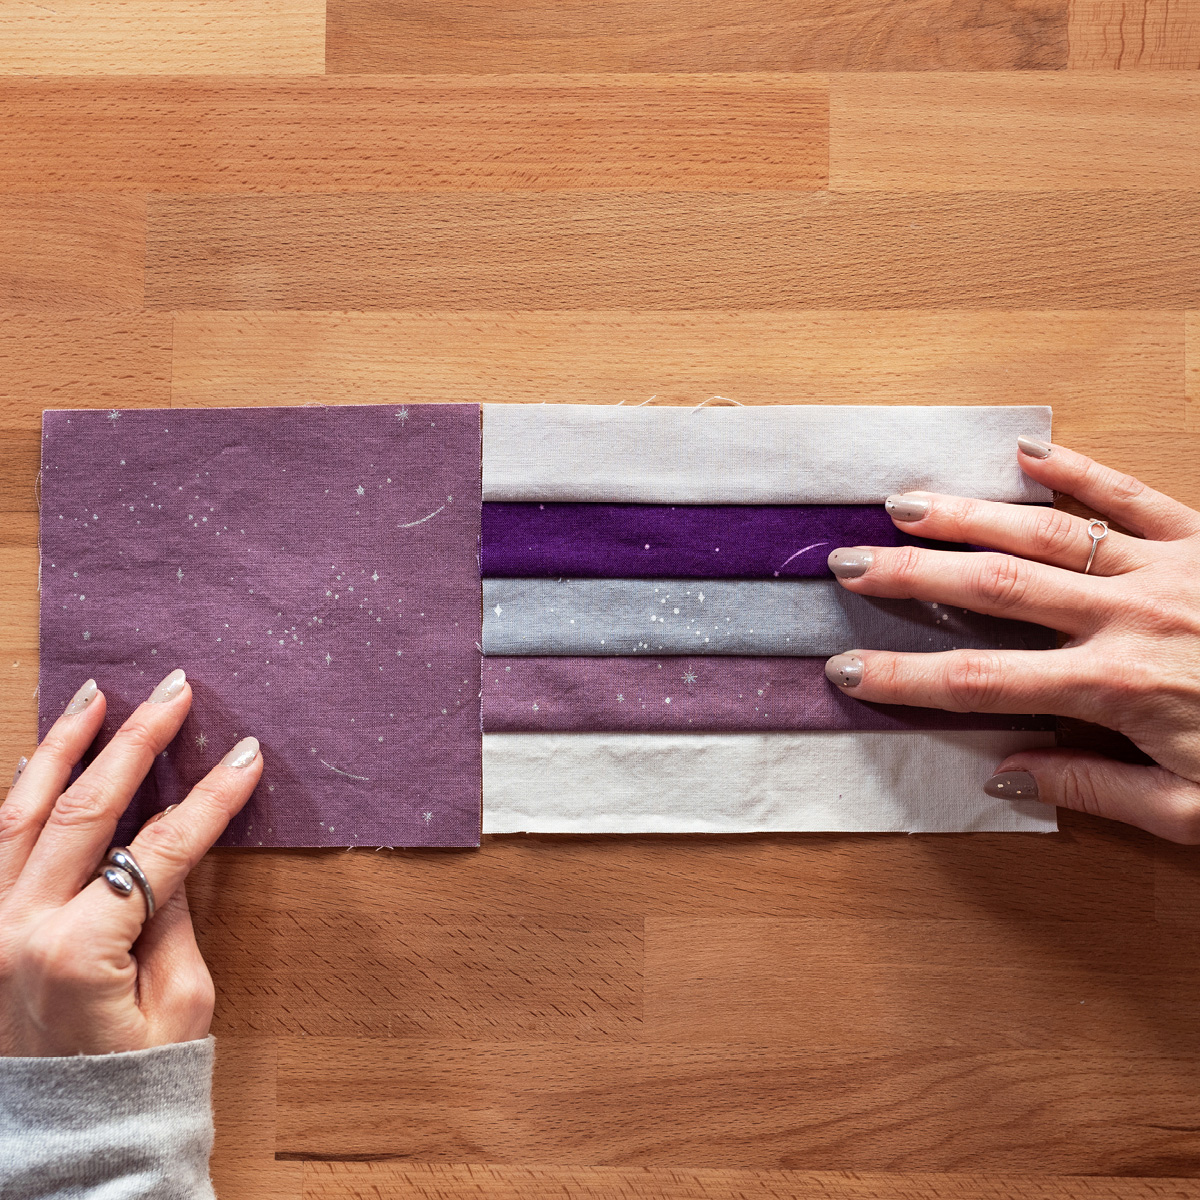
Instead of cheating by pulling with the iron or manually on seam allowances, the scant seam allowance technique, which is basically adjusting seam allowances, will make all the difference and save you a lot of headaches.
The Scant Seam Allowance Technique on Video
Caroline explains how to perform the scant seam allowance test. Link to the videoPerforming the Scant Seam Allowance Test
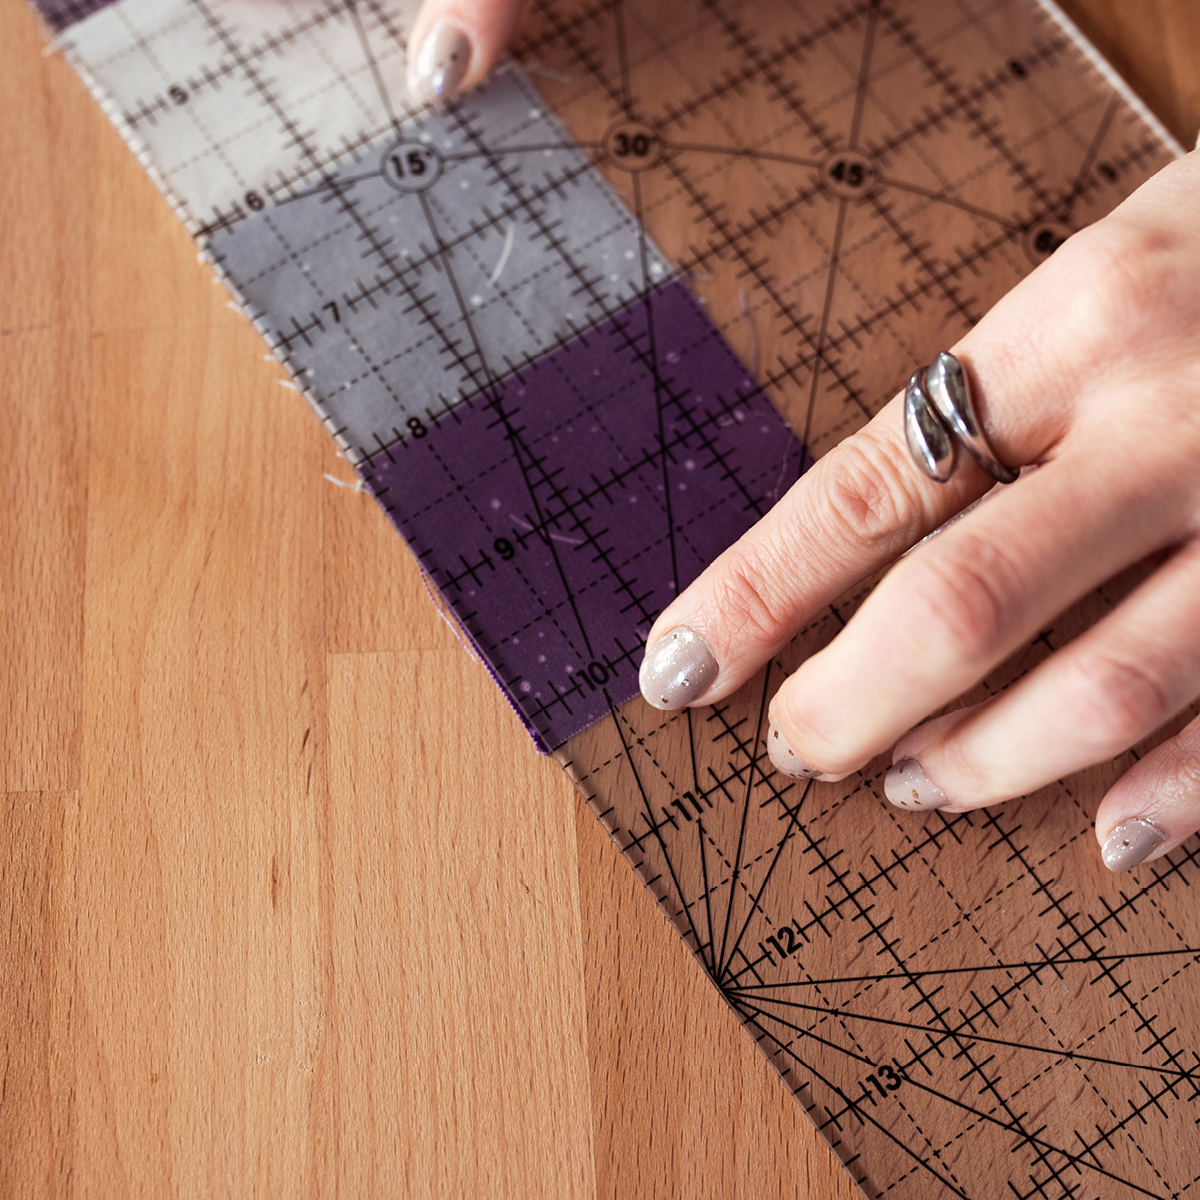
The scant seam allowance technique consists of performing a seam allowance test before sewing your quilt. You will need 5 or 6 different blocks of fabric from your project and a quilting ruler.STEP 1 : Sew the 5 or 6 pieces with a ¼ in seam allowance to create a strip.
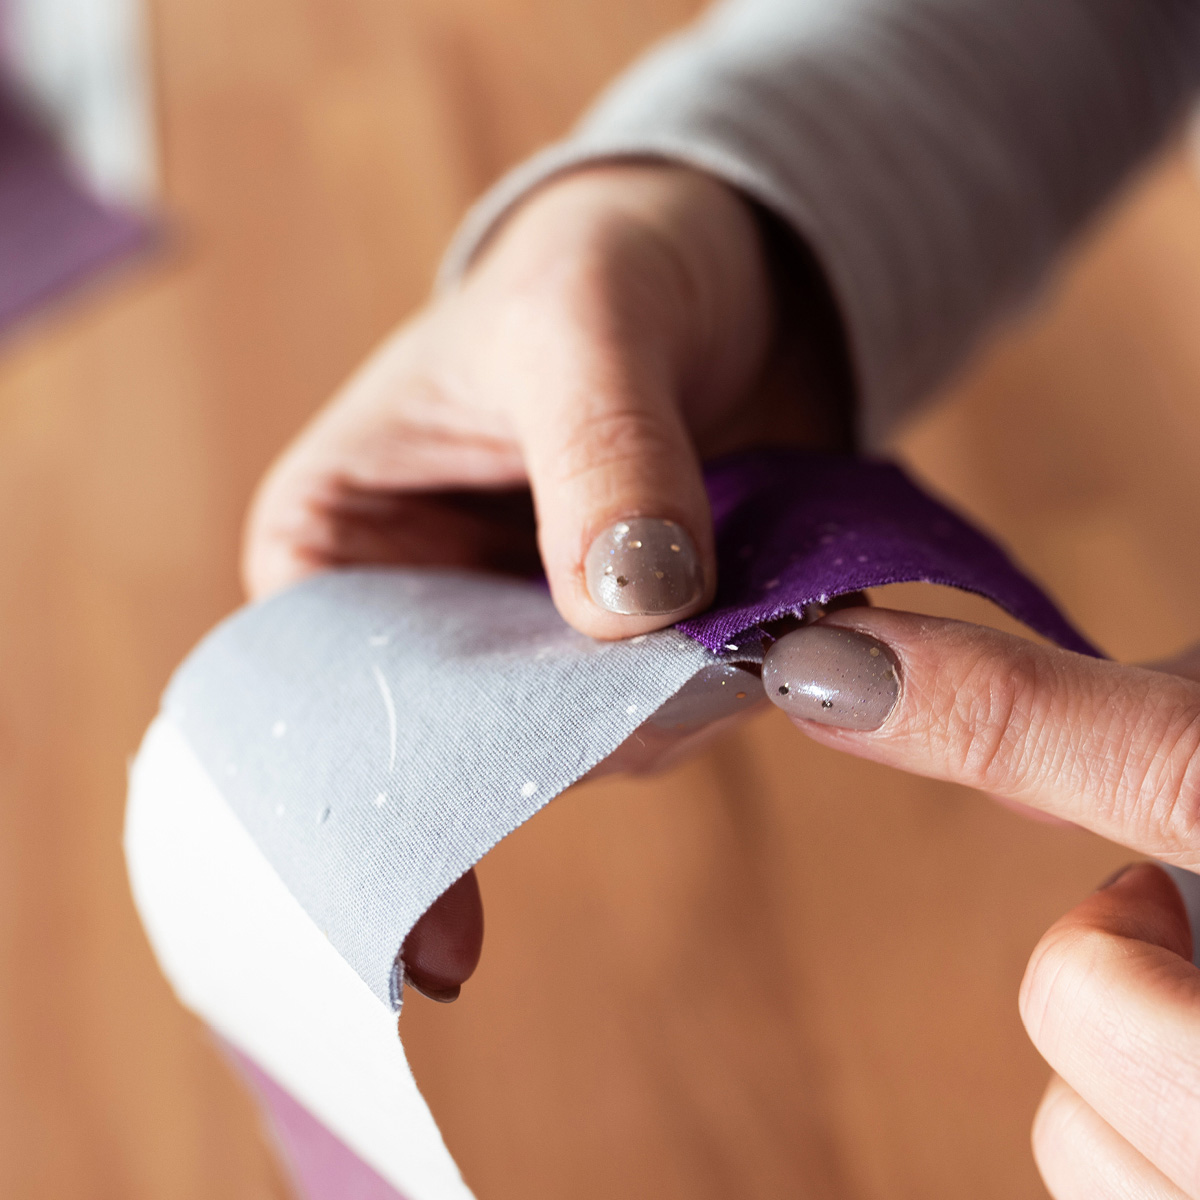
STEP 2 : Iron the strip, placing all seam allowances on the same side.
STEP 3 : Measure the length of your strip and check if you are falling short or if you have extra fabric in comparison with the expected length.
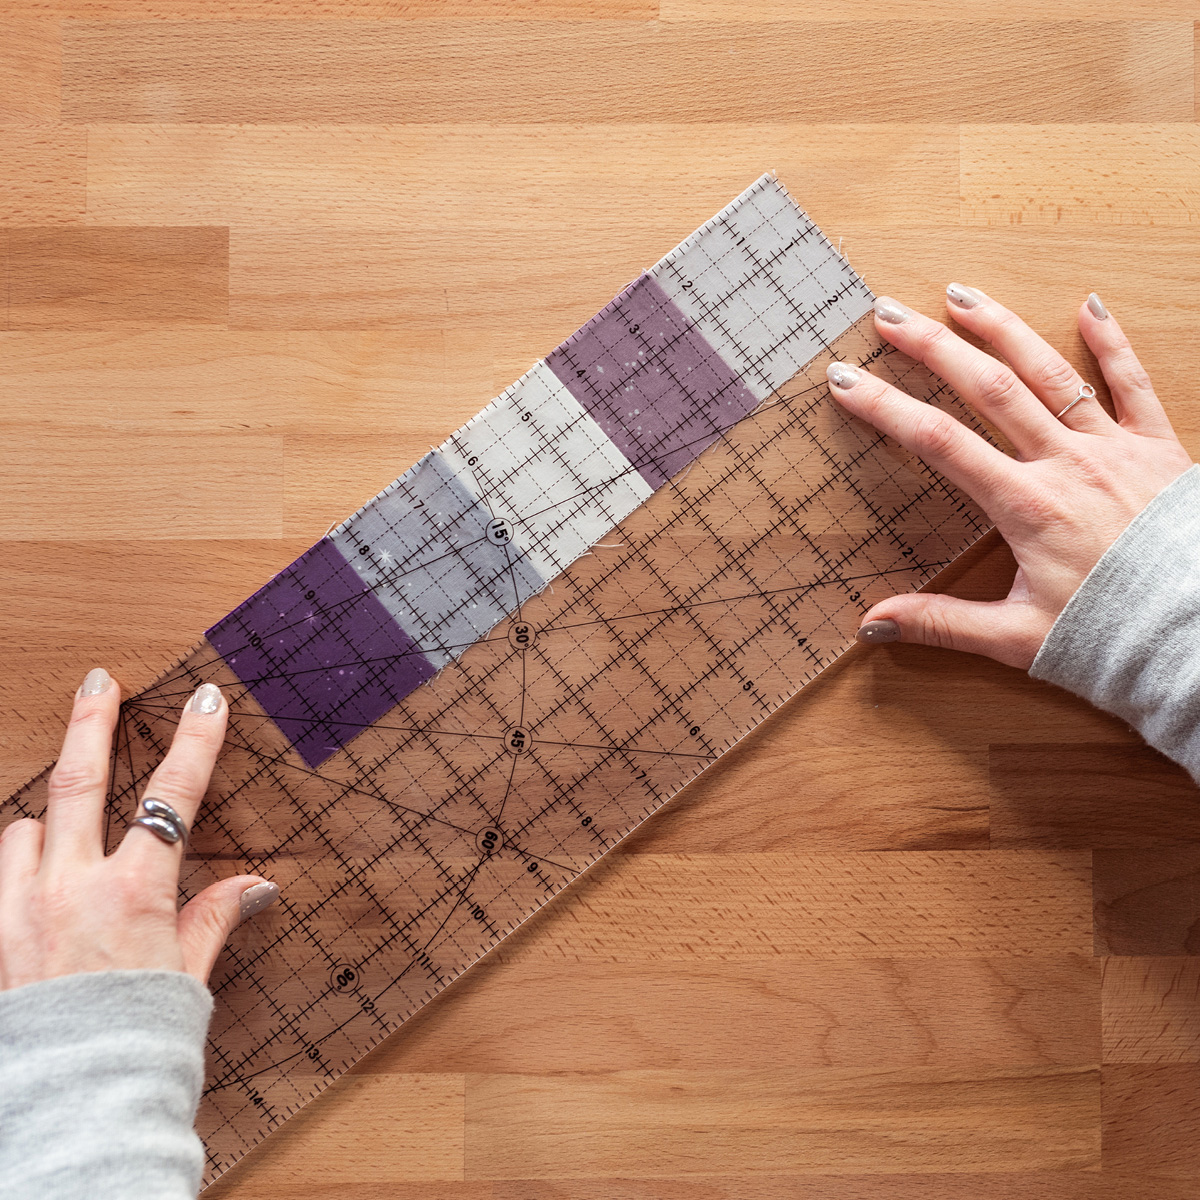

STEP 4a : If it’s shorter, your seam allowance is slightly too big, so lightly move the needle of your sewing machine to the right to reduce seam allowance.
STEP 4b : In some rare cases, there could be extra fabric caused by a seam allowance slightly too small. If it’s your case, lightly move the needle of your sewing machine to the left to increase the seam allowance.
STEP 5 : Do steps 1 to 3 again with the new needle position until you get the exact width needed.
STEP 6 : You can now begin creating your quilt with peace of mind!
A Tip
To avoid having to re-test every time you work on a similar quilt project, make yourself a cardboard template with a stitch at the exact position of your adjusted seam allowance.A Few important
0 comments
Share:
Comments
Leave a comment
Loading...