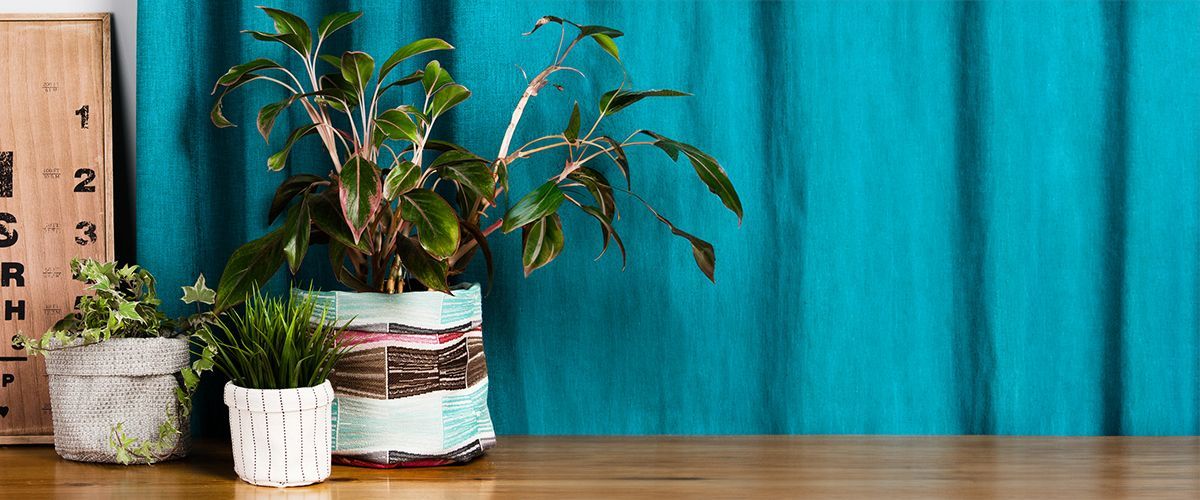
Spring is just around the corner and we've started feeling the need to add greenery in our homes. Winter blues be gone! Today we will be showing you how to make a pretty flower pot cover. It is very versatile, it will be easy match to your decor.
Like you, we love when things have multiple uses. Feel free to resize our pattern to create a bigger cover. You'll be able to use it on a basket to store a thousand different things! You can store the kids' toys in a very large basket or use a small pot to store your makeup in the bathroom. (You'll thank us later!)
We recommend you use upholstery fabric which is very often more rigid than regular fabric and will be perfect to give the pot cover a pretty shape. However, if you fall in love with a quilting cotton fabric or a lightweight fabric, follow your heart! Simply add medium to heavy weight interfacing to give more shape to your favorite fabric! Your pot cover will be a hit at your next BBQ party.
Level of difficulty: Easy. Basic sewing machine skills required. Time required: About 30 minutes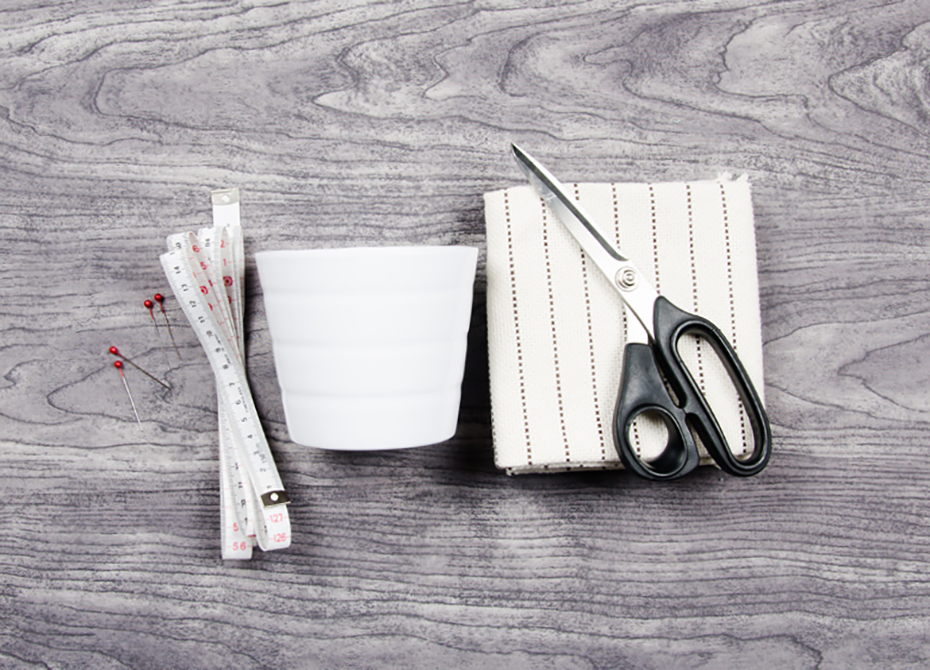
- Upholstery fabric: between 20 cm (7 7/8 in) and 50 cm (19 ¾ in) depending on your pot's dimensions
- Interfacing: between 20 cm (7 7/8 in) and 50 cm (19 3/4 in) (if you are using a light weight fabric, add medium weight interfacing to give more shape to the fabric)
- Measuring tape
- Pins
- Scissors or a rotary cutter
- A pot
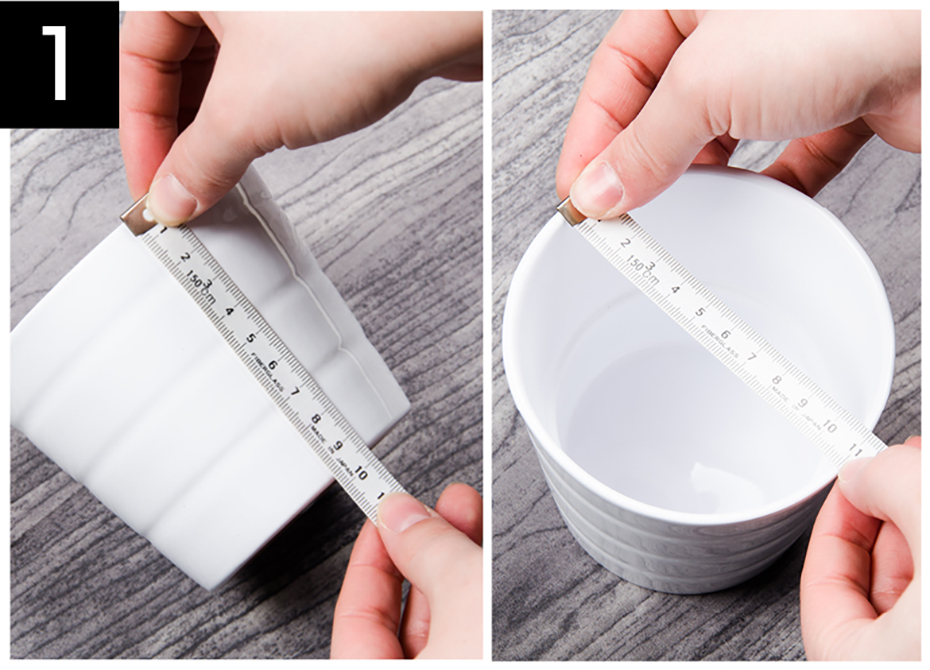
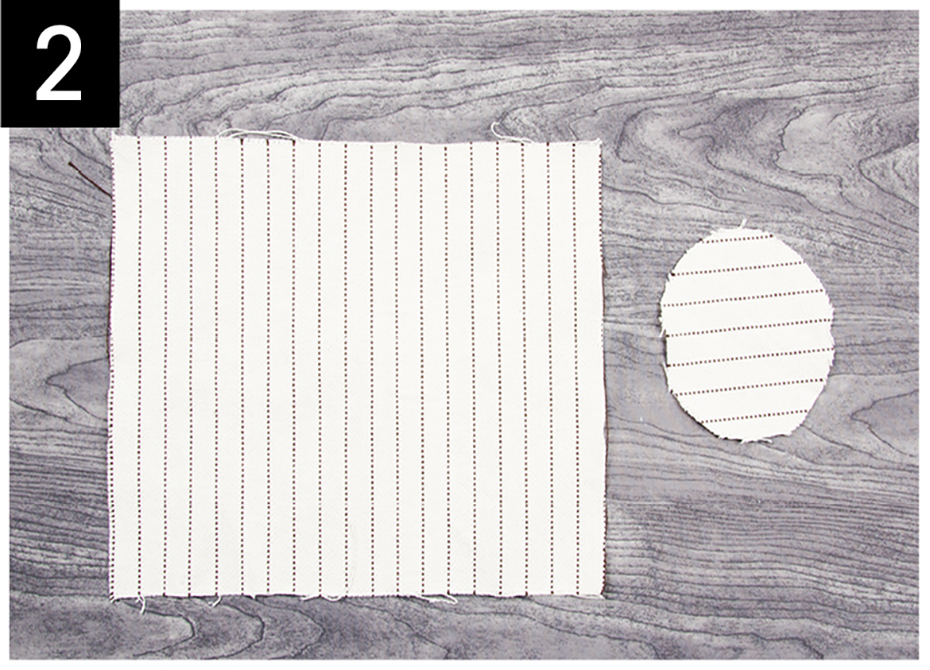
STEP 1: Measure your pot's height using your measuring tape. Also measure the pot's larger diameter. Usually, the opening's diameter is larger than the bottom's diameter.
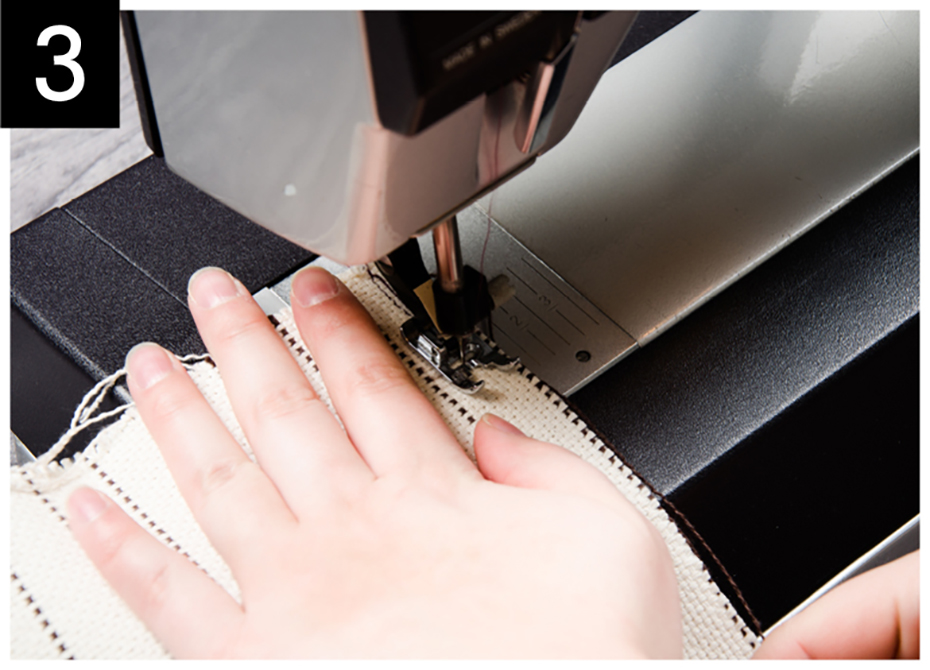
STEP 3: Right sides together, sew both sides lengthwise, to create a tube.
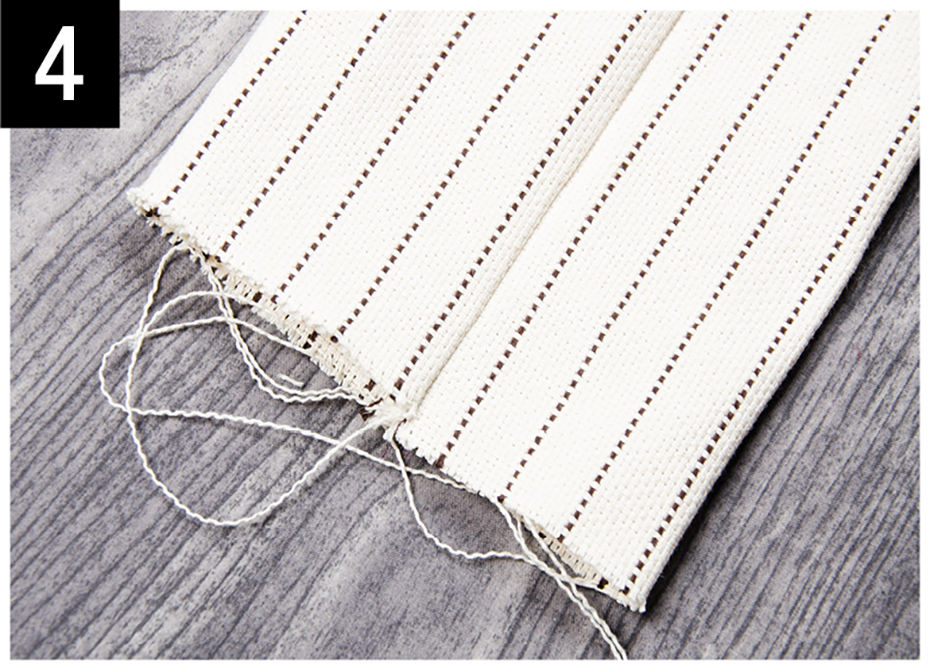
STEP 4: Turn the tube inside out and open the seam flat with your iron. You can also topstitch the seam allowances so they all face the same side.
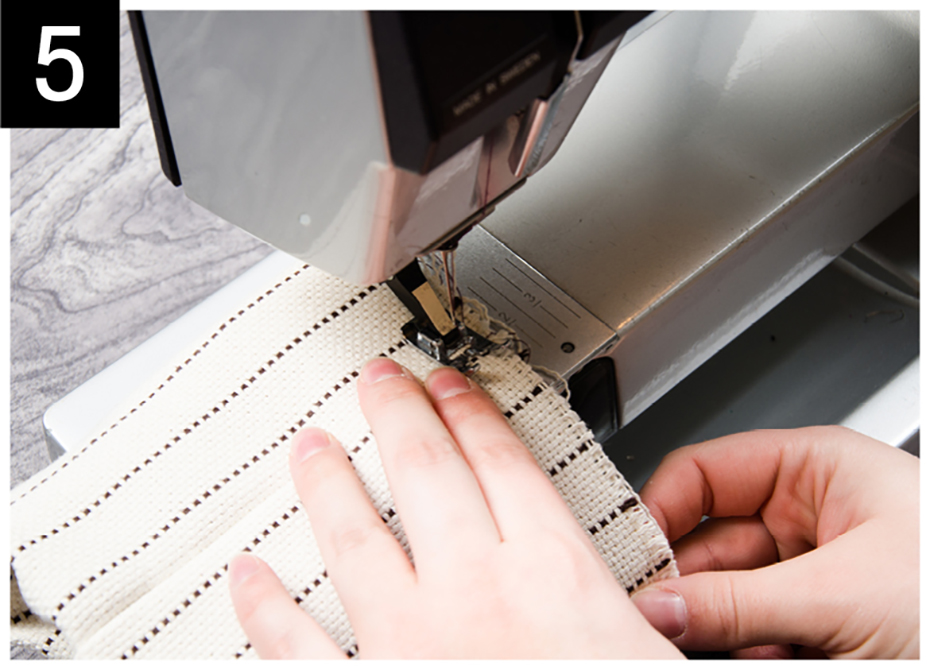
STEP 5: Wrong sides together, fold the tube's top and bottom widthwise. Secure the bottom using a 3 mm stitch (this stitch must be very close to the edge to make sure the seam is not visible once the pot cover is finished.)
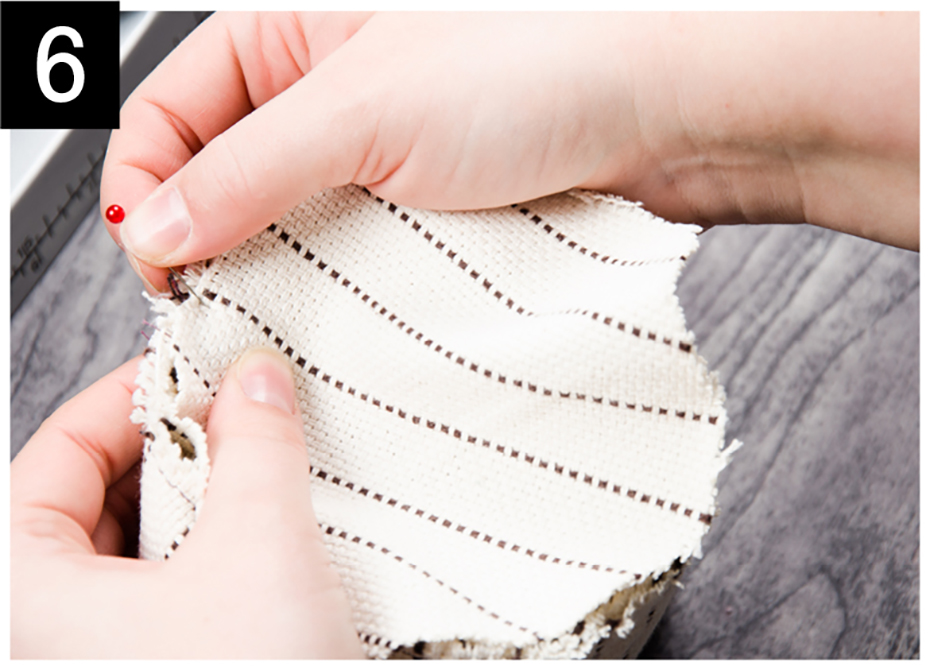
STEP 6: Pin the bottom circle to the tube's bottom, right sides together. (Tip: fold the circle into quarters to create 4 notches. This will help attach the circle evenly. Also fold the tube to evenly separate its width into fourths.)
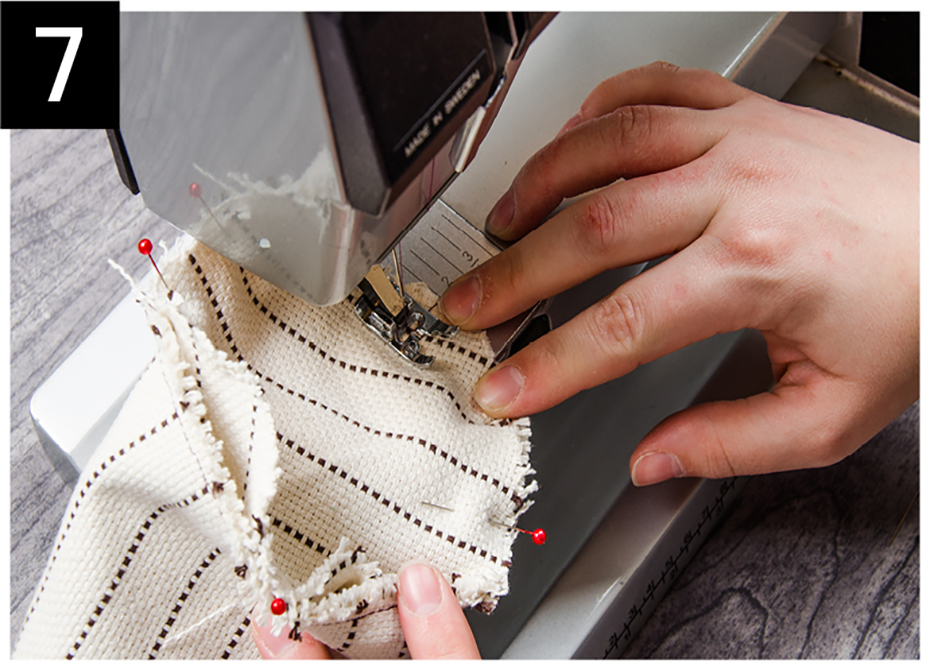
STEP 7: Sew the bottom. You can topstitch it or add a small trim to achieve a neater finish.
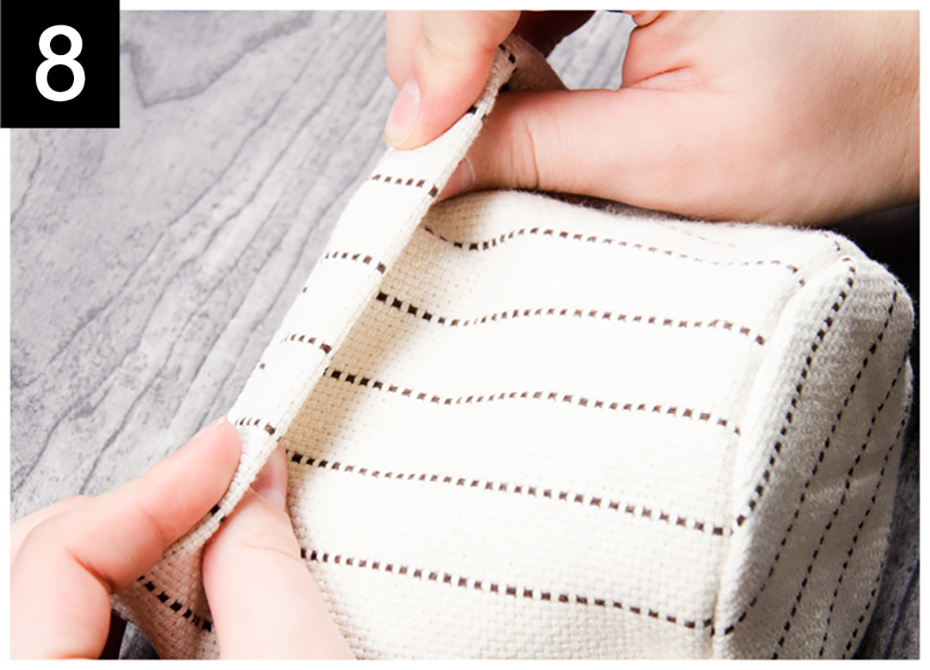
STEP 8: Turn the pot cover inside out and fold the edge.
