Published on:
March 26, 2024

Discover our free evolutive pant graded pattern. The era of the pants that only lasts a few weeks is over and done! With its large waistbands and ankle cuffs, our model will undergo multiple growth spurs with your child!
Choose among our extensive variety of knit Jersey to make your perfect evolutive pant!


Download the Evolutive Pants Pattern for free
Difficulty level: Easy. Basic knowledge of a sewing machine.
Project duration: Approx. 1 hour
Seam allowance: 1 cm (3/8 in)
Measurements of Finished Product
| Size | Hips | Length | |
| Size A (newborn to 6 months) | 39 cm (15 ¼ po) | 48 cm (19 po) | 37.5 cm (14 ¾ po) |
| Size B (6 months to 3 years) | 43 cm (17 po) | 52 cm (20 ½ po) | 63 cm (24 ¾ po) |
| Size C (2 to 5 years) | 51.5 cm (20 ¼ po) | 62 cm (24 ½ po) | 70 cm (27 ½ po) |
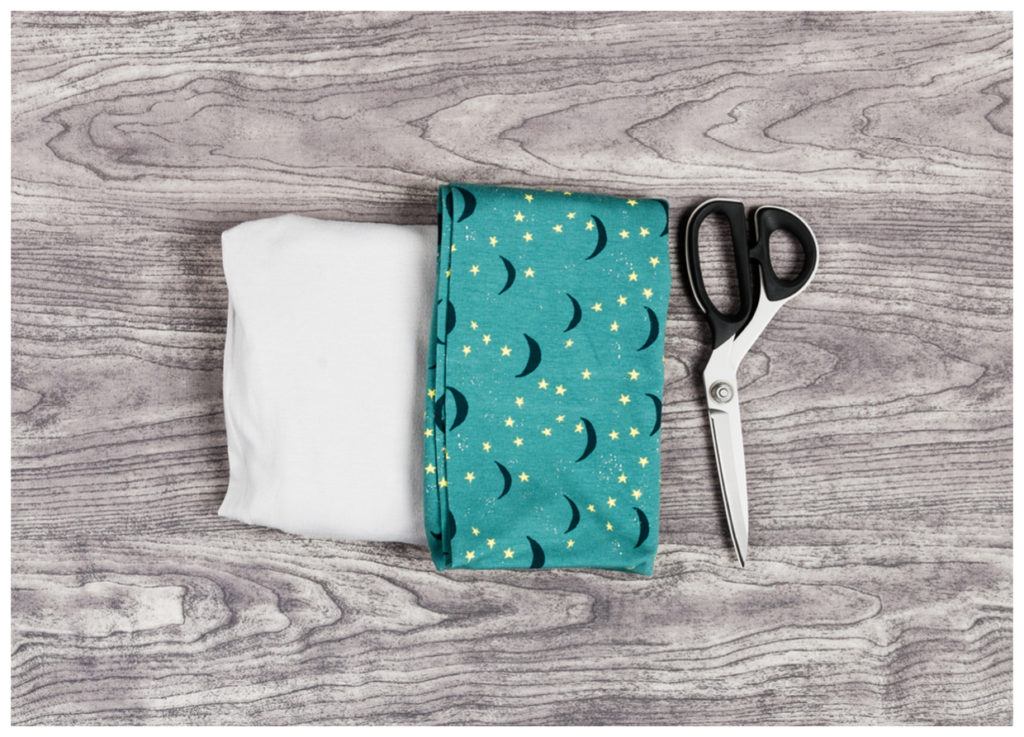
MATERIAL
-
Jersey knit 95% cotton/5% spandex
| Solid colour | Two-tone Model – Leg | Two-tone Model – Bands | |
| Size A (newborn to 6 months) | 50 cm (20 po) | 25 cm (10 po) | 20 cm (8 po) |
| Size B (6 months to 3 years) | 65 cm (26 po) | 40 cm (16 po) | 35 cm (14 po) |
| Size C (2 to 5 years) | 75 cm (30 po) | 45 cm (18 po) | 65 cm (26 po) |
Before starting:
- Once your pattern is printed, make sure the 1 in (2.54 cm) square is the right measurement.
- The assembly is entirely done using a 4-thread serger. If you don’t have access to a serger, you can do a narrow and short zigzag stitch as well as a regular zigzag stitch at the edge of your seam allowance for a nice finish.
- Use a stretch needle.
Étapes
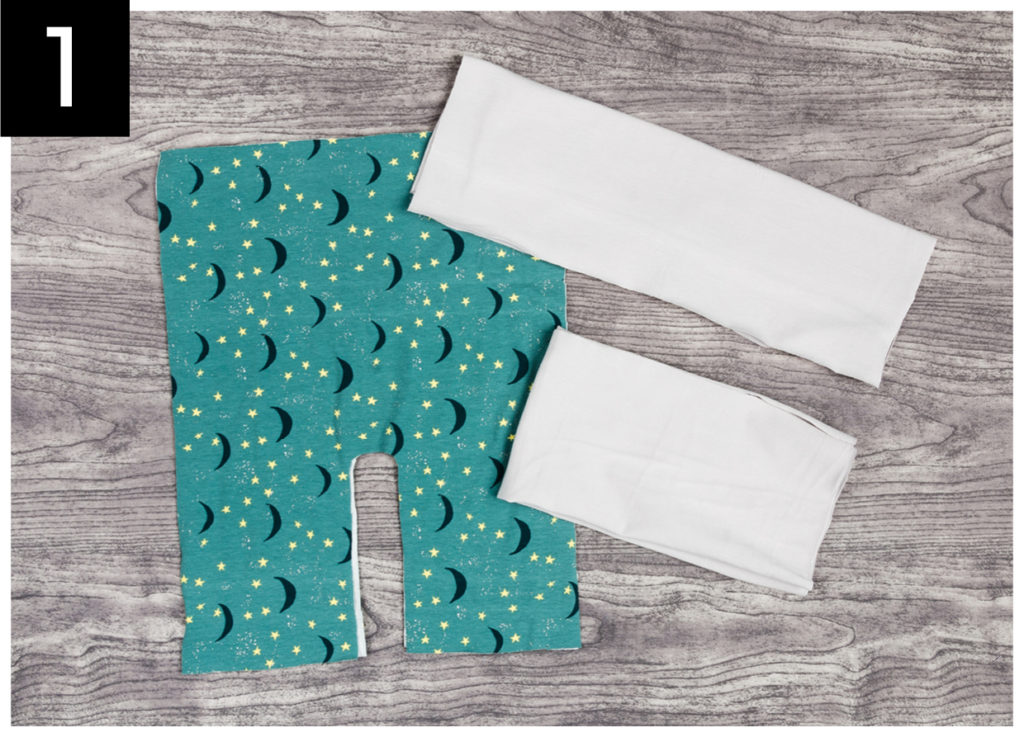
STEP 1: Cut the front/back piece twice, the ankle piece twice and the waistband once.
I suggest using weights to secure the knit while cutting, as it will tend to stretch.
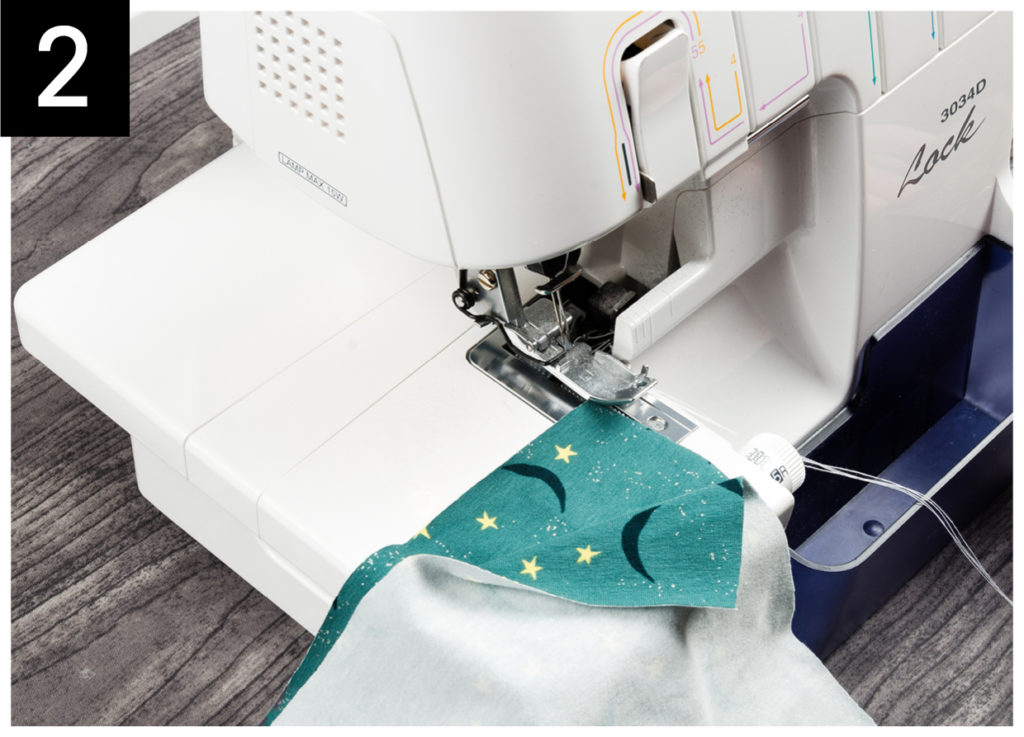
STEP 2 : Right sides together, sew the sides of the pant by putting together the front and back pieces using the serger.
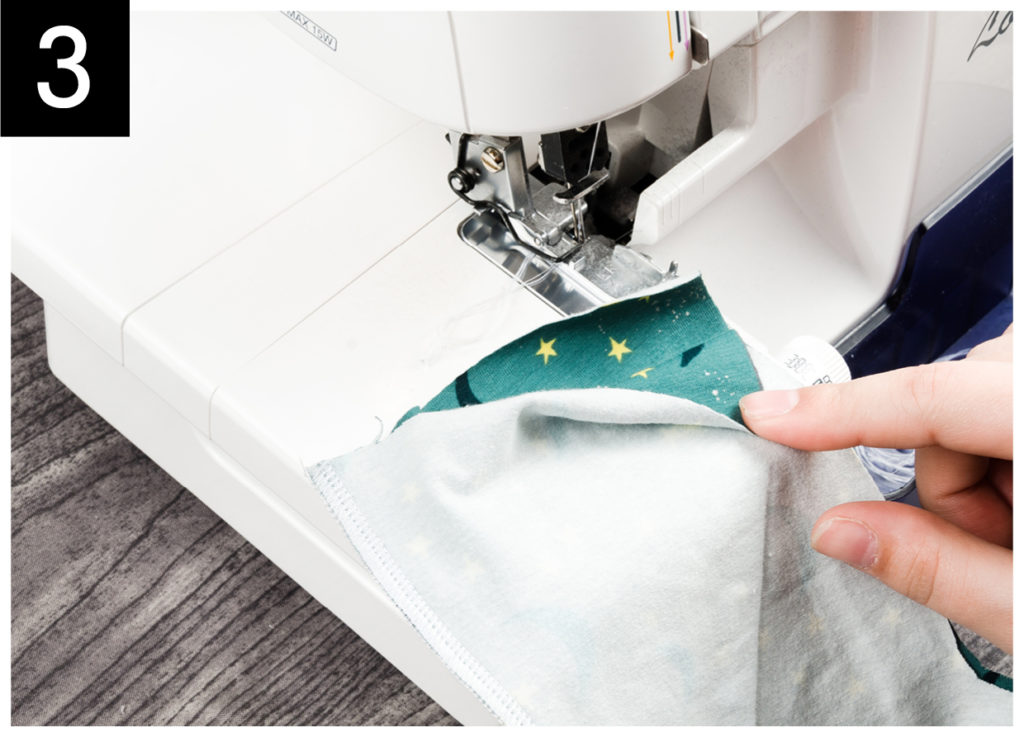
STEP 3 : Right sides together, sew the crotch in a single seam using the serger.
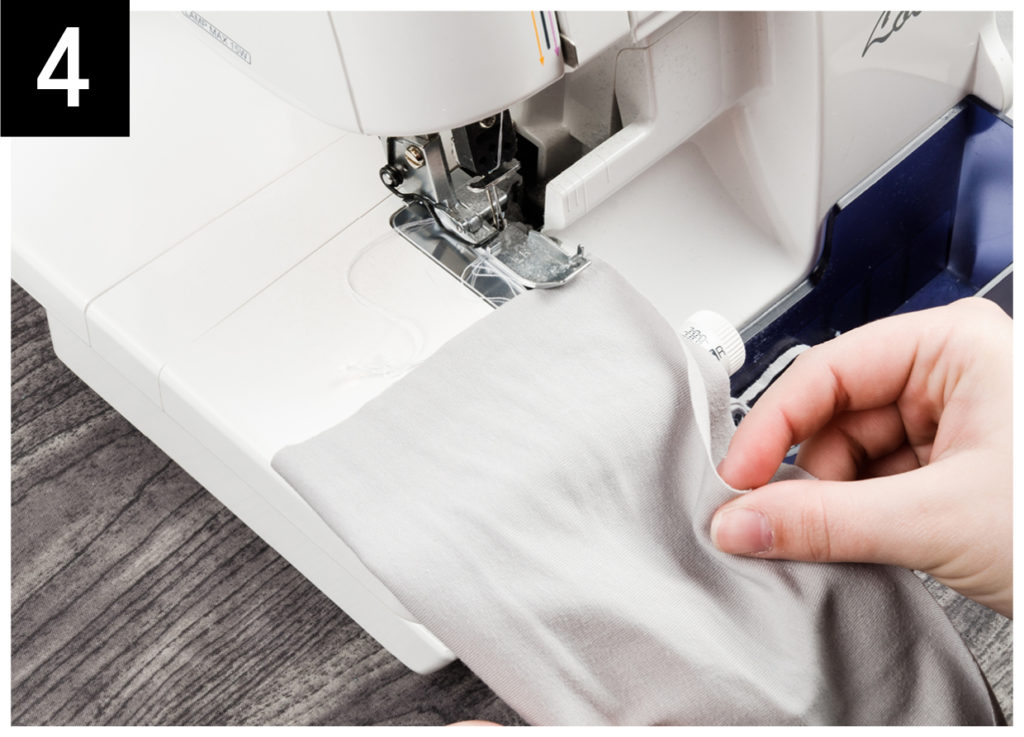
STEP 4 : Fold the ankle cuffs in half along the stretch direction, right sides together. Sew the sides to create tubes, using the serger.
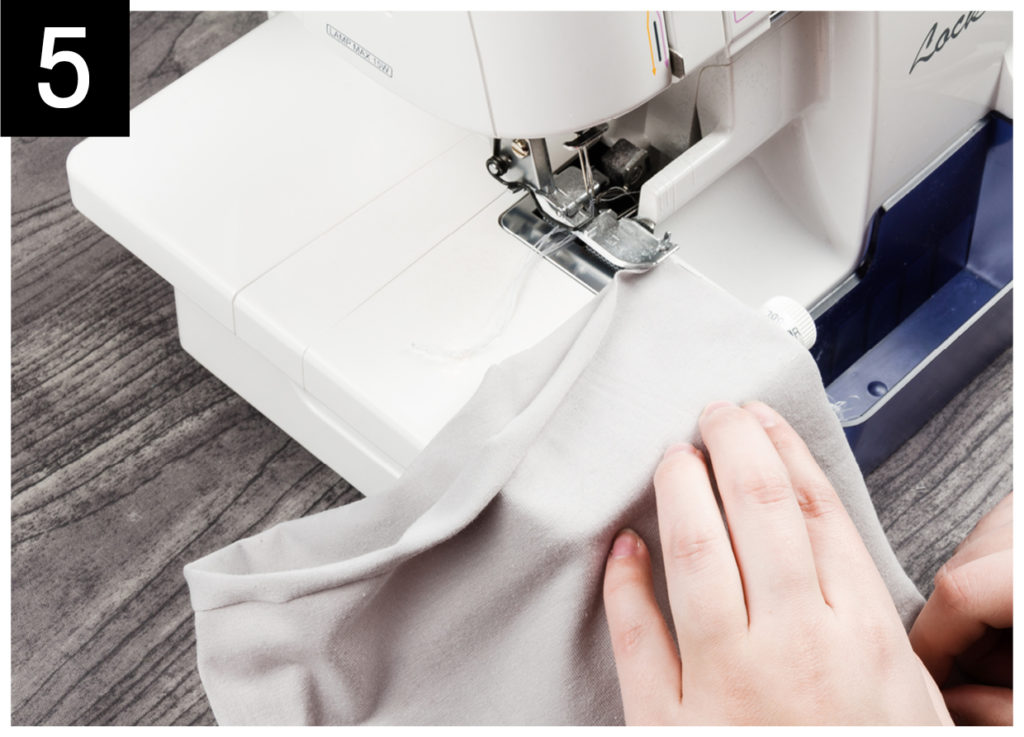
STEP 5 : Fold the waistband in half along the stretch direction, right sides together. Sew the side to create a tube, using the serger.
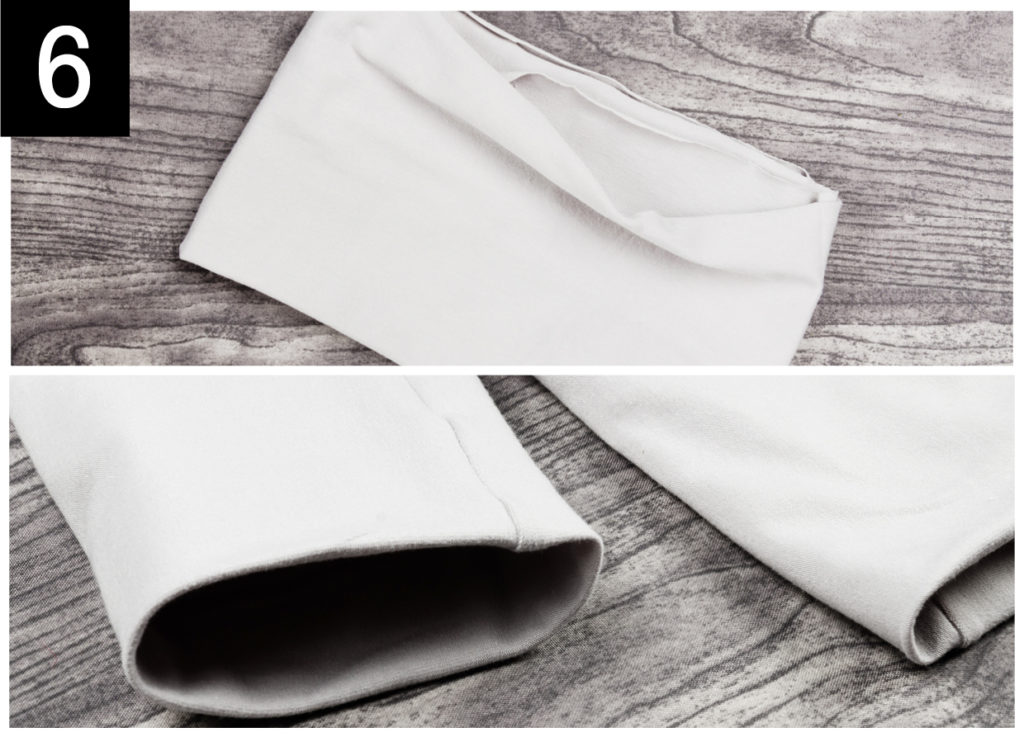
STEP 6 : Fold the waistband and ankle cuffs in half, wrong sides together to hide the seams.
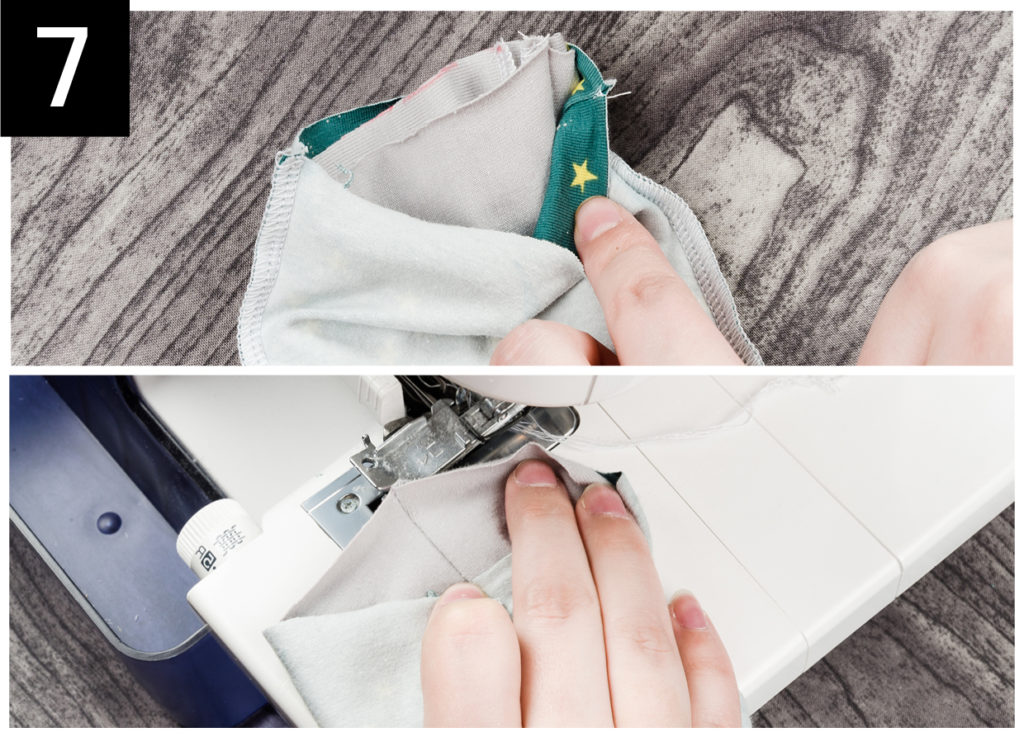
STEP 7 : Make sure the pant part is wrong side out. Insert the ankle cuffs in the pant part, placing the edges where the ankles are going to be joined, right sides together.
Connect the cuff seams to the seam of the crotch.
Assemble, with the serger, both ankle cuffs, stretching along the way, as the openings are smaller than the ones of the pant itself.
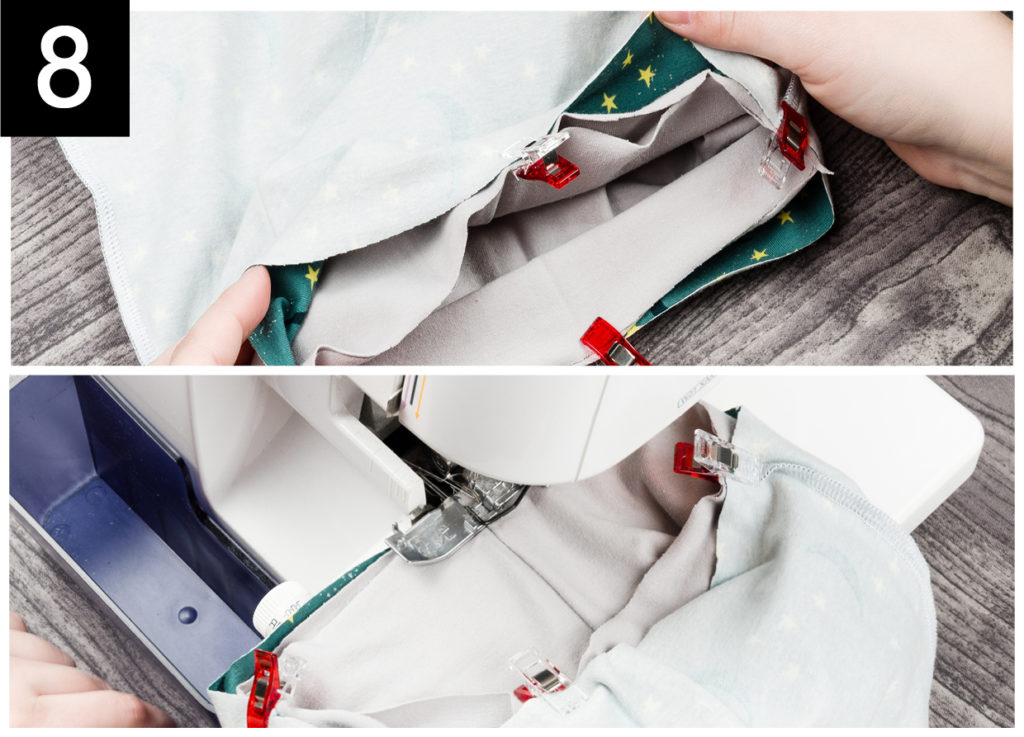
STEP 8 : Similarly to the previous step, insert the waistband in the pant part right sides together. Align the waistband seam with the centre of the back, and the side notches marked on the pattern with the side seams. Assemble, with the serger, the waistband, stretching along the way, as the opening is smaller than the one of the pant itself.
The only thing left to do is turn it right side out, and you’re done!
Find the perfect Jersey for your project

The Evolutive Pant on Video (french only)
Gabrielle explains, one step at a time, how to create your evolutive pant.
Do not forget that we love to see your creations. Feel free to share them with us through social media, using the hashtag #clubtissus.
1 comment
Share:
Comments
Leave a comment
Loading...