Published on:
January 27, 2020
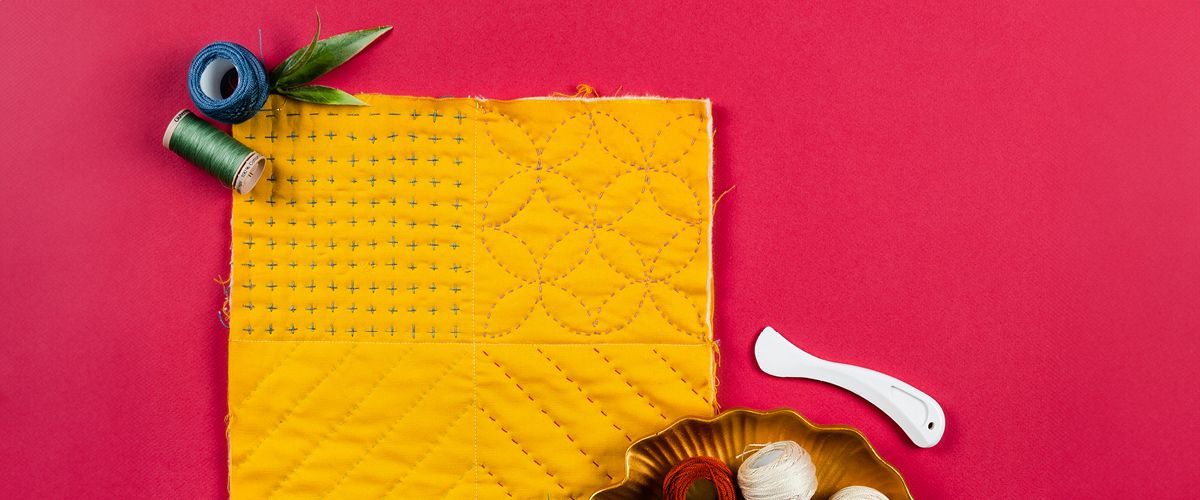
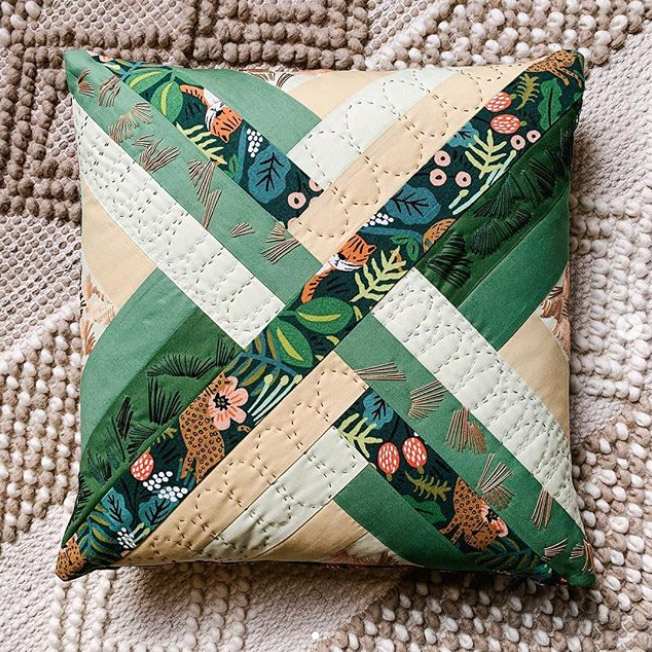
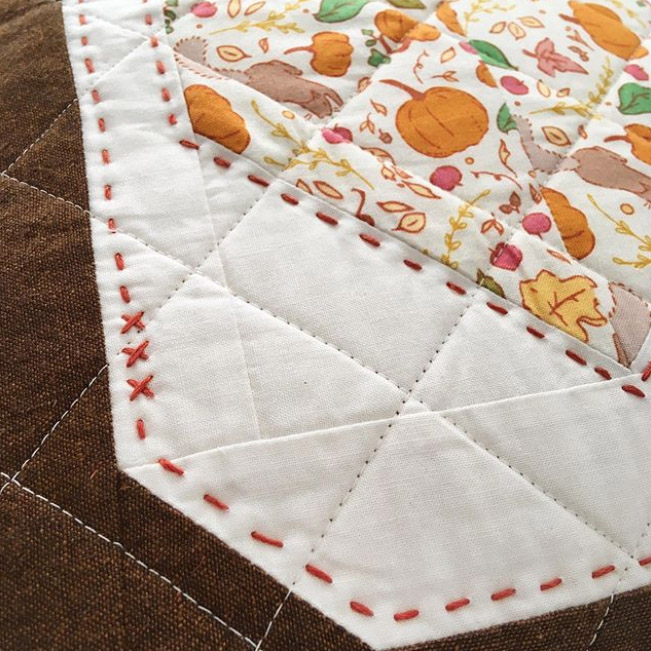
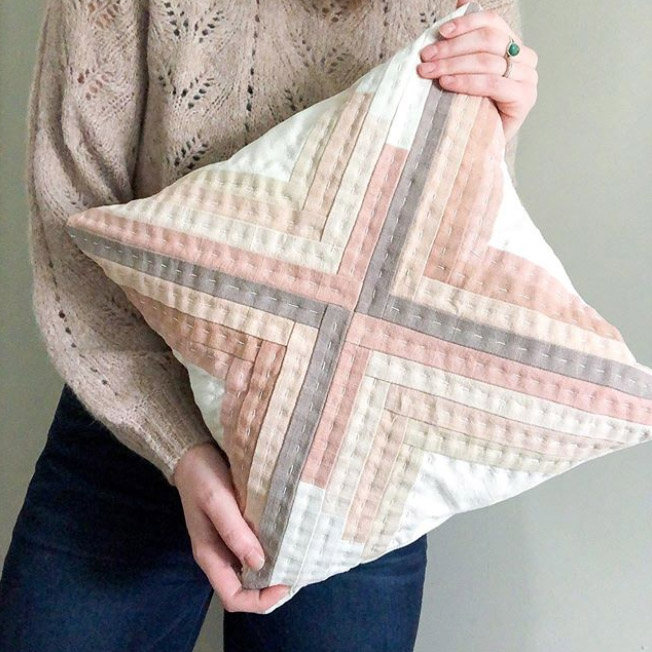
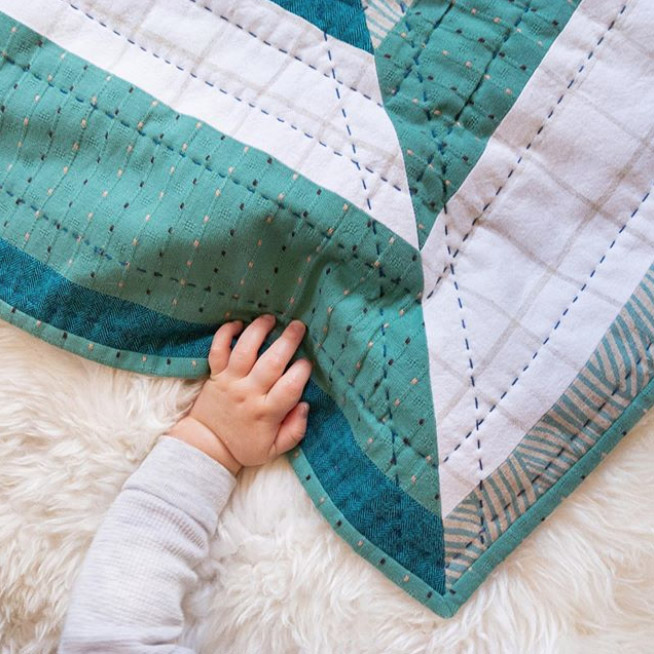
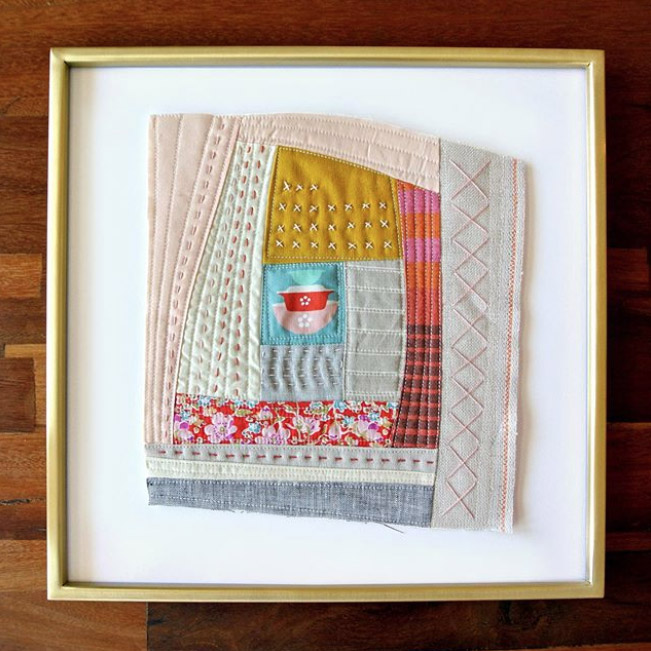
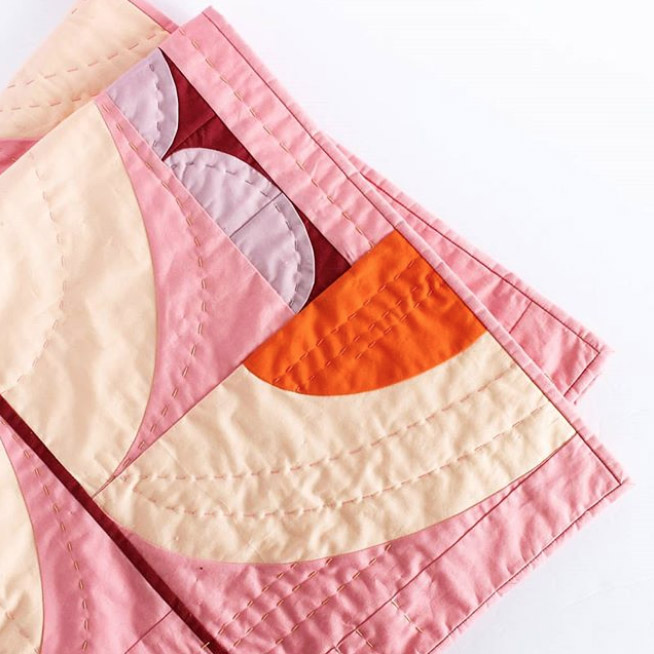
To create movement or to sew an appliqué, discover the various basic techniques and tools to hand stitch your latest masterpiece. Get inspired by embroidery and sashiko to create various unique stitches.
Essential Materials
Choices of threads are endless depending on the desired result. If you want to create a delicate stitch, choose the hand quilting thread by Gütermann. This extra strong thread has a waxed finish which gives it strength and reduces the chances of it getting tangled. If you’d rather have a visible thread, choose a DMC pearl cotton thread #8. It has a nice glossy finish and doesn’t fray easily. The needle is key to your project and your best friend for hours and hours of fun. Choose a fine and long needle to make several stitches at once and easily go through all layers of fabric. We suggest the gold eye embroidery needle set by Clover, which can be used for the English paper piecing method as well as hand stitching. How could we talk about hand stitching without mentioning the thimble? Choose a comfortable one, as you will be using it often. My favourite is the leather thimble by Clover, because I can hardly feel it. Add to your kit a good thread cutter and a threader, which will save your life when you’ll hallucinate needle eyes. I personally have a soft spot for the double needle threader by Clover or the automatic threader by Clover when using finer threads. Finally, get yourself a quilting ruler and a marking pen. You can also choose from several types of markers and pencils or get my new favourite, the Hera marker by Clover. If you feel like it, you could get a quilting hoop, which is similar to an embroidery hoop, to create tension on your piece. But don’t use an embroidery hoop, because they are not made to hold the thickness of a quilt. Before starting your project, you must choose batting. Check out our article on batting for help in choosing the perfect one for your project. To avoid disappointment, we suggest you try a small sample with the chosen fabric, batting and thread, to quickly get a glimpse of the final result.The Steps
First, you need to make your markings. Then, thread your needle with approx. 24 in of thread. If it tends to tangle, you may prefer to go with a shorter thread. Make a double knot at the tip of your thread. Watch our video to discover the quilter knot! Cut the excess very close to the knot. Before your first stitch, insert your needle, through the fabric only, approx. 1.5 cm from where the stitch is going to be. Then bring the needle out at your starting point. It’s now time to pull your knot under your fabric to hide it. Firmly pull on the thread to pass the knot through the fabric. Once done, use the tip of your needle to replace the fibres. If your knot goes right through both holes, simply replace the fabric and start over, but make sure to move a few millimetres not to stitch the exact same place. You can now start and reproduce your model. And cut yourself some slack … it won’t be perfect from the very beginning. Practice makes perfect! Be patient and practice often to get to a neat steady stitch. When you're almost done, stop right before the last stitch. Make another double knot approx. 1 cm from it. Then, create your last stitch and bring your needle out approx. 1.5 cm further, including once again only the fabric. Like you did for the first stitch, pull firmly on your thread so the knot goes through your fabric and cut it really short so it stays inside.Get inspired
!Hand stitching on video!
Available in French only In this video, Gabrielle shows us a few hand-stitching techniques to add a personal touch to your projects.Share your own favourites, creations or discoveries with us on our social media networks using #clubtissus.
Comments
Leave a comment
Loading...

