Published on:
November 16, 2020
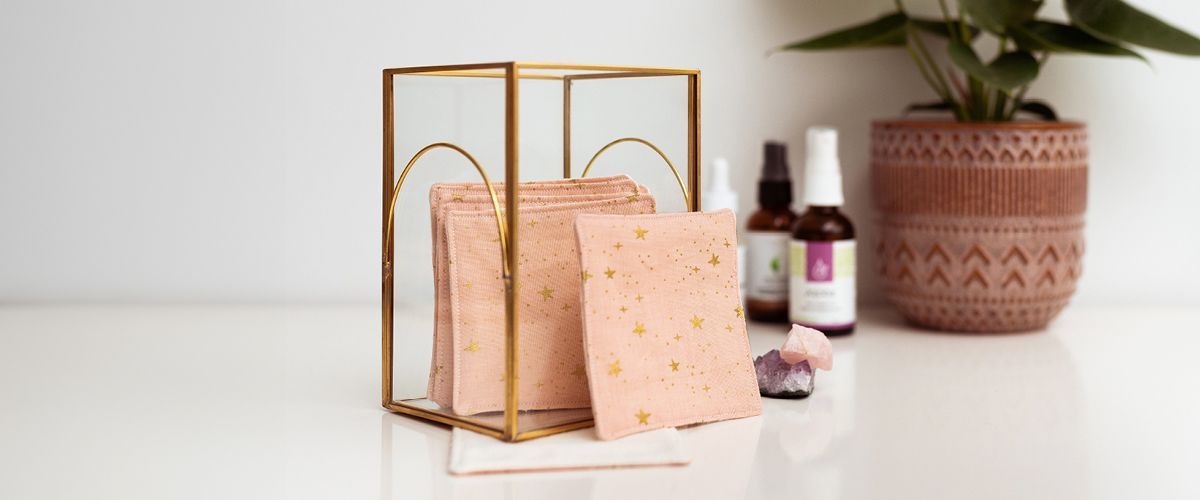
Reusable makeup remover pads are the ideal alternative to their disposable versions. Easy to sew, makeup removal pads make a great gift as well as being a simple way to make your makeup routine a little more eco-responsible.
Your new fabric makeup remover pads will have the same softness as commercial ones are and will be easy to wash in the laundry by putting them in a mesh washing bag. This is a nice project to use your flannel and cotton fabric scraps with your favourite designs.Format
For this DIY we opted for finished square pads of approximately 9 cm (3 ½ in) x 9 cm (3 ½ in) with a cotton fabric side to allow you to use your favourite designs and 2 plies of flannel. You can easily vary the sizes and fabric choices as you wish.
Here are other zero waste projects that will help you waste (a little) less!
- Reusable snack bags
- Fruit and vegetable produce bags
- The shoe string bag (in French only)
- The perfect bag (in French only)
Reusable makeup remover pads video
Gabrielle shows you the different steps to make your makeup removal pads. (Note that this video is available in French only)
Level of difficulty: Easy. Basic sewing machine skills required.
Time required: About 15 minutes
Required material
For one makeup remover pad
- 10 cm of quilting cotton
- 10 cm of flannel or other absorbent fabric
- 1 square 10 cm (4 in) x 10 cm (4 in) of quilting cotton
- 1 or 2 squares 10 cm (4 in) x 10 cm (4 in) of flannel or other absorbent fabric
Do not forget that we love to see your creations. Feel free to share them with us through social media, using the hashtag #clubtissus.
Comments
Leave a comment
Loading...


