Sac à épingles à linge | Clubtissus.com

Sewing Tutorial: Sew a Practical and Decorative Clothespin Bag

Published on: April 21, 2017
Tags:

Spring has yet to sprung and we cannot wait for sunny days and the warm winds to hang our sheets on the clothesline. We have a great tutorial for you today! It's very simple and will make your life easier in the summer season: a pretty clothespin bag, easy to hang at the end of your clothesline. It will always be conveniently close-by while you have your hands full of wet clothes. When the cold weather comes back (hopefully never!), simply bring the bag inside and use it in your wardobe or hang it on a hook in your bathroom. Thanks to its hanger, this little basket could also be used in your wardrobe to store accessories! Everybody likes multi-purpose creations!

Level of difficulty : Easy. Basic sewing machine skills.

Time required: About 30 minutes

Clothespin bag | Clubtissus.com

Material:
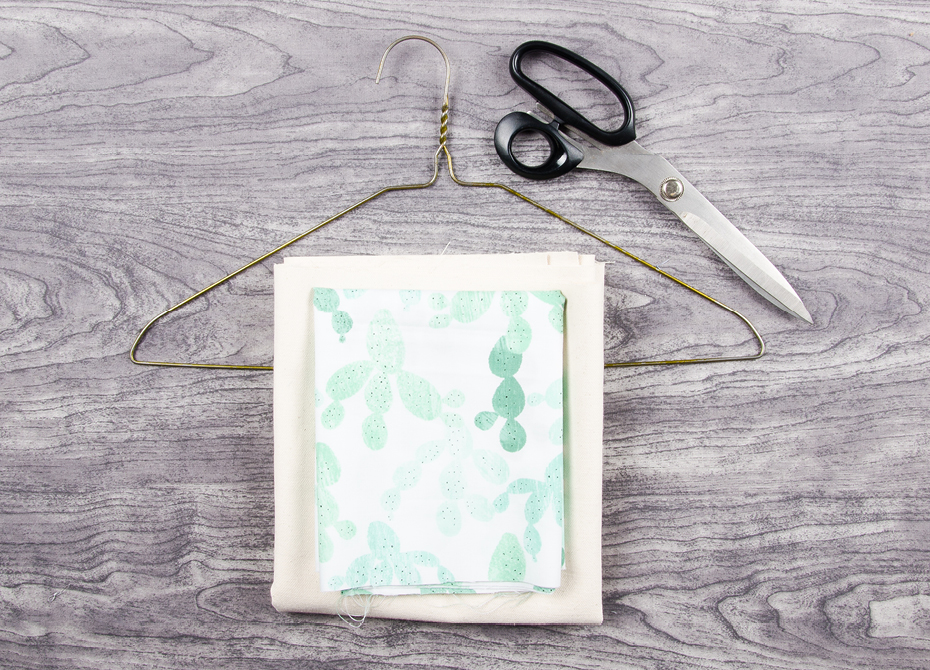
  • Patterned cotton: 20 cm (8 in)
  • Canvas: 30 cm (12 in)
  • Hanger
  • Scissors or a rotary cutter
STEP 1: Cut out the four pattern pieces.
  • Piece 1: Front, top
  • Piece 2: Front, bottom
  • Piece 3: Back, top
  • Piece 4: Back, bottom

Clothespin bag | Clubtissus.com

STEP 2: Put together pieces 3 and 4. *Tip: To create a clean finished look topstitch or pipe all seams.


Clothespin bag | Clubtissus.com

STEP 3: Finish the top front and back parts with a double-fold hem (1 cm). This is where the hanger will exit. You can iron your hem before sewing it: this will help you make a straight and even fold.

Clothespin bag | Clubtissus.com

STEP 4: Make a double-fold hem (1 cm) on the bottom edge of Piece 1 and top edge of Piece 2, to finish the front opening, where you will store your clothespins. You can iron your hem before sewing it: this will help you make a straight and even fold.

Clothespin bag | Clubtissus.com

STEP 5: Gather the front and back part. We recommend to use pins to line up the two front pieces with the back insert. Sew all around, leaving an opening at top, large enough to slip through the hook part of the hanger.

Clothespin bag | Clubtissus.com

STEP 6: Line up the side seam and the bottom seam to make points at the bottom of the bag. All that's left is to create the bottom of the bag: sew a straight line, 5 cm away from the tip of the point. *Tip: To create a clean finished look topstitch or pipe all seams. Clothespin bag | Clubtissus.com

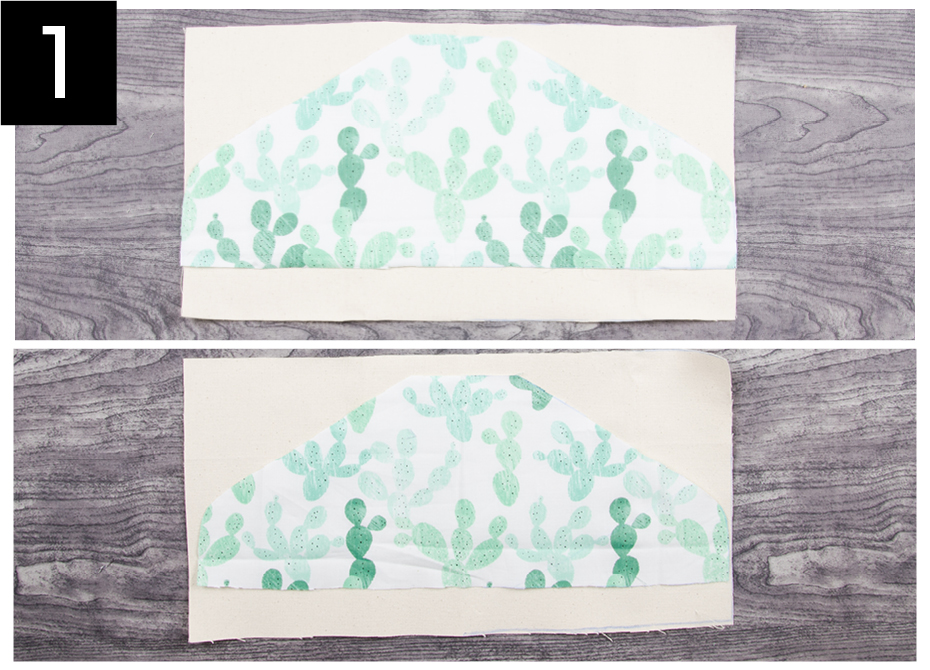
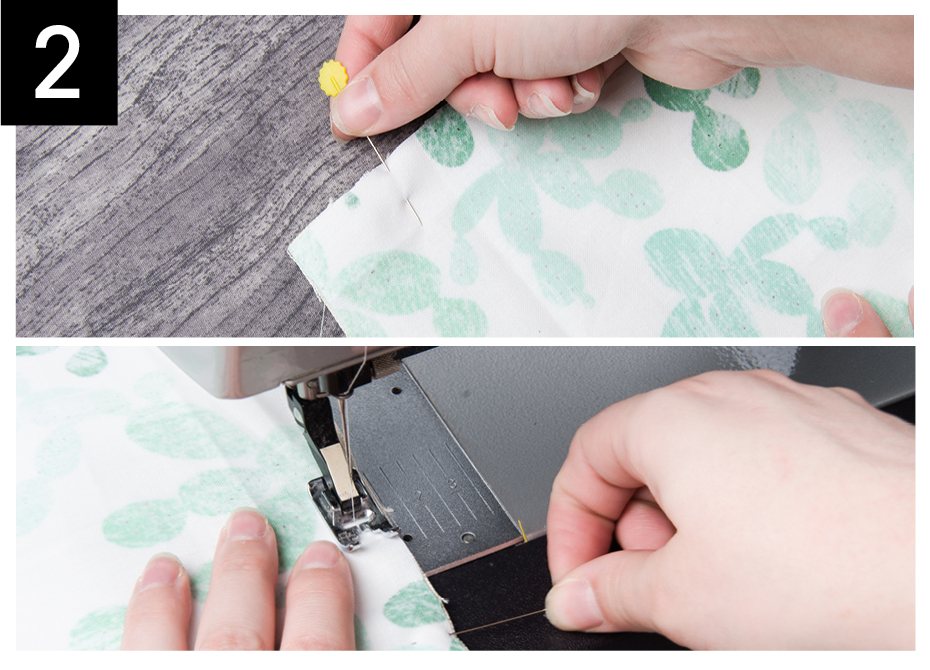
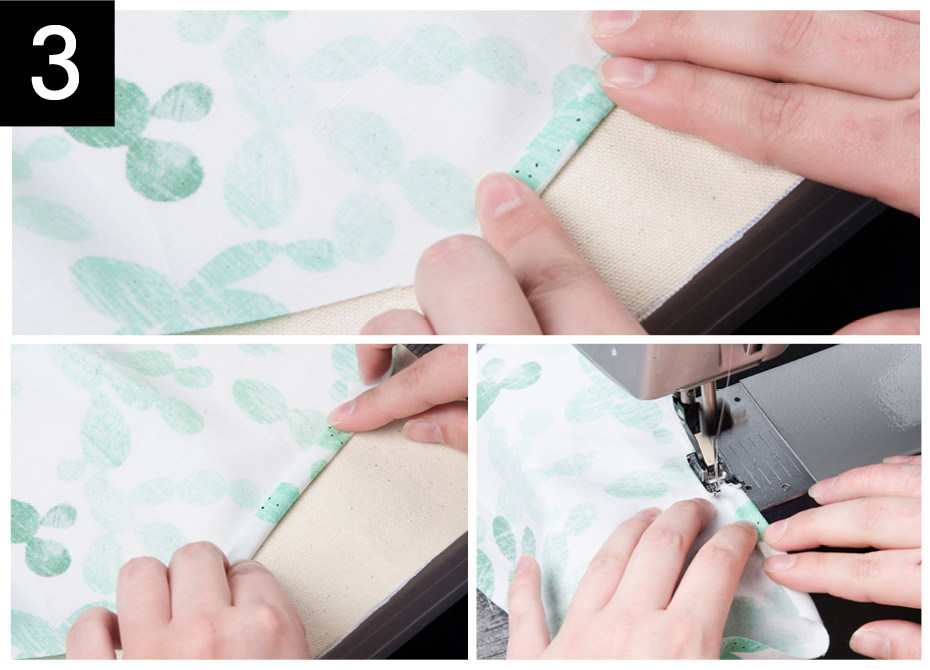
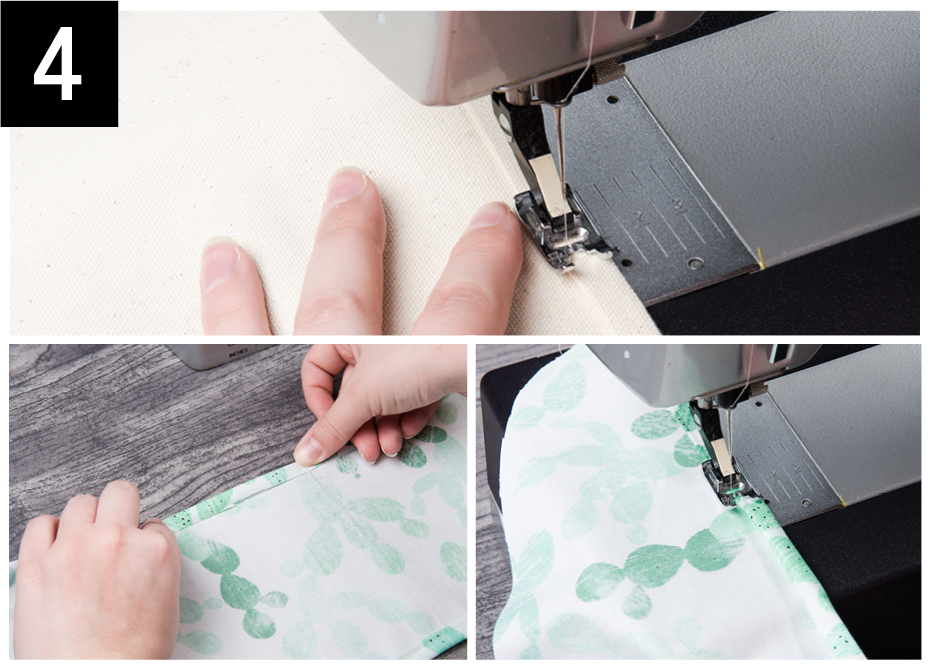
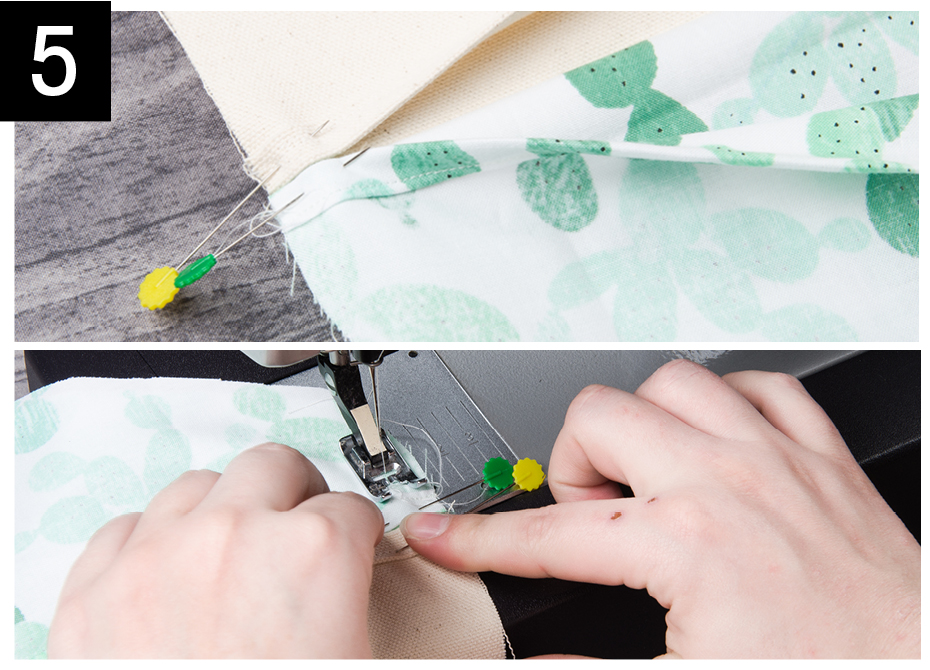
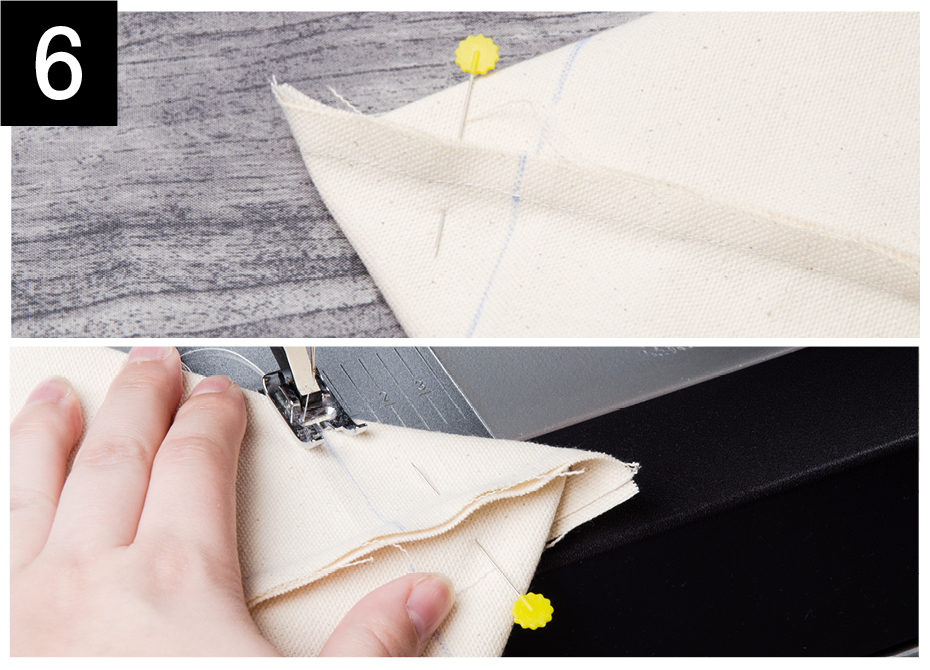
Note : Our seam-allowance is 1 cm.

There you go! Your clothespin bag is done! 

Do not forget that we love to see your creations. Feel free to share them with us through social media, using the hashtag #clubtissus. See you soon!
Comments
Leave a comment
Leave a comment
Danielle desgagne
July 17, 2017
J'aime bien le nouveau site mais j'ai remarquer qu'il n'est plus possible davoir les info du pas a pas en pdf moi j'ai bien pouVoir soit l'imprimer ou l'enregistrer sur mon ordi merci
Answer
Catherine
June 26, 2019
bONJOUR, jE VOULAIS FAIRE CE PROJET, MAIS JE N'ARRIVE PAS À COMPRENDRE QUELLES PARTIES DOIVENT ÊTRE ASSEMBLÉES ENSEMBLE. lES IMAGES ET LES EXPLICATIONS NE SONT PAS ASSEZ CLAIRES. mERCI.
Answer
loader
Loading...