Published on:
August 13, 2019

Am I the only one who accumulates all the small fruits and vegetables grocery bags under my sink, in the hopes of finding a purpose for them someday? I quickly dropped this idea and now opt for reusable produce bags. Easily realizable, this project will make you feel like you are helping out and doing your part for the environment!
Here are other zero waste projects that will help you waste (a little) less!- Reusable snack bags
- Makeup remover pads
- The shoe string bag (in French only)
- The perfect bag (in French only)
Natacha Créative tested our free reusable produce bags pattern! (Video in french only)
Want to make your very own fruits and vegetables bags just like the ones by Natacha Créative? Get the brand new DIY box that includes all the necessary materials to make them.
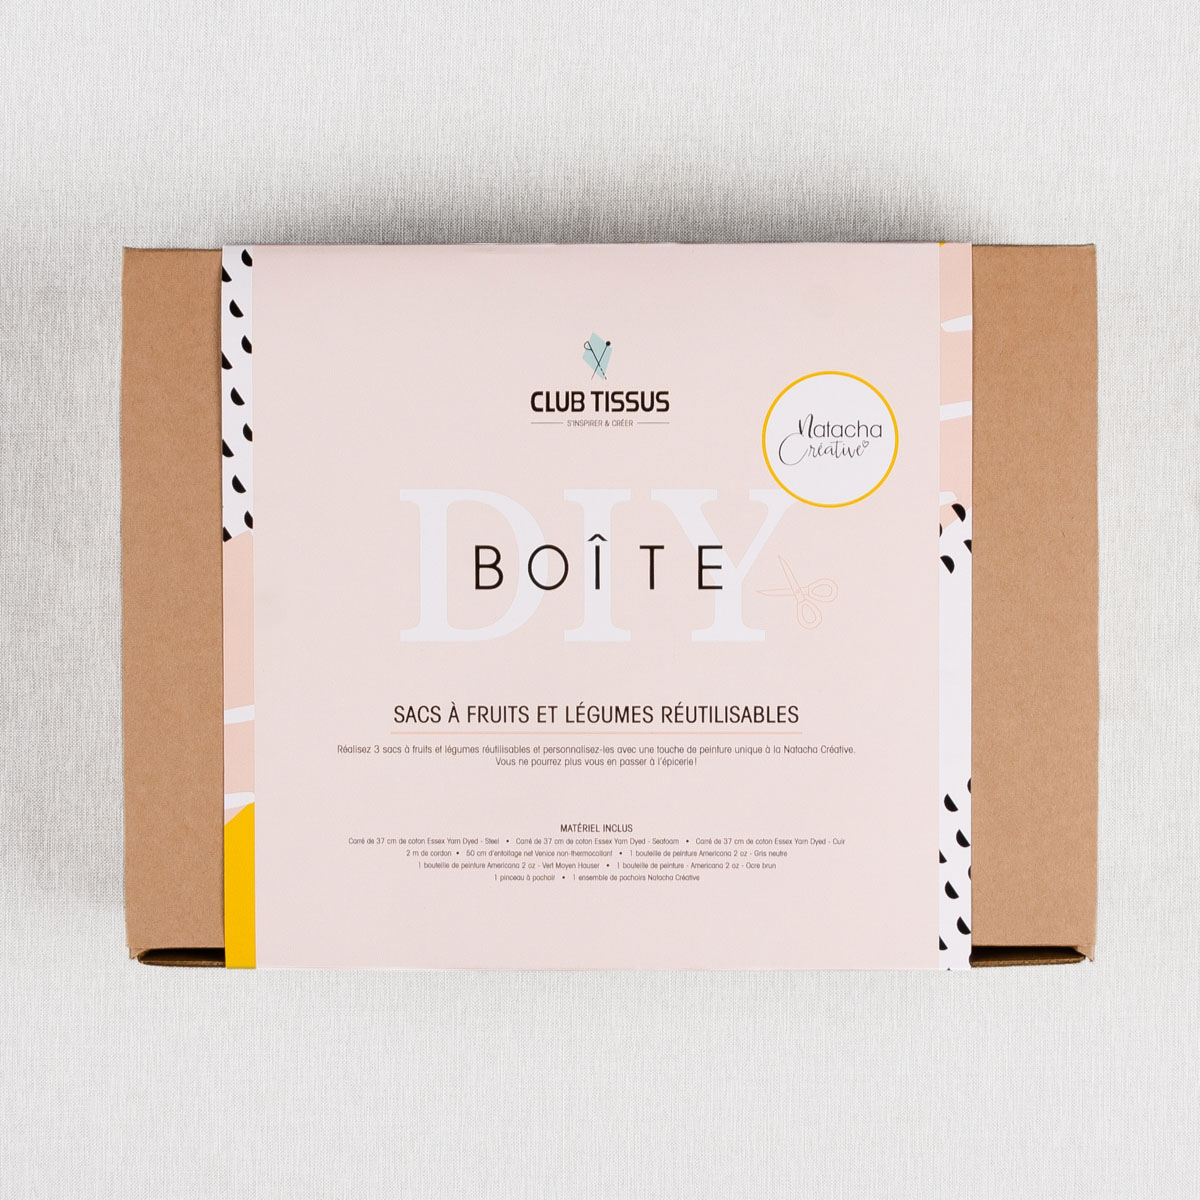
Level of difficulty : Easy. Basic sewing machine skills required.
Time required : About 30 minutes each
Sewing value included: 1 cm (3/8 in)
In the optic of making this project even more eco-friendly and since the pieces required are quite simple to create, either make rectangles or squares, we suggest not printing out the pattern in order to avoid wasting paper.
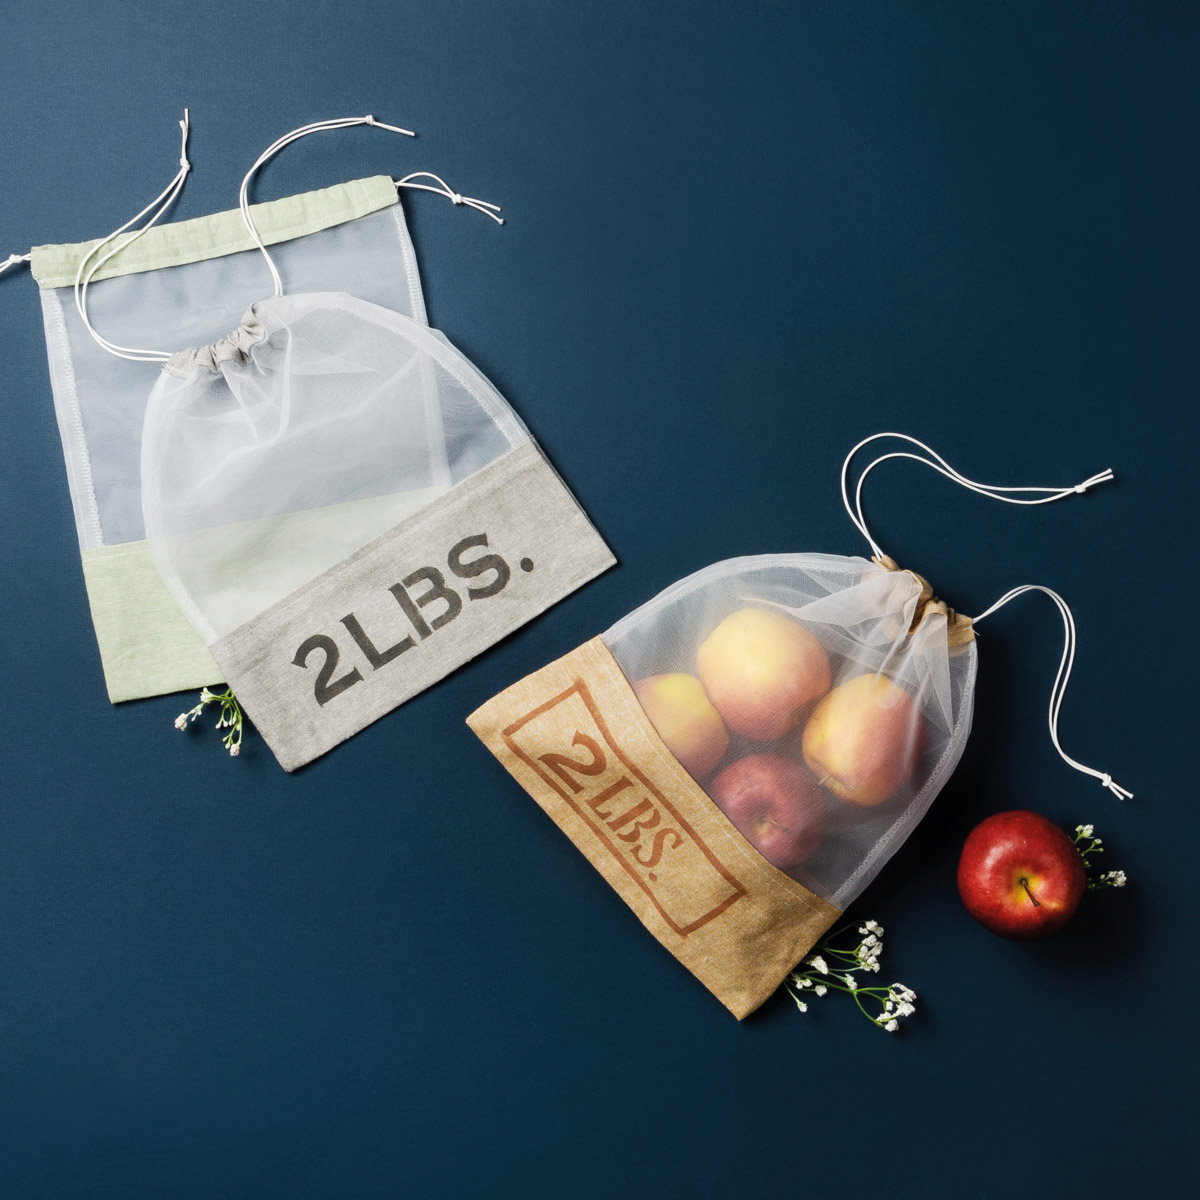
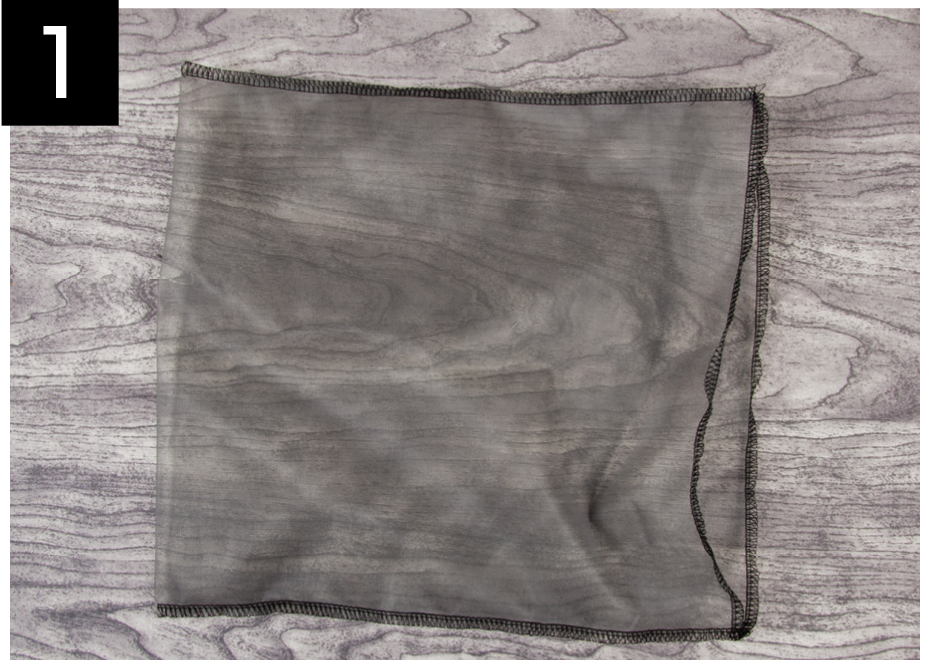
Fruits and vegetables produce bag 1.0
Download free pattern/strong>
Leave us your email address to get the free pattern.
Download free pattern
Leave us your email address to get the free pattern.
Required material :
- Venice nonfusible mesh knit facing : 30 cm (11 ¾ in)
- Quilting cotton : 10 cm (4 in)
- Very fine cords : 1 m (39 3/8 in)
- Scissors or rotary knife
- Anti-fraying liquid or lighter (optional)
What you need to cut :
- One 26 cm (10 ¼ in) by 64 cm (25 ¼ in) rectangle in the Venice nonfusible mesh knit facing.
- One 6 cm (2 3/8 in) by 52 cm (20 ½ in) quilting cotton strip.
STEP 1 : Start by making an overlock stitch on both ends of the 26 cm (10 1/4 in) rectangle. If you don’t have an overlock machine, you can always replace this step by doing a zigzag stitch instead. However, if you decide to do a zigzag stitch make sure that you make it very close to the edge to prevent fraying. Once this step is complete, fold your Venice mesh rectangle in half lengthwise. Overlock both sides of the bag. You can also add a straight stitch for extra strength if you use the overlock stitch or the zigzag stitch. If you choose to do the zigzag stitch you can always add anti-fraying liquid for a better finish.
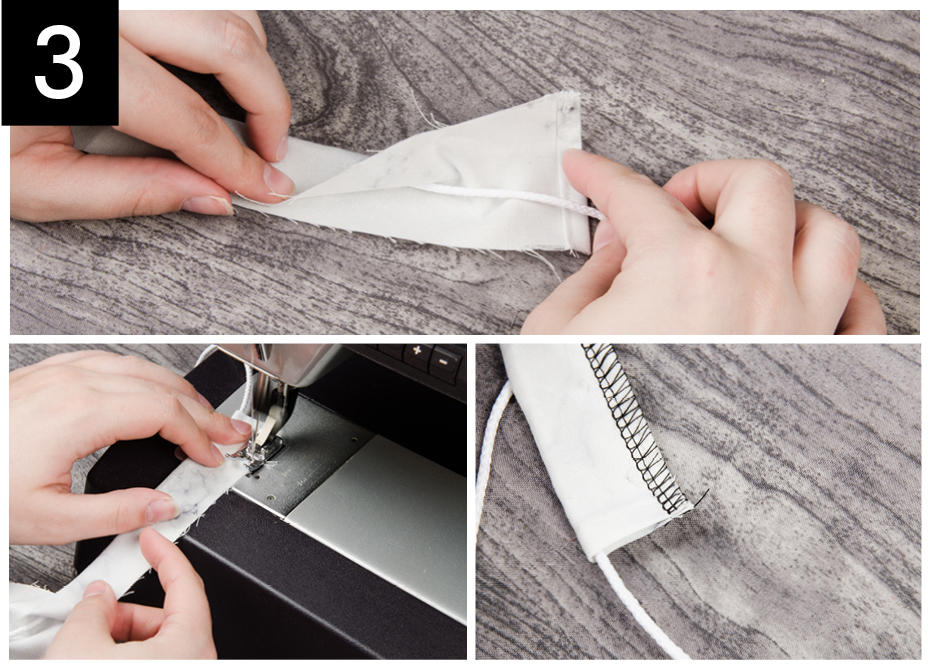
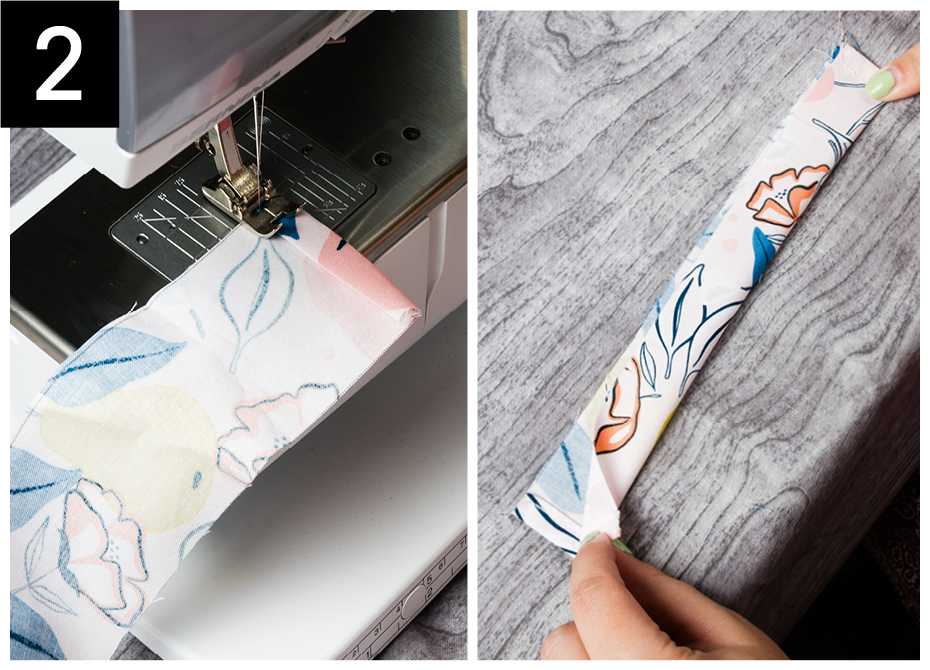
STEP 2 : Fold the edge twice and stitch both ends of the cotton strip.

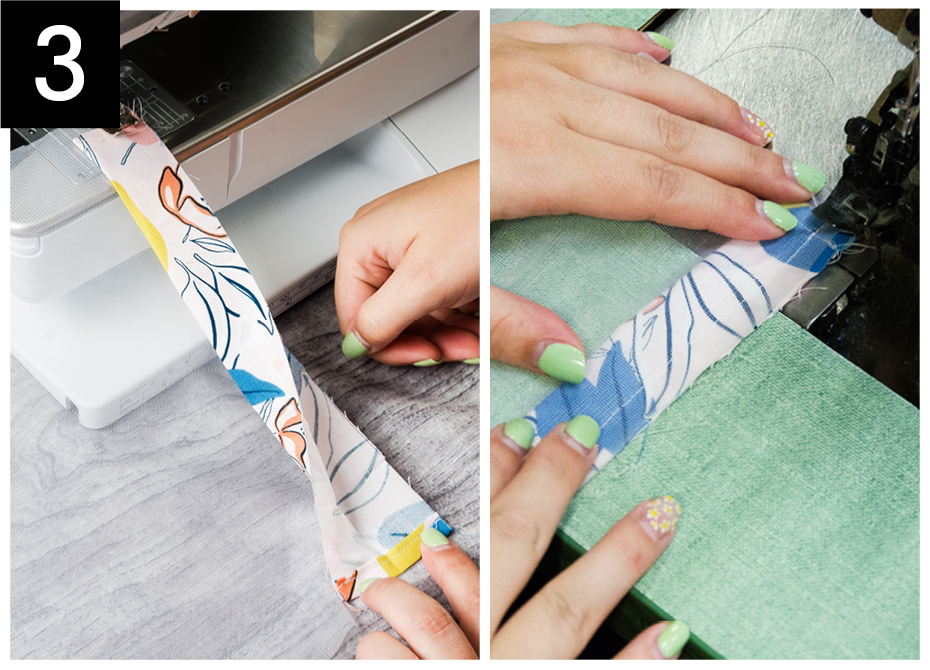
STEP 3: Fold the cotton strip in half widthwise by inserting the cord before stitching down to secure it. Add an overlock stitch for a beautiful finish and to prevent the fabric from fraying. If your are using a cotton cord, add a drop of anti-fraying liquid at each end, to help secure it. If your cord is made of synthetic fibres, melt the tip with a lighter to prevent it from fraying.
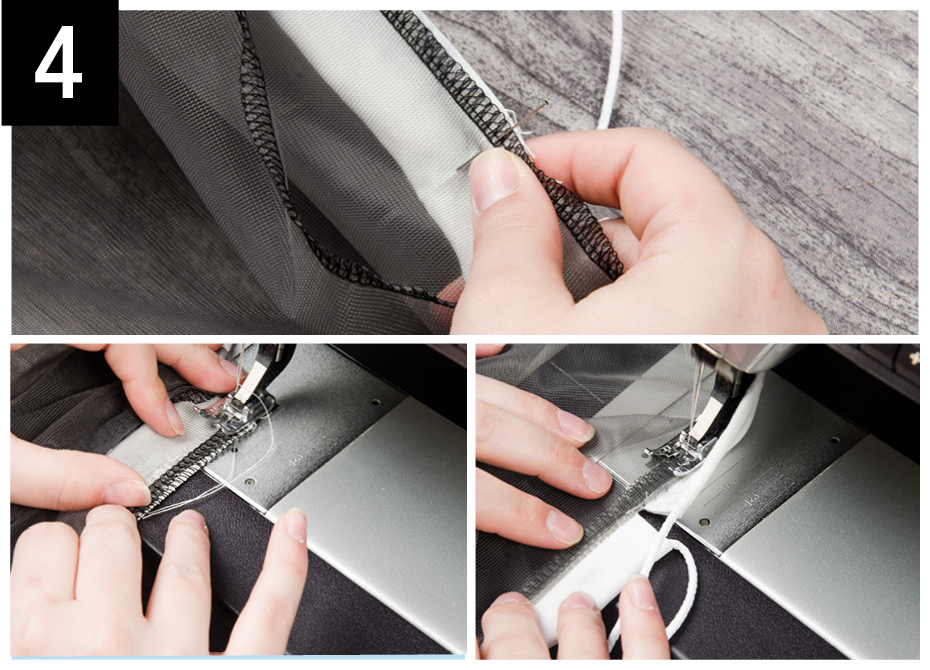
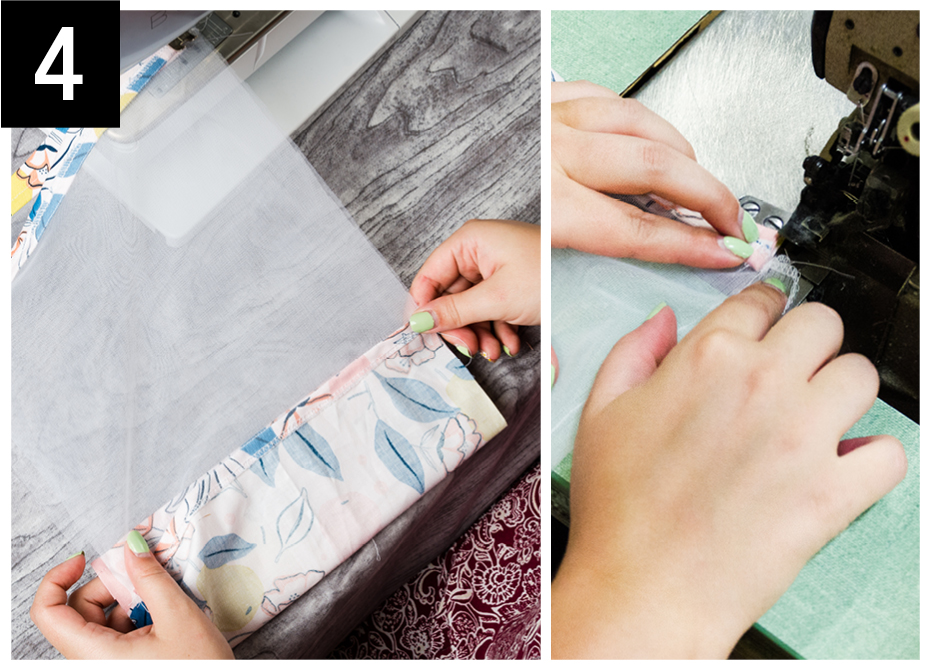
STEP 4: After turning your bag inside out, apply the strip, right side together, on the edge of the bag by also making sure the both end of the strip join back in the middle front of the bag. Then proceed to stitch the strip to your bag. Fold the edge over towards the inside of the bag and make a topstitch for a nice finish.
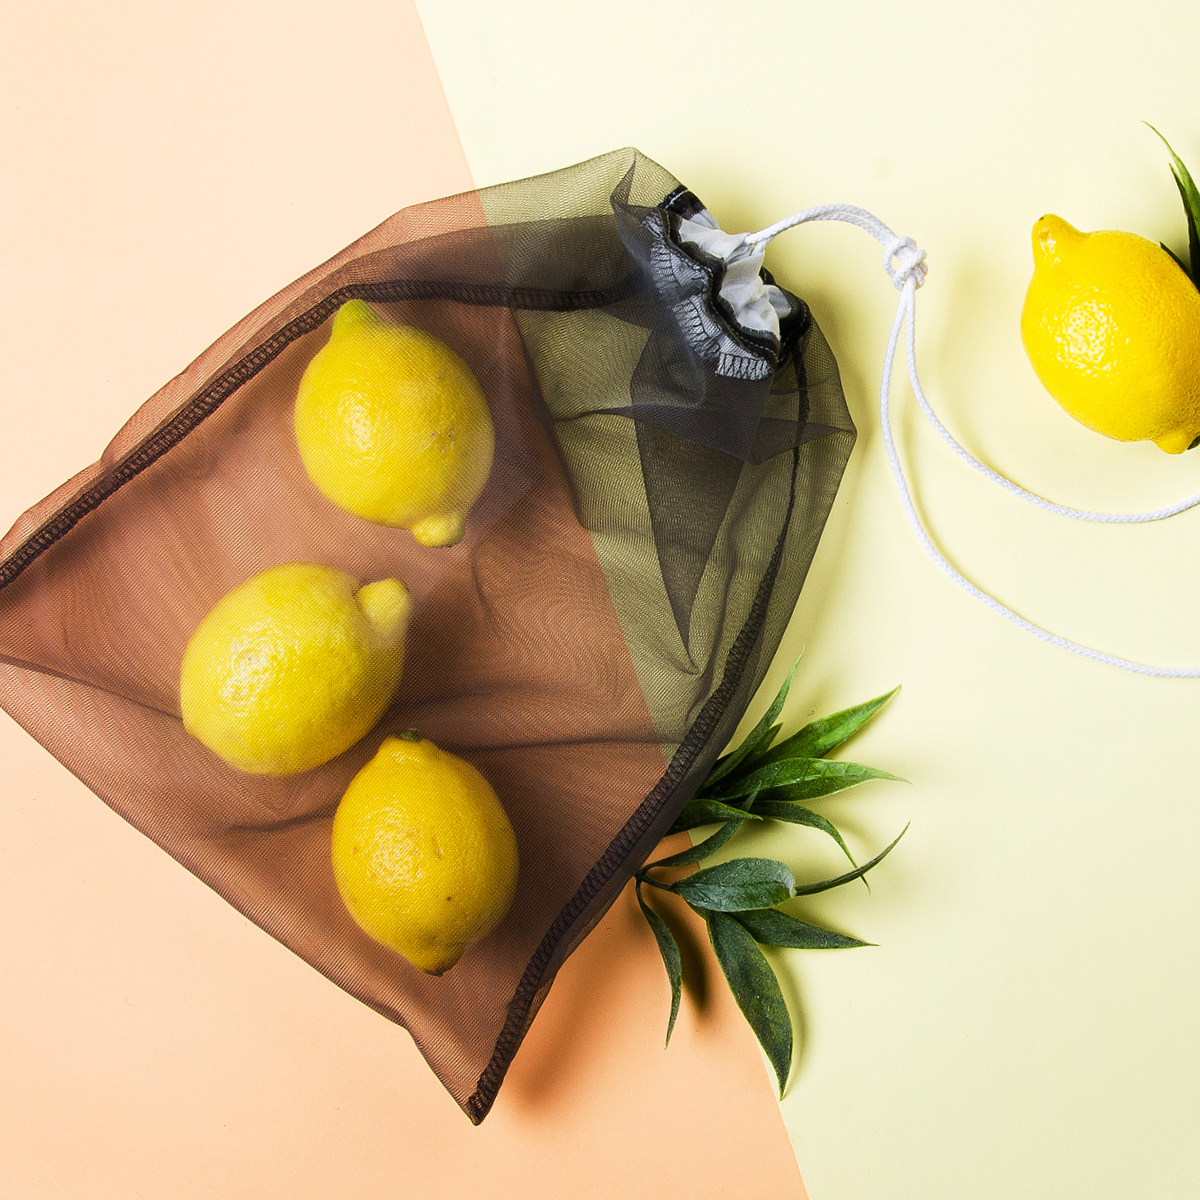
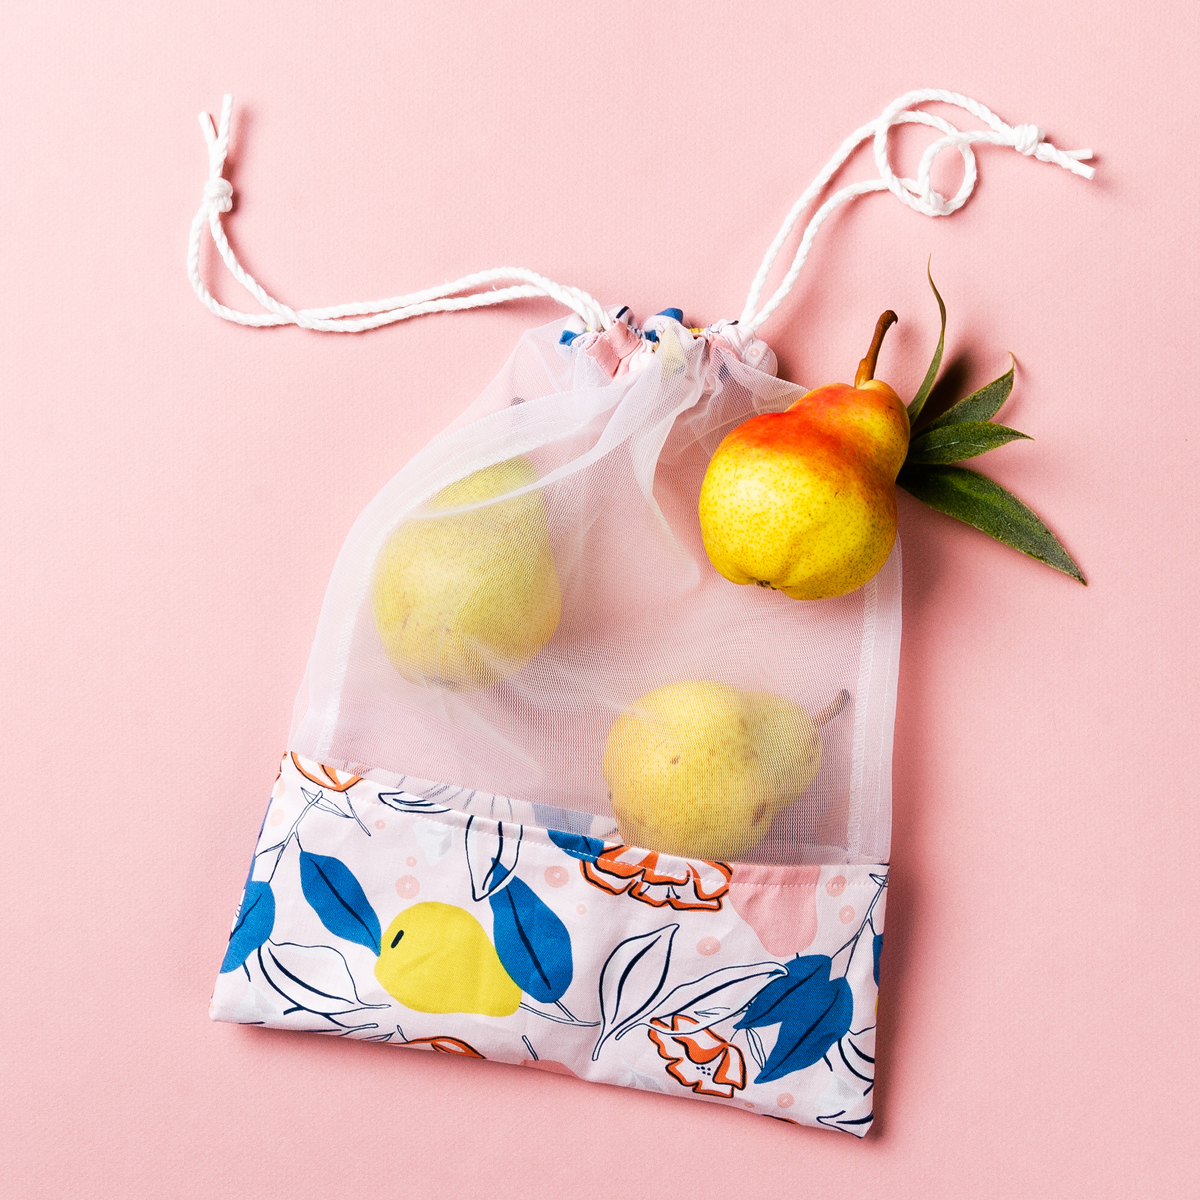
Fruits and vegetables produce bag 2.0
Download free pattern
Leave us your email address to get the free pattern.
Download free pattern
Leave us your email address to get the free pattern.
Here is a second version of our produce bag. You will find a new sliding cord system for closing the bag as well as the bottom made of cotton. So you can play with these options to create your perfect bag according to your needs. Play with the different slide cord systems, formats and cutouts to make your next grocery shopping tun a little more eco-friendly and fun.
Required material :
- Venice nonfusible mesh knit facing : 25 cm (10 in)
- Quilting cotton : 25 cm (10 in)
- Very fine cords : 60 cm (23 1/2 in)
- Scissors or rotary knife
- Anti-fraying liquid or lighter (optional)
What you need to cut :
- 2 rectangles of 26 cm (10 ¼ in) by 23 cm (9 in) of Venice nonfusible mesh
- 1 rectangle of 26 cm (10 ¼ in) by 22 cm (8 3/4 in) of cotton
- 2 strips of 6 cm (2 3/8 in) by 28 cm (11 in) of cotton
- 2 cords of 30 cm (11 ¾ in)
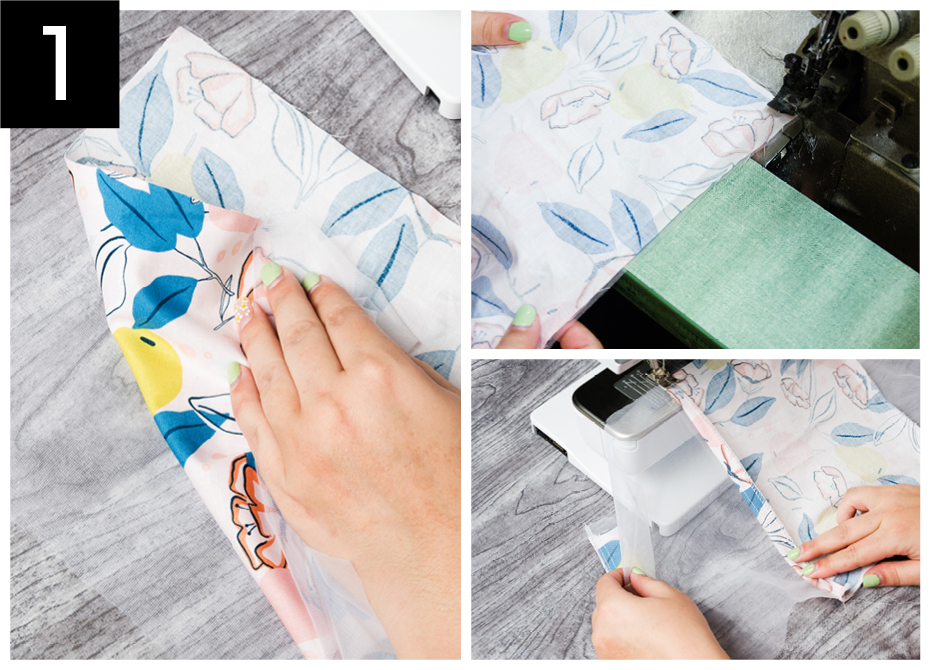
STEP 1 : On each side of the 26 cm (10 ¼ in) cotton rectangle sew a piece of mesh facing. To avoid fraying, we also suggest making an overlock stitch or a zigzag stitch. Then fold down your seam allowance towards the cotton fabric and make a topstitch to solidify the seam.
STEP 2 : Start by folding each end of the strip twice and topstitch to create a nice finish. Then fold the strip in half, with the pattern facing up.
STEP 3 : At each end of the mesh facing rectangle, install a strip, making sure to leave 1 cm (3/8 in) on each side. Sew and overlock for a clean finish. Then fold down the seam allowance towards the cotton strip and topstitch.
STEP 4 : Fold your bag in half, with the right sides facing each other, making sure the cutouts are aligned. Then sew the two sides and overlock for a nice finish.
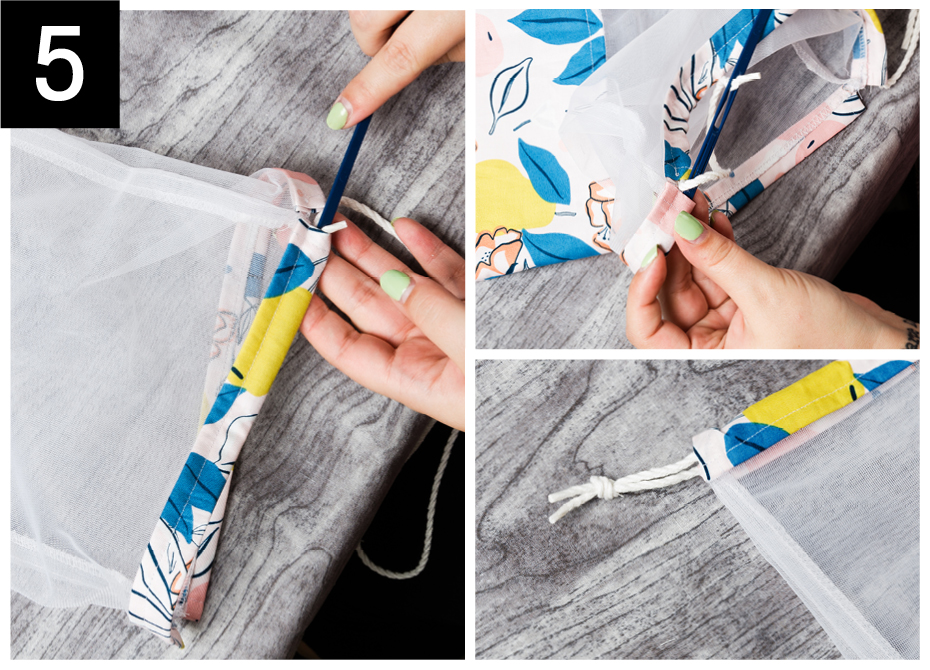
STEP 5 : Install the cords by inserting them in the two cotton strips and then joining the two ends with a knot.
Feel free to share them with us through social media, using the hashtag #clubtissus.
0 comments
Share:
Comments
Leave a comment
Loading...