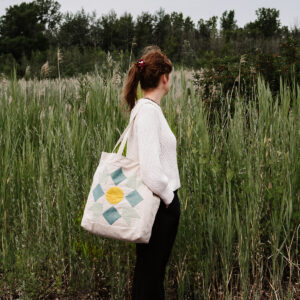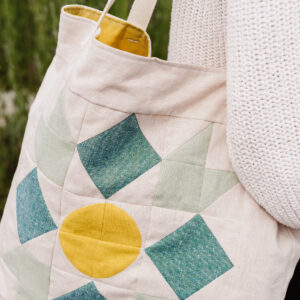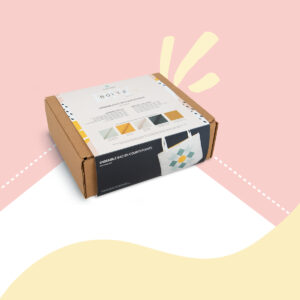
The quilt bag kit is the perfect way to learn the basics and create a project that works well as part of an everyday item: the perfect bag. In this article you will find free patterns and steps to make your own bag.
Follow these steps to make your quilt bag:
1. Buy the quilt bag kit
2. Sew a quilt block
3. Integrate the quilt block
4. Sew the perfect bag
2. Sew a quilt block
Discover how to make the quilt block step by step with 3 techniques. (Video in french only)
Required materials
- Cotton quilt (Included in the quilt bag kit)
- Colour 1 (white): 25 cm (10 in)
- Colour 2 (pink): 15 cm (6 in)
- Colour 3 (blue): 15 cm (8 in)
- Colour 2 (green): 10 cm (4 in)
To make the quilt block, you will also need the following materials:
- A rotary cutter
- A cutting mat
- A marker pen. My favourite is the Prym cartridge pencil
- A basic ruler
- An imperial quilting ruler
- A sewing machine
- Wonder Clips or pins
The following table shows the 3 models used for this block.

|
Models |
Name | Abbreviation | |
 |
« Curve square » |
HSTS |
|
 |
« Half-square triangle» |
||
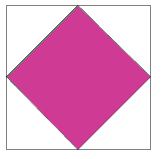 |
« Diamond in a square » |
– |
|
Cuts
First, download and print the pattern for pieces A & B.
Download free pattern
Leave us your email address to get the free pattern.
Download free pattern
Leave us your email address to get the free pattern
Next, trim the cotton:
Colour 1 (white)
- 20 x 2 ½ in squares (Piece C)
- 1 x 6 in square (Piece D)
- 4 pattern pieces (Piece A)
Colour 2 (pink)
- 4 x 4 ½ in squares (Piece E)
- Colour 3 (blue)
- 1 x 6 in square (Piece F)
- 4 x 2 ½ in squares (Piece G)
Colour 4 (green)
- 4 pattern pieces (Piece B)
3. Integrate the quilt block
For those who don’t want to venture into pattern making, as explained in the video, here is all the information on how to incorporate your 12 ½ in x 12 ½ in quilt block to the Perfect Bag.
Seam value: When assembling this rectangle, seams should be made to ¼ in. The ¼ in values are already included in the trimming measurements.
Required materials
- Your finished quilt block 12 ½ in x 12 ½ in
- 50 cm (20 in) of cotton quilting material (Included in quilt bag kit)
- 1 m (39 3/8 in) of lining fabric (Included in quilt bag set)
Cuts
Use inch measurements, as your quilt block was made in inches, this will avoid the occasional gap between your block and your pattern pieces.
- 1 x 20 in x 3 ¼ in rectangle
- 2 x 12 ½ in x 4 ¼ in rectangles
- 1 x 24 ¼ in x 20 in rectangle
Piecing
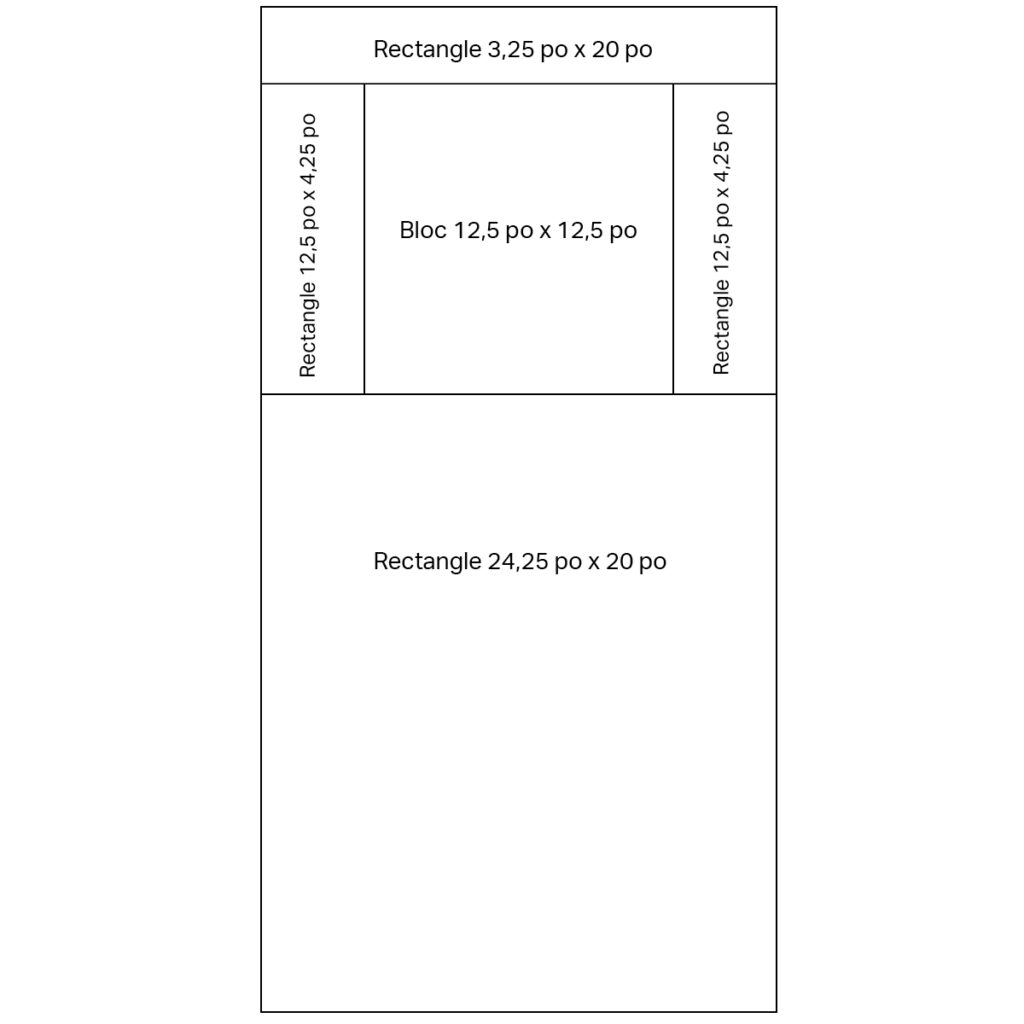
Piecing steps
To see the steps in detail, view the end of the video above.
STEP 1: Join the two 12 ½ in x 4 ¼ in rectangles on each side of the quilt square right sides together.
STEP 2: Then join the remaining two rectangles on the other two sides right sides together again. If your block has a direction, be sure to put the 3 ¼ in rectangle on the top and the 24 ¼ in rectangle on the bottom.
4. Sew the perfect bag
The quilt bag kit includes the fabric needed to make lined Model A.
Download free pattern
Leave us your email address to get the free pattern
In order to make an eco-friendlier project and as the pieces are quite simple to create, either rectangles or squares, we advise you not to print the pattern to avoid wasting paper.
Required materials
- Your quilt block integrated with the outer fabric of your bag in the previous step.
- 1 m (39 3/8 in) of lining fabric (Included in quilt bag kit)
- 1.5 m (59 in) of webbing (Included in quilt bag kit)
Cuts
- 1 x piece C in the lining (H: 97 cm (38 3/16 in) / L: 52 cm (20 in))
- 2 straps (L: 75 cm (30 in))
Sewing steps
Follow the sewing steps for pattern A lined included in the PDF pattern you downloaded or in this blog post.
We love to see your creations. Feel free to share them with us through social media, using the hashtag #clubtissus.

