With the end of summer fast approaching, it’s time to start thinking about autumn. Does the cooler weather inspire you to cocoon with lots of cushions and blankets? Here’s a simple project to add to your cushion collection. These pretty shaped cushions are great for any room! You can also involve your children to transform a rainy afternoon into a creative afternoon with the family. I remember all the autumn afternoon spent with my grandmother where she taught me the basics of sewing. Cushions were my first projects, simple and quick to achieve, I had no time to get bored and my pride was incredible when I brought my new cushion home to add it with the cuddly toys in my room !
You can also involve your children to transform a rainy afternoon into a creative afternoon with the family. I remember all the autumn afternoon spent with my grandmother where she taught me the basics of sewing. Cushions were my first projects, simple and quick to achieve, I had no time to get bored and my pride was incredible when I brought my new cushion home to add it with the cuddly toys in my room !
Level of difficulty: Easy. Basic sewing machine skills required.
Time required: About 1 hour
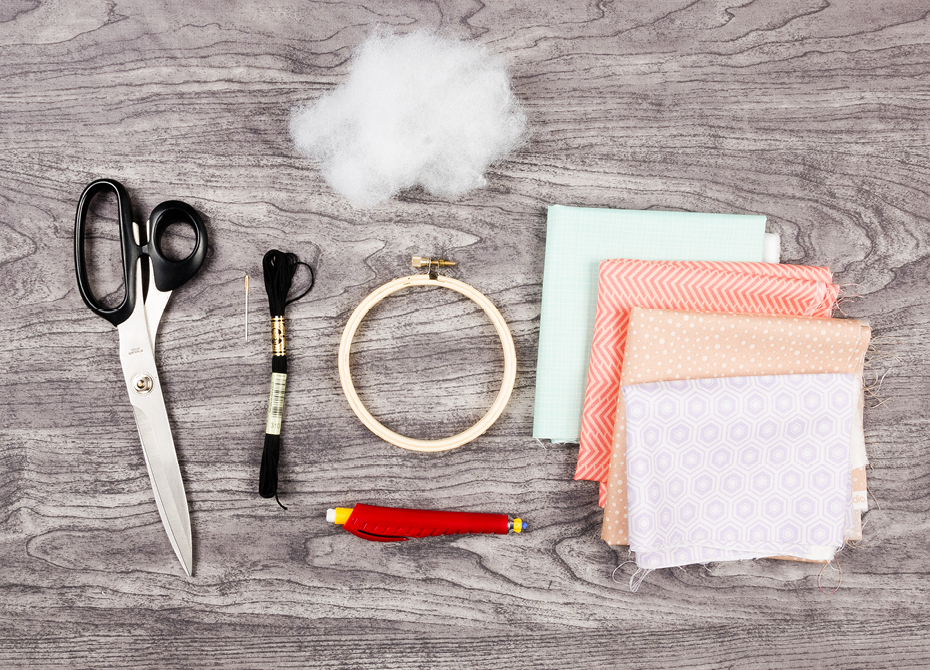
Required material :
- 30 cm (12 in) for the cloud
- 30 cm (12 in) for the cat
- 30 cm (12 in) for the ice cream cone
- 20 cm (8 in) for the ice cream
Plush stuffing
Needle and embroidery needle
Embroidery thread
Scissors or rotary knife
Ice cream cone
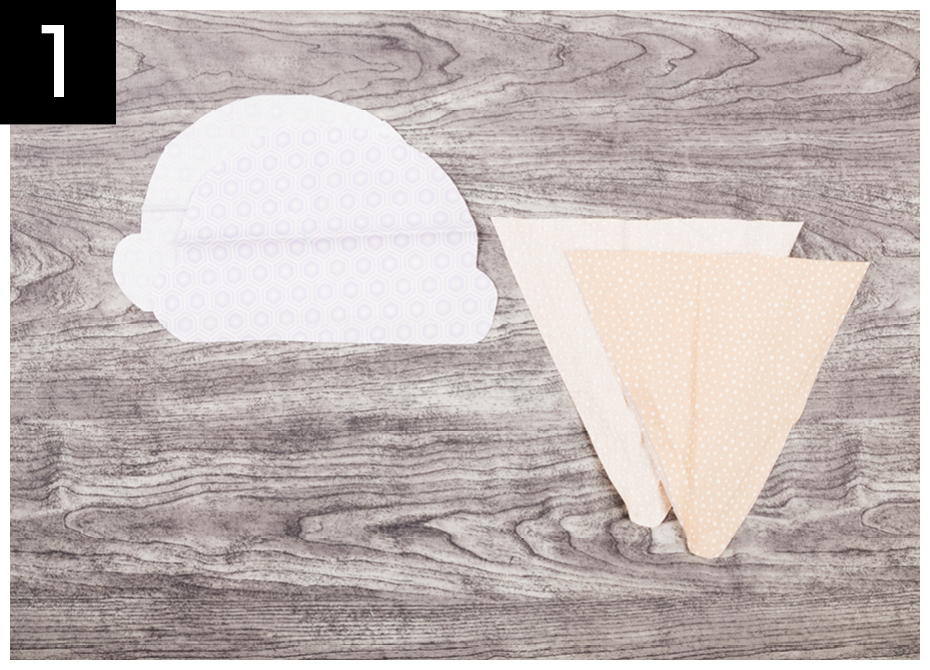
STEP 1 : Cut the 4 pattern pieces into two different fabrics
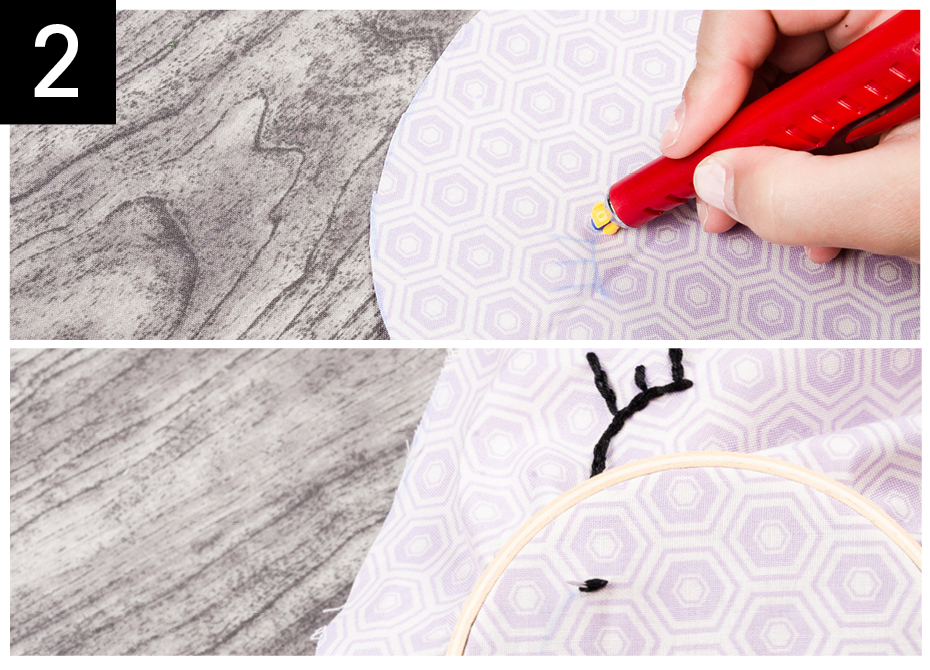
STEP 2 : On the front of your cushion, trace the eyes with a pencil. Then embroider it with an embroidery cotton thread in the colour of your choice.
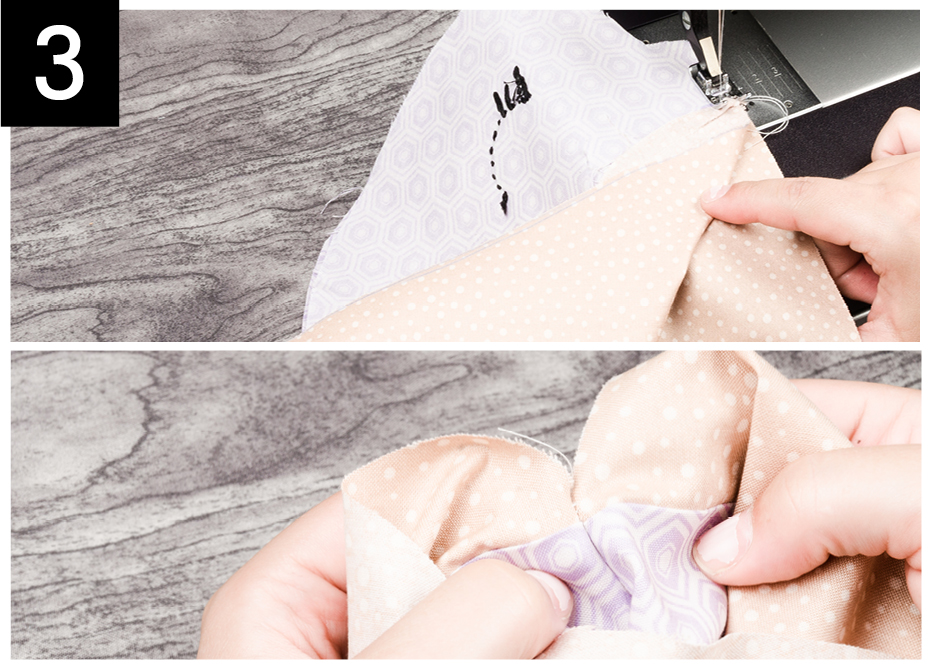
STEP 3 : Assemble the ice cream portion with the cone portion for the front and back by juxtaposing them, right sides facing each other. Assemble the front and back and leave an opening of about 5 cm (2 in). Be sure to align the yoke front and back by attaching the junction with a small stitch.
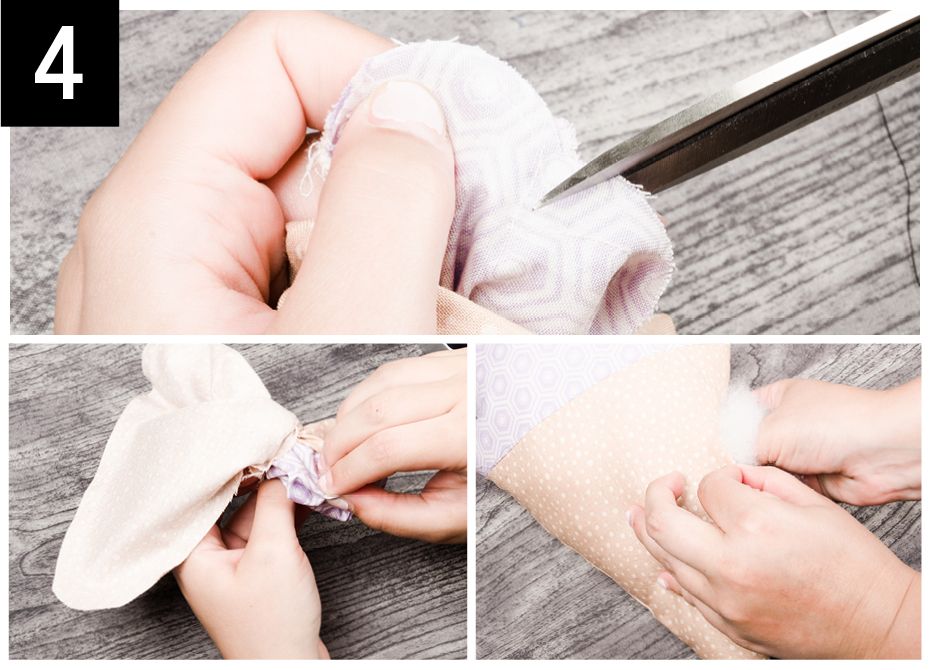
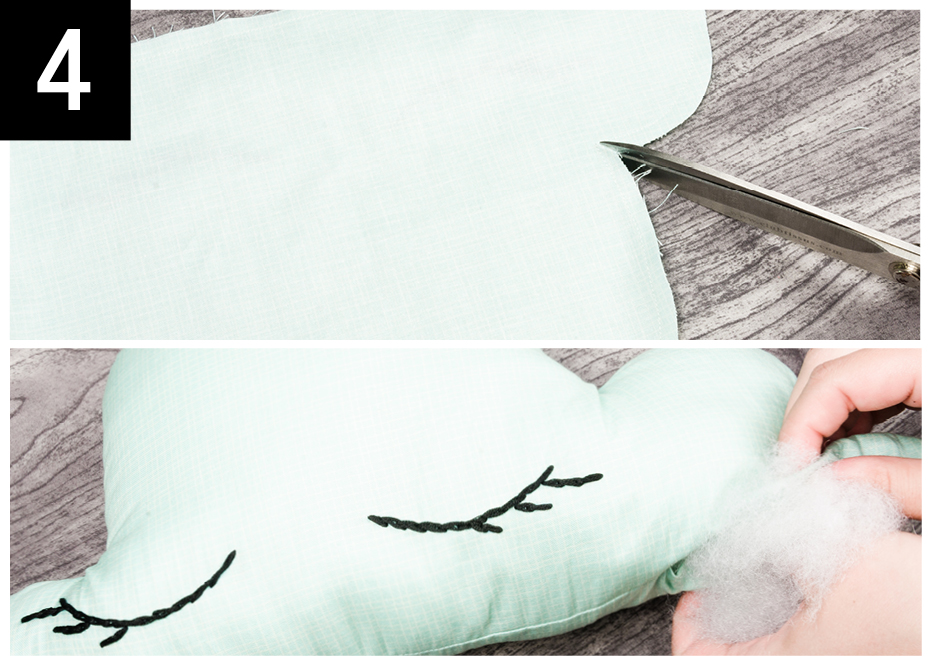
STEP 4 : Crunch the corners and decrease the seam value in the curves. Pull your cushion inside out and stuff it with the plush stuffing.
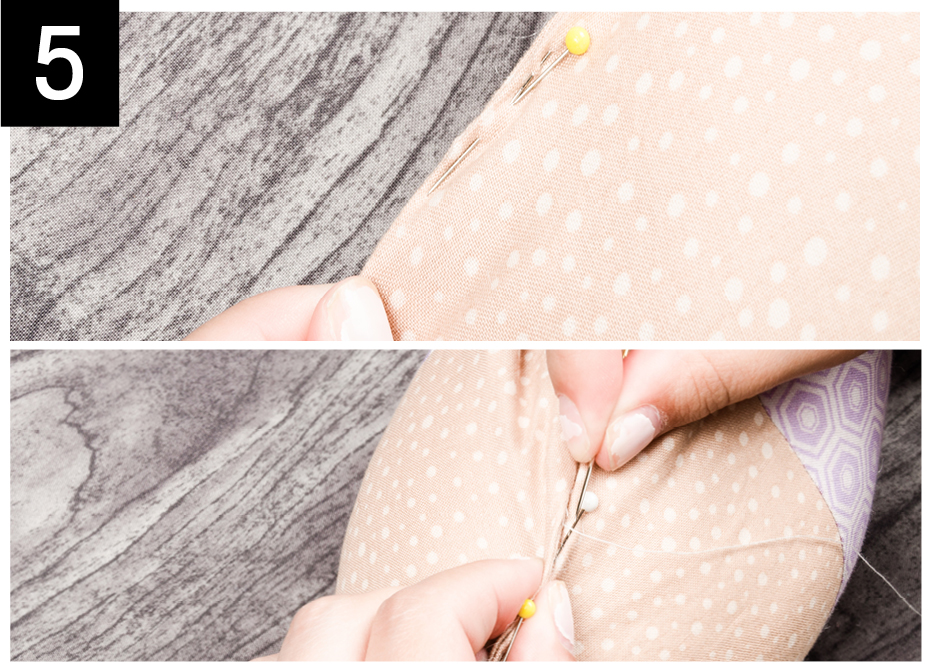
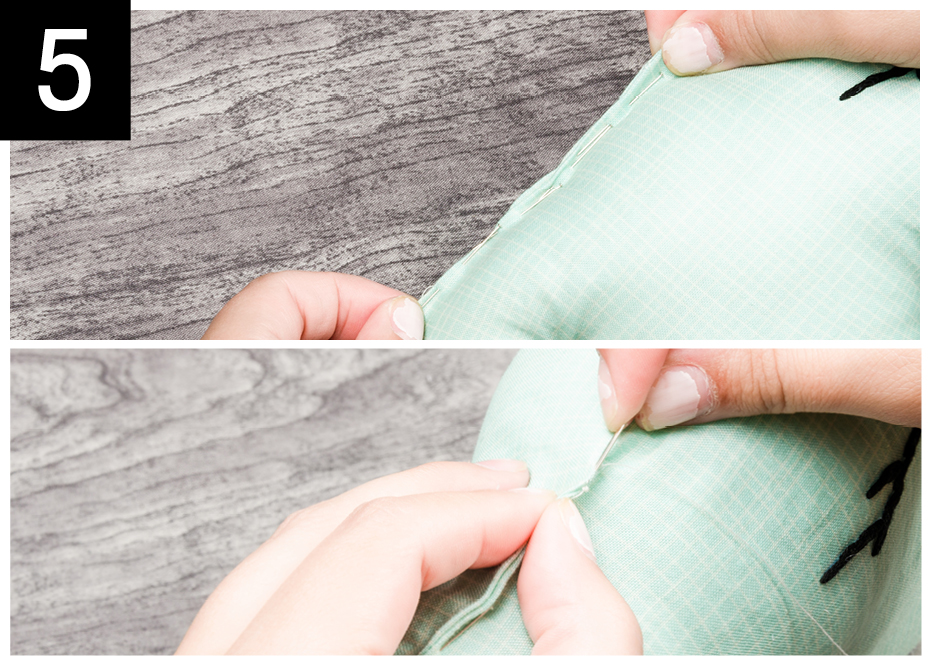
STEP 5 : Close your cushion by making an invisible stitch by hand.
To get the PDF version of the DIY, click here !
Cat
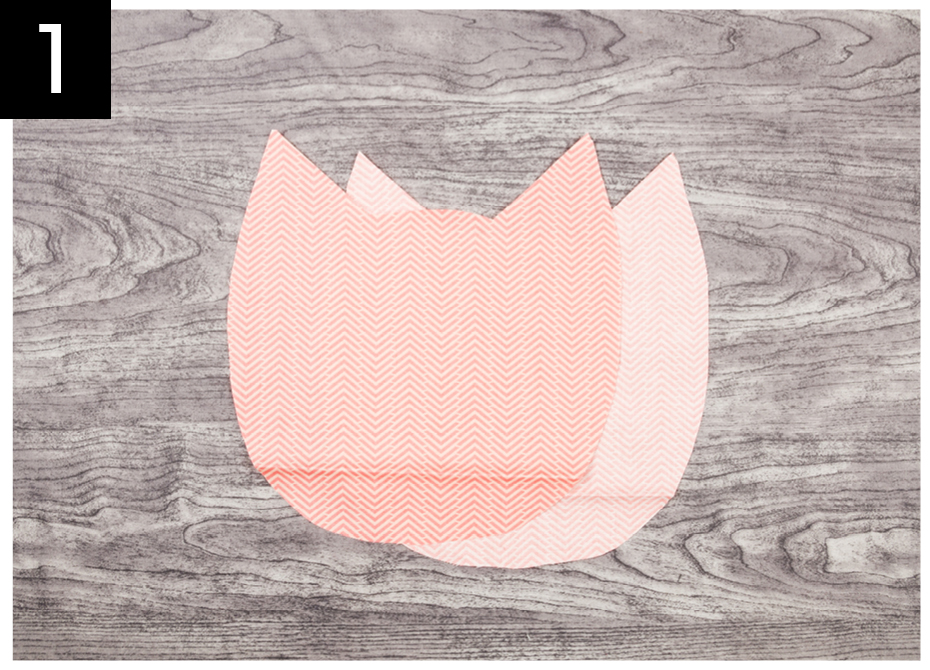
STEP 1 : Cut the 2 pattern pieces into the fabric of your choice.
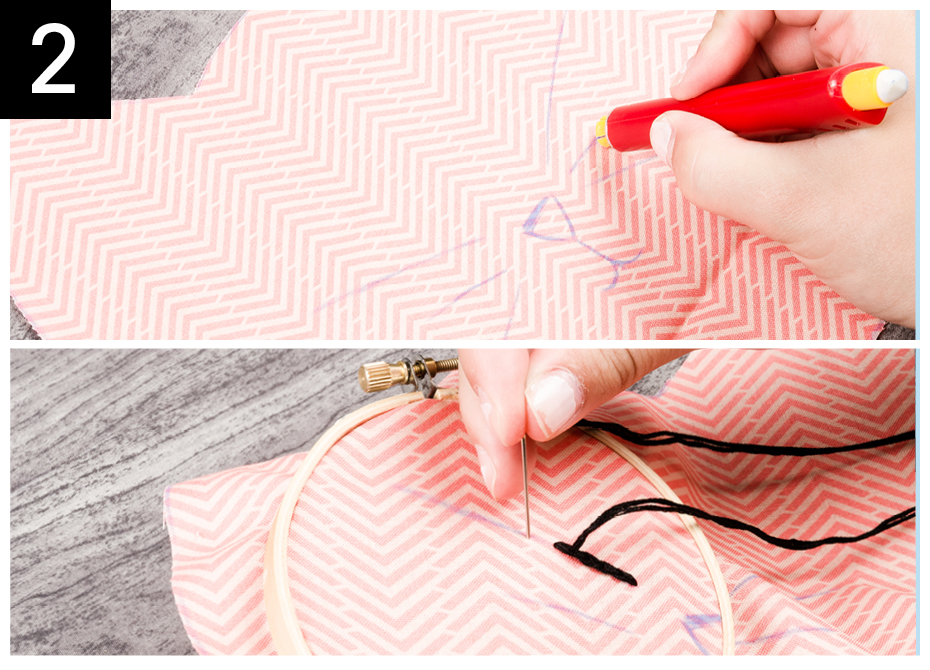
STEP 2 : On the front of your cushion, draw with a pencil, the mustache, muzzle and mouth of your cat. Then embroider it with an embroidery cotton thread in the colour of your choice.
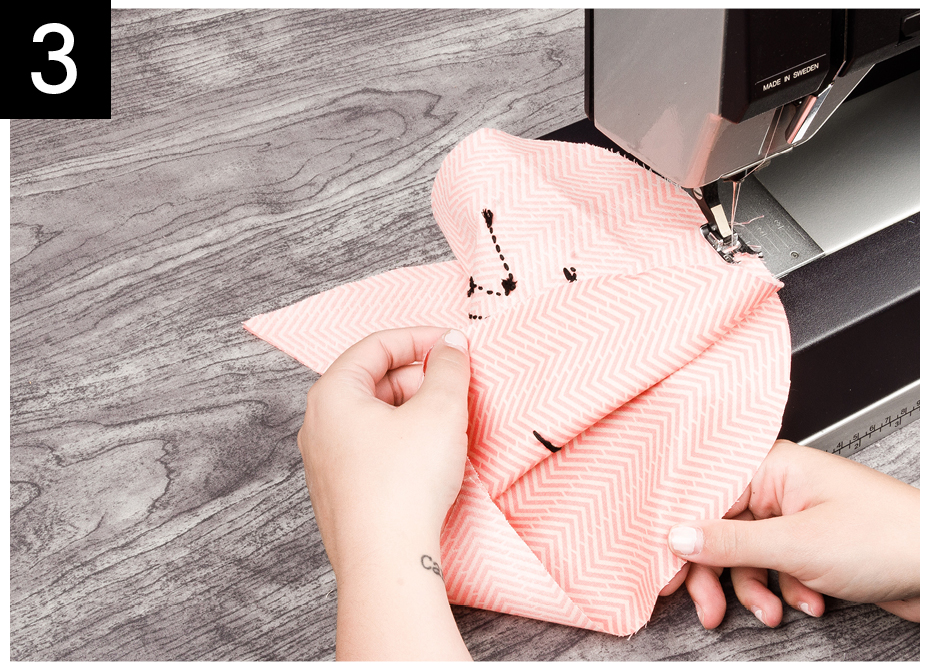
 STEP 3 : Assemble the front and back of your cushion and leave an opening of about 5 cm (2 in).
STEP 4 : Crunch the corners and decrease the seam value in the curves. Pull your cushion inside out and stuff it with plush stuffing.
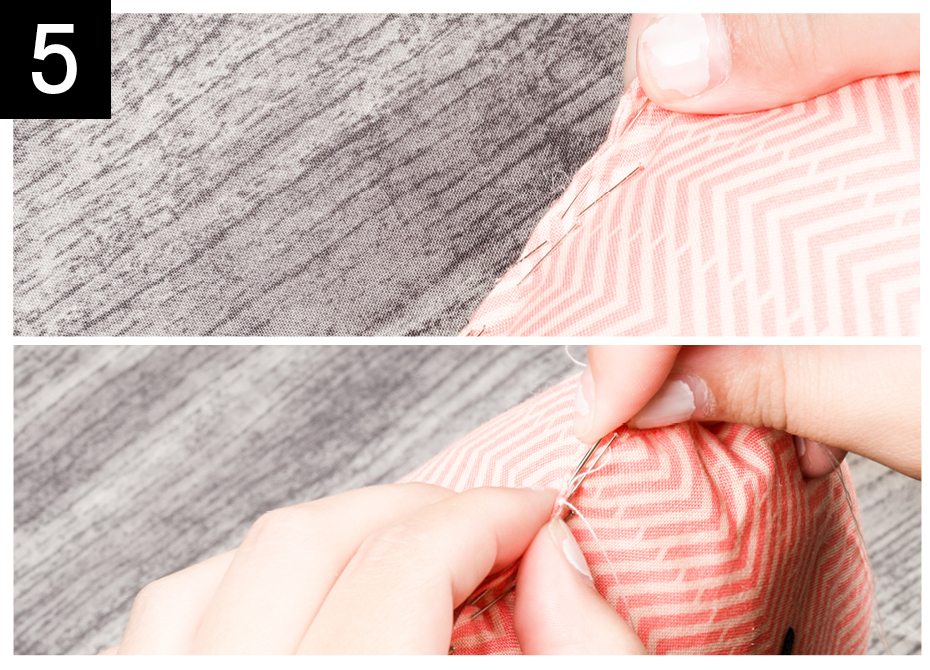
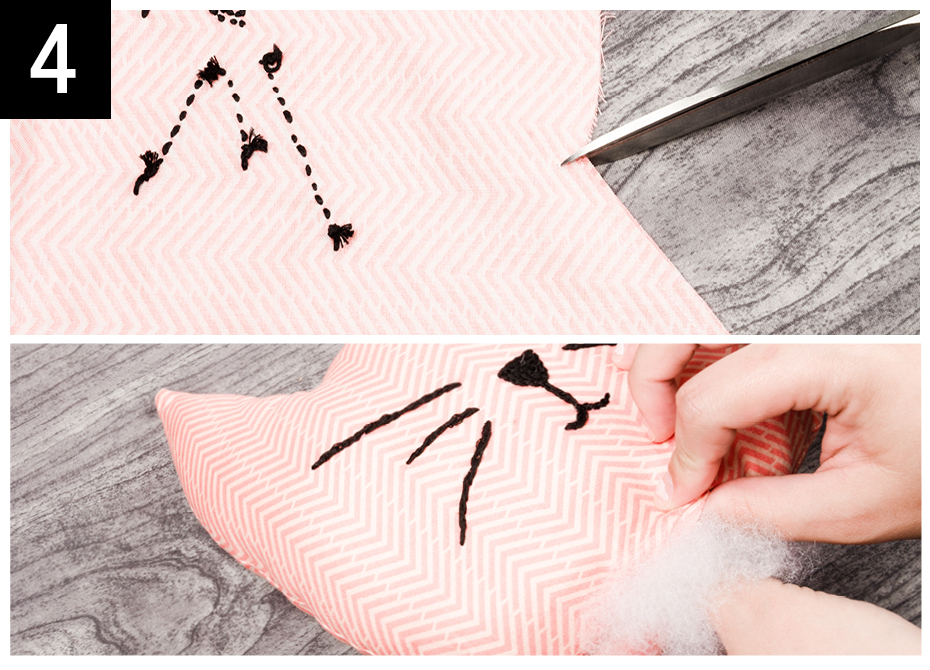 STEP 5 : Close your cushion by making an invisible stitch by hand.
To get the PDF version of the DIY, click here !
Cloud
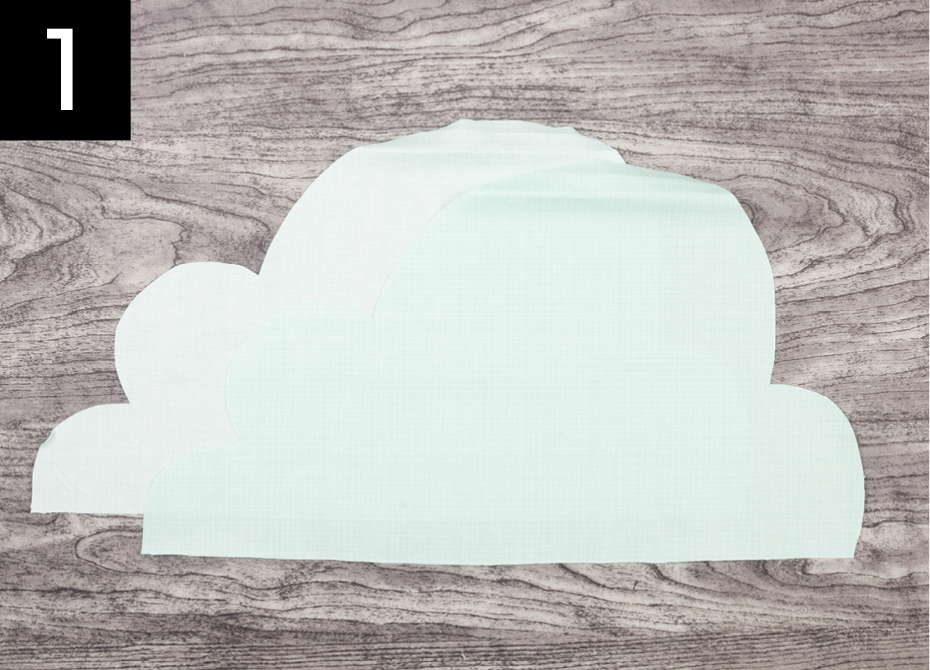
STEP 1 : Cut the 2 pattern pieces into the fabric of your choice.
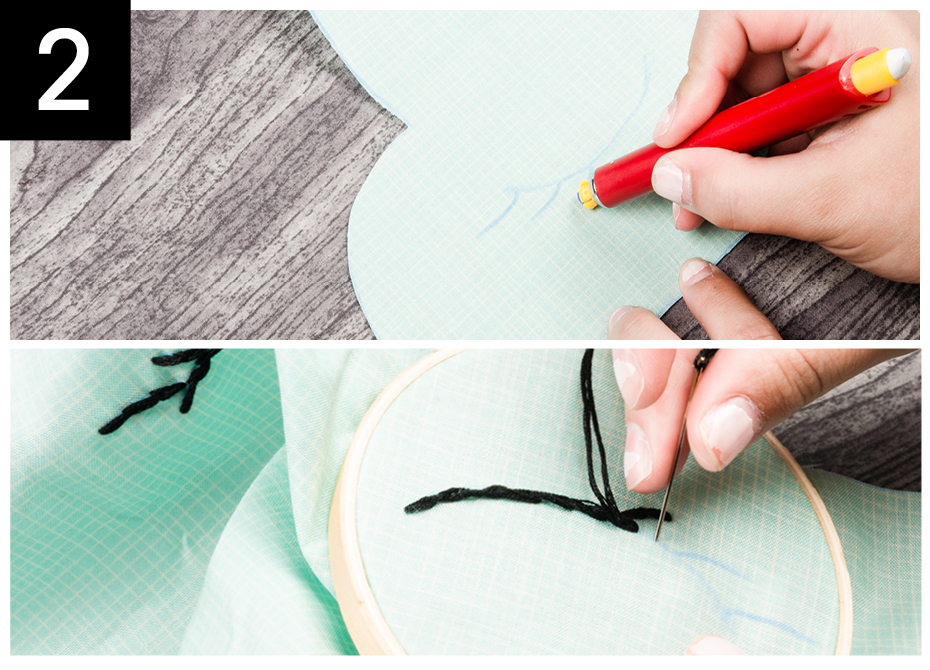
STEP2 : On the front of your cushion, draw with a pencil, the eyes. Then embroider it with an embroidery cotton thread in the colour of your choice.
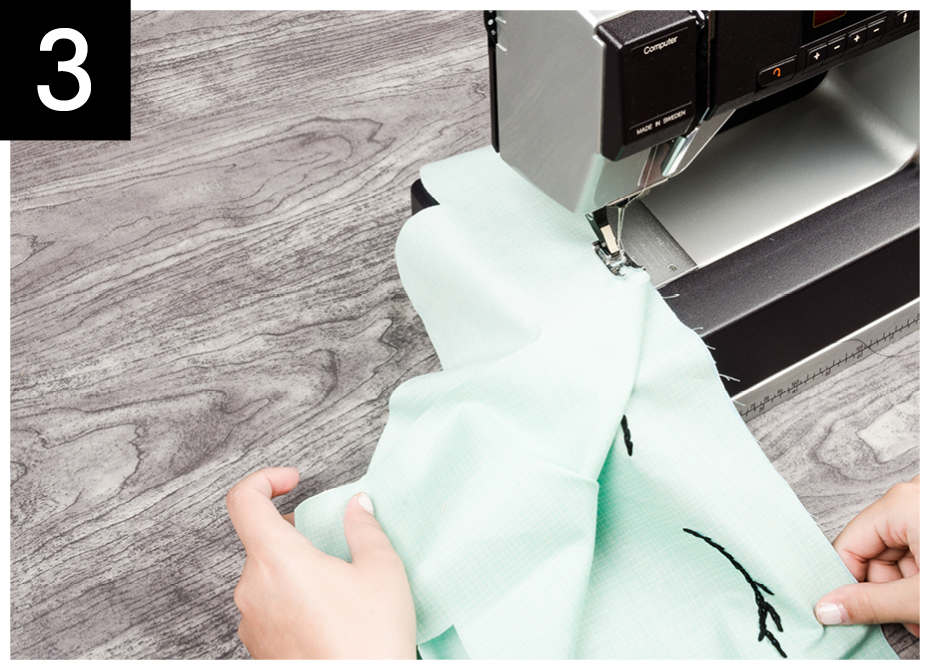
STEP 3 : Assemble the front and back of your cushion and leave an opening of about 5 cm (2 in).
STEP 4 : Crunch the corners and decrease the seam value in the curves. Pull your cushion inside out and stuff it with plush stuffing.
 STEP 5 : Close your cushion by making an invisible stitch by hand.
To get the PDF version of the DIY, click here !
Here you go ! All you have to do now is wrap yourself up with your new cushions and enjoy your evening !
Do not forget that we love to see your creations. Feel free to share them with us through social media, using the hashtag #clubtissus.
See you soon!


