English paper piecing is a very relaxing hand-stitching technique. Being compact and not requiring a sewing machine, your project can follow you everywhere—in the car, at the cottage or on a plane heading to your next adventure.
P.S. – If passion gets a hold of you like it did to Valérie and I, I strongly suggest this amazing book: Flossie Teacakes’ guide to English paper piecing.
Essential Material
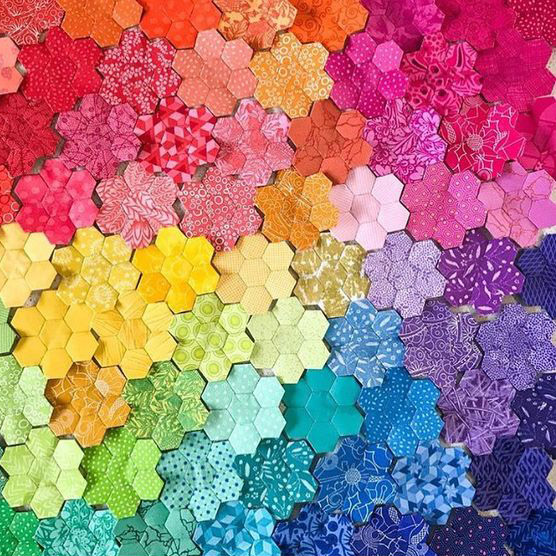
Like all sewing projects, you must first choose your fabrics, ideally quilting cotton. Depending on the scale of your project, you should get fabric with a size-appropriate design. English paper piecing is ideal to give fabric scraps a new life!
To prep your pieces, you can use cutting templates, which will be a must, especially if you choose fussy cutting. Do like any self-respecting quilter would, and equip yourself with a cutting mat and a rotary cutter. Our favourite for this kind of project is the Olfa 28 mm rotary cutter as pieces are often more delicate.
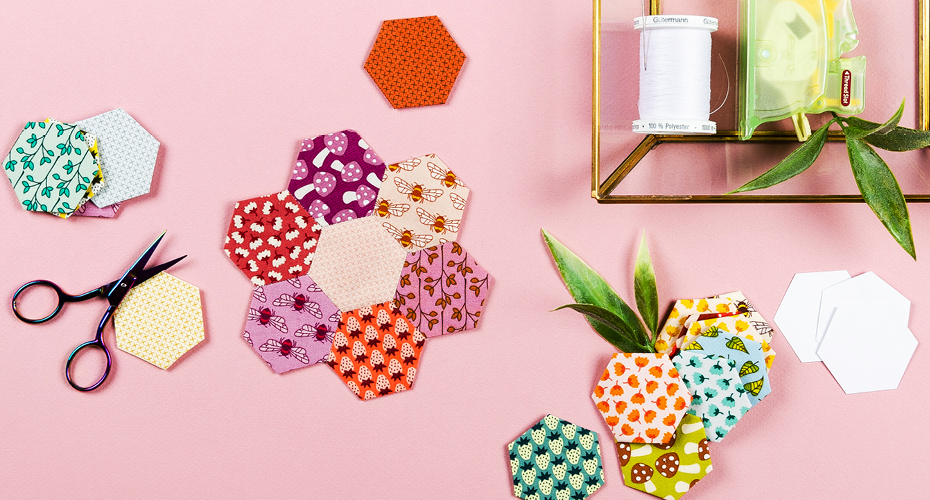
Paper templates will be required for the preassembly. You can create your own templates using 200 g cardstock or you can shop our collection. Templates’ sizes are designed for the assembly. For example, a 1-in diamond has 4 1-in sides, like the 1-in triangle, the 1-in hexagon, and so on. Easy to understand to be able to perfectly assemble your pieces and create your own patterns.
If you want to try preassembling using glue, you should use a soluble glue marker. Our favourite is the Aqua glue marker by Prym for its quality and good value.
The needle is the key to a good project, and your best friends for hours of fun, whether you use it to preassemble or assemble. Choose a fine long needle. We suggest milliners needles #9 by Bohin or the gold eye embroidery needle set by Clover, which can be used for English paper piecing as well as hand stitching.
It’s now time to assemble! Get a good comfortable thimble. My favourite is the leather thimble by Clover, because I almost can’t even feel it. A sew-all thread works perfect to preassemble as well as assemble. Choose a colour that matches the whole project. Finally, use clever clips to secure your pieces as you assemble, and a good thread cutter to cut the hundreds of threads you will be using.
You could also prefer using our kit that includes everything you need to start, or browse through our complete collection of accessories here!
Discover all our English paper piecing method must–haves.
Cutting
If you plan on washing the finished product, wash your fabric, or simply iron with steam to shrink it a little before starting with the cuts. As you will be ironing towards the end of your project, it will avoid the shrinkage once the project is done.
Using a rotary cutter, trim your pieces, leaving a 6 mm to 10 mm (1/4 in to 3/8 in) seam allowance around the piece. The cut doesn’t have to be super precise, since you won’t follow the edges as you would with a machine. To make your life easier, get acrylic cutting templates that include seam allowances. You can also try fussy cutting which has you select exactly the section of the pattern you want to showcase. That will make the most impressive symmetrical and homogenous pieces.
Preassembly
Preassembly is the moment when you create your shapes. There are two options: glue or basting. Before starting to fold the seam allowances, you can secure your pieces of cardstock to the wrong side of your fabric using a needle or a bit of glue. Now is the time to start folding each side. Make sure not to fold the fabric too tightly on the cardstock to make the assembly task easier later. If some sides have curbs, gently notch the pieces.
Glue Basting
Using your glue marker is the simplest and quickest technique. You only need to apply a line of glue on the cardstock and fold the fabric by pressing to secure it. Do all sides of your piece.
Basting
The second technique is my favourite; it has become my own meditation session. Using a needle and thread, secure your piece by folding seam allowances and stitching each corner. You can simply stitch the fabric or choose to baste and include the cardstock.
Assembly
Once you have done all your pieces, you are ready to assemble. Join two pieces right sides together (you can use a clever clip to secure them in place). Make a double stitch to create a loop, and make a knot by threading the needle in the loop and tight it. Then, go on making an overhand stitch on just a few threads wide all along your seam allowance, trying not to stitch the cardstock. Make once again a double stitch to create a knot at the end of your seam. Assemble each side, keeping your design in mind. It is really important not to remove the cardstock before all stitches are done. Failing to do so will make it really difficult to make the last seam invisible.
Finishing
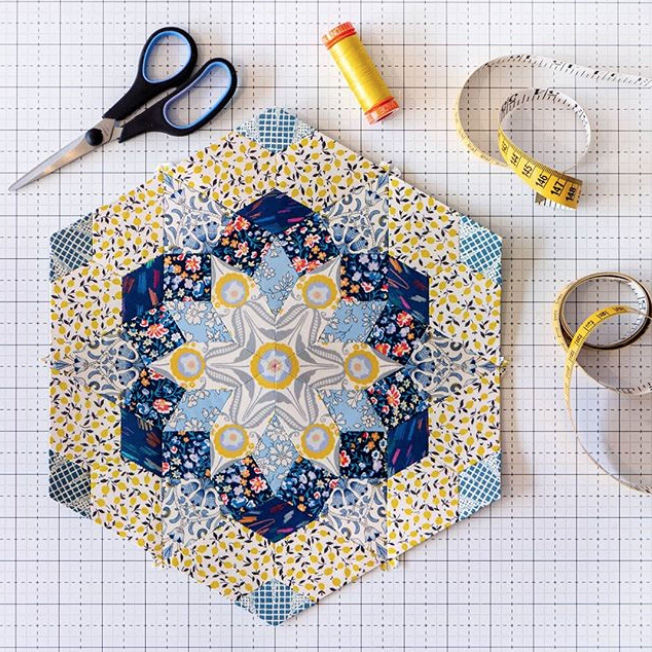
Once your piece is completely assembled, you can iron your masterpiece to secure your textiles. Now, it’s time to remove the pieces of cardstock. I personally like to make holes in the middle of my piece beforehand to make it easier. For glue basting, delicately unglue all seam allowances before removing the cardstock. For basting, remove the thread using a thread cutter or a seam ripper. If you have not grabbed any cardstock while preassembling, there is no need to remove the thread. Once all pieces of cardstock are removed, iron your piece one last time. Voilà!
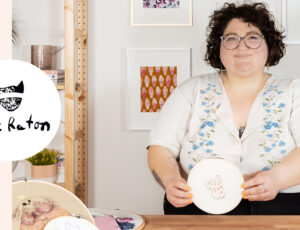
The English paper piecing method on video!
Available in french only
Gabrielle shows us the various basic techniques and tools to create an array of projects using the English paper piecing method.
Inspiration
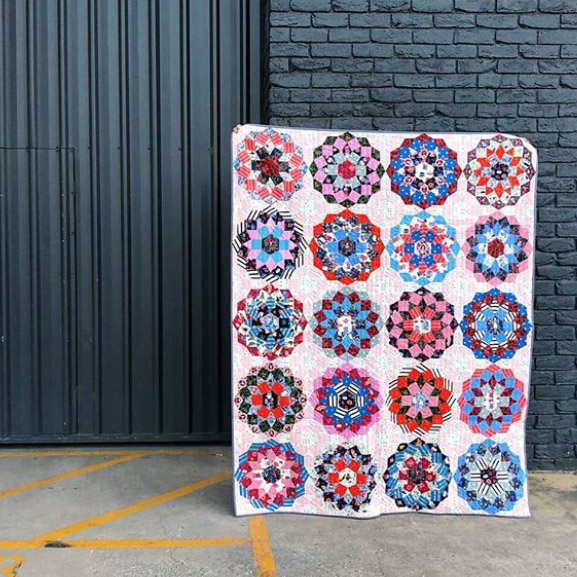
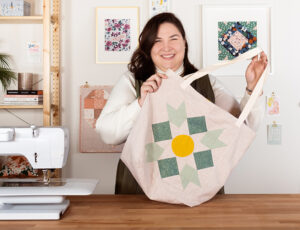
You can now put your masterpiece on a piece of fabric to make a quilt, a cushion or even a wall hanging … possibilities are endless. Let yourself be inspired!
Share your own favourites, creations or discoveries with us on our social media networks using #clubtissus.


